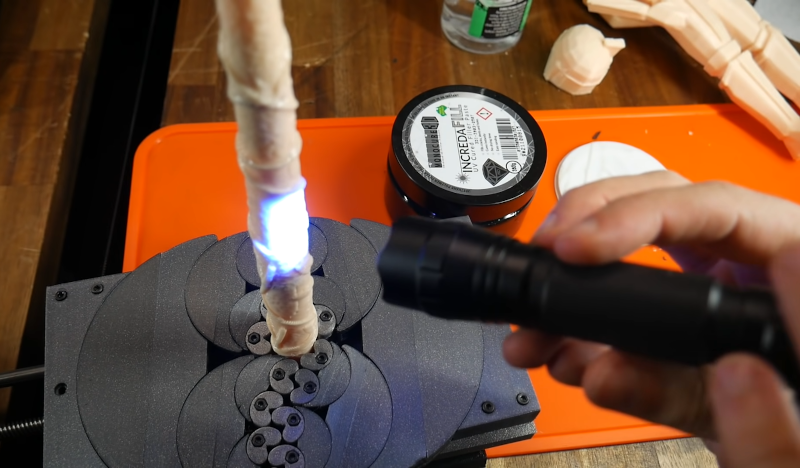
[Teaching Tech] is not alone in hating layer lines in 3D prints and also hates sanding. He recently tried Incredafill putty, a UV-curable putty that you can use to cover up lines in prints. Once covered and cured, you sand the putty smooth. You can see what he thought of the product in the video below.
As many people suggested in the video comments, you can pull the same trick with UV resin thickened with some other substance. We’ve even covered using diluted resin to get a similar effect. The putty has more of the appearance of hair cream or some kind of ointment, so it was easy to spread around with a gloved finger. A brush also worked. UV curing was done by a small flashlight or the handy sun. However, you’ll see later that he used a UV curing station and that works well if you have one.
Of course, even after applying the putty, you still have to sand. We are assuming the sanding is easier than trying to sand the actual layer lines smooth. On the other hand, the resin dust is probably pretty toxic, so there is a trade-off involved.
The results did look good. Of course, since there was still sanding involved, how good it looks will depend on your sanding tools, your technique, and — perhaps most importantly — your patience. Sanding can do a lot for 3D prints. We might not trust it completely with resin dust, but you could get rid of at least some of the dust with a downdraft table.


If you don’t want to invest in a downdraft table, there’s always wet sanding.
sanding is for people with time and a masocistic streak,
,”putty”,splodge(verb for putty application),plastic bag pulled over
splodged “putty” till it stretches a bit,smooth with fingers,tape tight,wait till “putty” is very firm and then use whatever comes to
hand to shave curls off to finish shaping.
same idea for a near instant body job on a rust bucket car,except
use spray foam and then,body filler,no sanding
Is there a video that shows this procedure? Your steps are a bit unclear.
Spending time to get the settings right for the specific resin you’re using can eliminate the need for sanding and filling. Run a good heat tower and a simple single wall flow test. Adjust the flow and repeat them both.
I don’t understand the quest for printing as fast as a bat outta h—. What difference does an extra 20-30 minutes to do a print if the equipment isn’t time constrained? Slow down!
I just use regular glazing putty on my prints, seems like another 3d print finishing gimmick.
I use Titebond III for finishing. Coarsely sand it a bit, apply the glue, then fire it with a low temp craft heat gun just enough to slightly soften the PVA.
The stuff claims to not be toxic or sensitizing at all, and it will make a very strong, waterproof, and paintable layer. Heat set the acrylic paint the same way and it should be durable enough for escape room use.
Also, you can use walnut shell powder to actually make prints look like leather. But I was only able to get it to work once with many very thin layers.
You can also crinkle tissue paper, soak it in glue, and lay it on a print for an effect kind of like bark. It’s not smooth but it’s nicer looking than raw layer lines.
I find the best and easiest way to smooth prints is to prime, then wet sand until the plastic shows, prime again, then wet sand with 1500. That’s usually it. Wet sanding primer is super easy compared to plastic.
Resin when cured is no more toxic than most plastics used in FDM printing. That is to say regardless of what plastic you are sanding you need to wear a mask. Even PLA doesn’t degrade in your lungs and not wearing mask will decrease lung capacity and cause irritation. Many UV Resins when cured are basically a form of polyurethane a commonly used varnish. You don’t go see wood workers freaking out about how toxic polyurethane is they just they just adopted good practices like wearing a mask