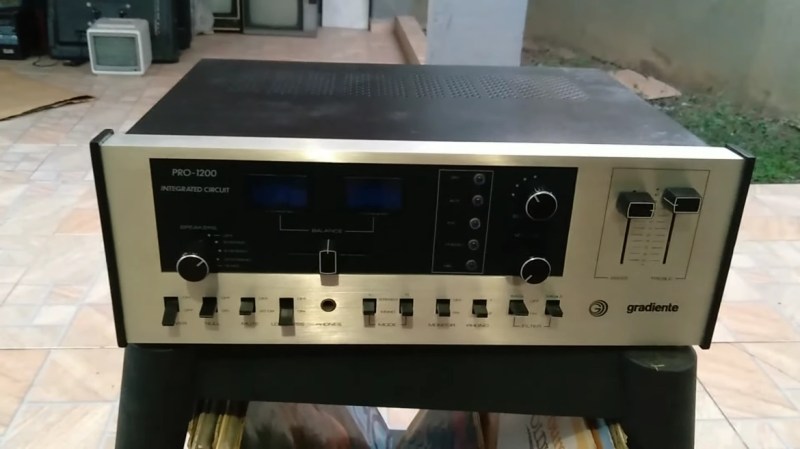
Although 3D printers are great, people tend to use them as a universal hammer wherein almost everything becomes a nail that’s just begging to be struck. So as hacker appetites become finicky with the same old fare, it’s refreshing to see an enclosure restoration done in such an old-school fashion. To wit: [Doidão Santos]’ classic repair of the crumbling side fairings on a vintage amplifier.
 Yes, instead of designing replacement pieces, printing them, and hiding the layered evidence with paint or an acetone blur, [Doidão] called upon a broken sound system whose chassis bore a relief in the corners similar to that of the amplifier.
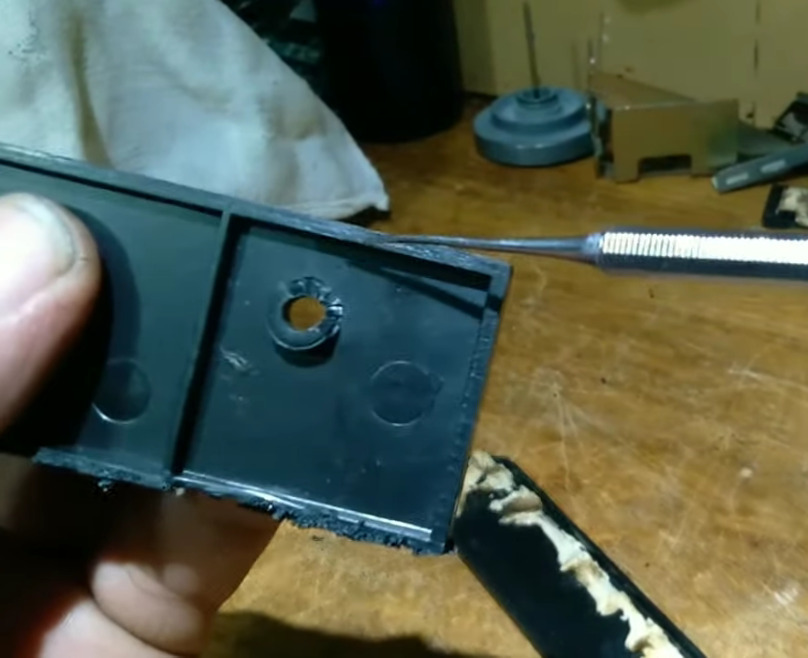
After cutting out two matched pieces of donated plastic, [Doidão] taped them together and welded ’em with a soldering iron outfitted with a curved-but-flattened spade tip that looks ideal for this purpose. Although the donor enclosure provided much-needed relief, one corner was lacking in this aesthetic, so [Doidão] cast a little bit of molten plastic using the relief as a mold.
Once the pieces were tacked together, [Doidão] filed them down, sanded them, polished them to a nice shine, and installed them on the amplifier. They look great, and no one will be the wiser. But if we were in [Doidão]’s shoes, we’d tell everyone what we’d done. Be sure to check it out after the break.
Ready for more fantastic plastic resto-hacks? Let us introduce you to [drygol].
Thanks for the tip, [danjovic]!


I must do some more investigating this technique- I’ve never had satisfactory results trying to melt plastics together for repairs . I don’t have much success getting good penetration on the join.
It really depends on the type of plastic. You can get a “plastic welder” which is basically the soldering iron that’s being used, along with some rods of plastic to “weld” with.
I bought one of the Horror Fraught plastic welders.
I have had usable results, ugly, but usable.
I’ve only been able to “weld” one type of plastic with it, certainly not PVC.
You really need an iron with temperature control, knowledge of the plastic involved, a few sacrificial tips, patience and a bunch of test material. Consider preheating with a hot air rework tool. Also slowly cooling (annealing) the plastic can help.
Then maybe, depending. It’s mostly used on films e.g. bag sealing, joining rolls at edges.
Bic lighters have the butane plumbing friction welded into place.
You can also shave plastic from various places on the inside like support ribs and the like and depending on the plastic dissolve them in a liquid plastic solvent cement and make a paste to repair holes or gouges – since it’s from the same part, the color match is pretty good. I’ve done this several times to fix broken corners and deep gouges.
This works for many plastics including ABS and similar formulations used for injection molding consumer applications (stuff that doesn’t need high temp or other special requirements like might be needed for various industrial applications).
This is what I’ve done, repairing ABS watering cans that had holes or cracks: cut off a long thin section of the ABS (like, from the hole in the top where you put the water) and use that as filler material. Then it’s like TIG welding. Run the soldering iron cool and establish a puddle of melted material and add in filler as you move. Since it has such rotten thermal conductivity you need to work a lot on the edges to make sure there’s full penetration. It definitely works better if you have it heated/work heated, like preheat with a hair dryer.
But I also do a lot of 3d printed metalcasting and use the same general technique for taking a 3d print and adding sprues and venting. It doesn’t even have to be the same material. Wax venting on a PLA form works just fine, and you can braze them together with more wax. I think it’s a powerful technique. A while back I needed to stick a bunch of electronics onto the back of a 3d printed mask, so I took some PLA filament, cut it off in 2cm lengths, and welded little stick-out tabs to the back of the mask that matched the mounting holes on the arduino and the driver boards, stuck them on, bent the PLA stubs over and welded them again, and the electronics were semipermanently affixed, way more quickly than if I’d had to design decent mounting brackets into the back of the mask.
Once you start looking at 3d printing as a type of welding, and start thinking about what else you can weld on, it really opens up your quick bodge/modification horizons.
Just recently I’ve welded a crack in a garden slide (HDPE – gluing it would be challenging) using a hot-air tool. The results aren’t pretty but the weld holds and is hidden from view anyway.
After some limited research I’ve found that a cheap plastic welder is no different than a cheap hot-air rework tool, except having specialty nozzles used for faster welding (but you can use a regular nozzle as well). You also need some filler material of the same plastic you’re working on.
You can watch some videos of welding plastic to see the technique.
ABS plastic, which is used in a lot of plastic car parts, works quit well
For information, Doidão means “crazy big guy” in portuguese.
Back when I was repairing consumer electronics, I did this to repair things like broken VCR and cassette deck doors, and cracked cases.
Never use a soldering tip you wish to use for soldering ever again.
I saved plastic front panels from junked electronics so I had the same kind of plastic to use. I used the foam sanding blocks sold for fingernail use to smooth things over, they come in some really insanely fine grits.
Go over the entire surface with the finest grit, then polish by rubbing it on a stack of newspaper. Then the entire face has the same finish. I’d often have customers think I ordered new parts.