Not long after the first desktop 3D printers were created, folks started wondering what other materials they could extrude. After all, plastic is only good for so much, and there’s plenty of other interesting types of goop that lend themselves to systematic squirting. Clay, cement, wax, solder, even biological material. The possibilities are vast, and even today, we’re still exploring new ways to utilize additive manufacturing.
But while most of the research has centered on the practical, there’s also been interest in the tastier applications of 3D printing. Being able to print edible materials offers some fascinating culinary possibilities, from producing realistic marbling in artificial steaks to creating dodecahedron candies with bespoke fillings. Unfortunately for us, the few food-safe printers that have actually hit the market haven’t exactly been intended for the DIY crowd.
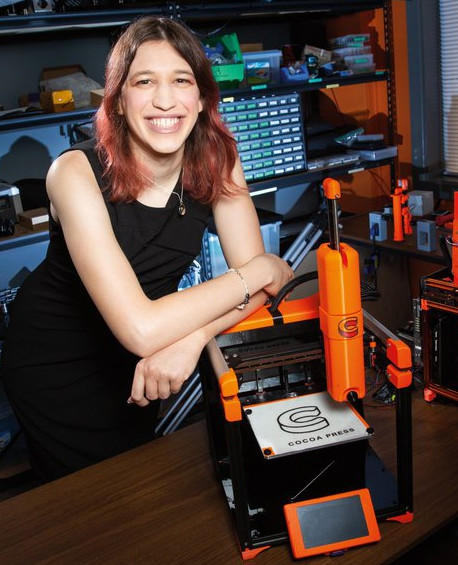
That is, until now. After nearly a decade in development, Ellie Weinstein’s Cocoa Press chocolate 3D printer kit is expected to start shipping before the end of the year. Derived from the Voron 0.1 design, the kit is meant to help those with existing 3D printing experience expand their repertoire beyond plastics and into something a bit sweeter.
So who better to host our recent 3D Printing Food Hack Chat? Ellie took the time to answer questions not just about the Cocoa Press itself, but the wider world of printing edible materials. While primarily designed for printing chocolate, with some tweaks, the hardware is capable of extruding other substances such as icing or peanut butter. It’s just a matter of getting the printers in the hands of hackers and makers, and seeing what they’ve got an appetite for.
So, why chocolate? It’s a pretty straightforward question to start the chat on, but Ellie’s answer might come as a surprise. It wasn’t due to some love of chocolate or desire to print custom sweets, at least, not entirely. She simply thought it would be an easy material to work with when she started tinkering with the initial versions of her printer back in 2014. The rationale was that it didn’t take much energy to melt, and that it would return to a solid on its own at room temperature. While true, this temperature sensitivity ended up being exactly why it was such a challenge to work with.
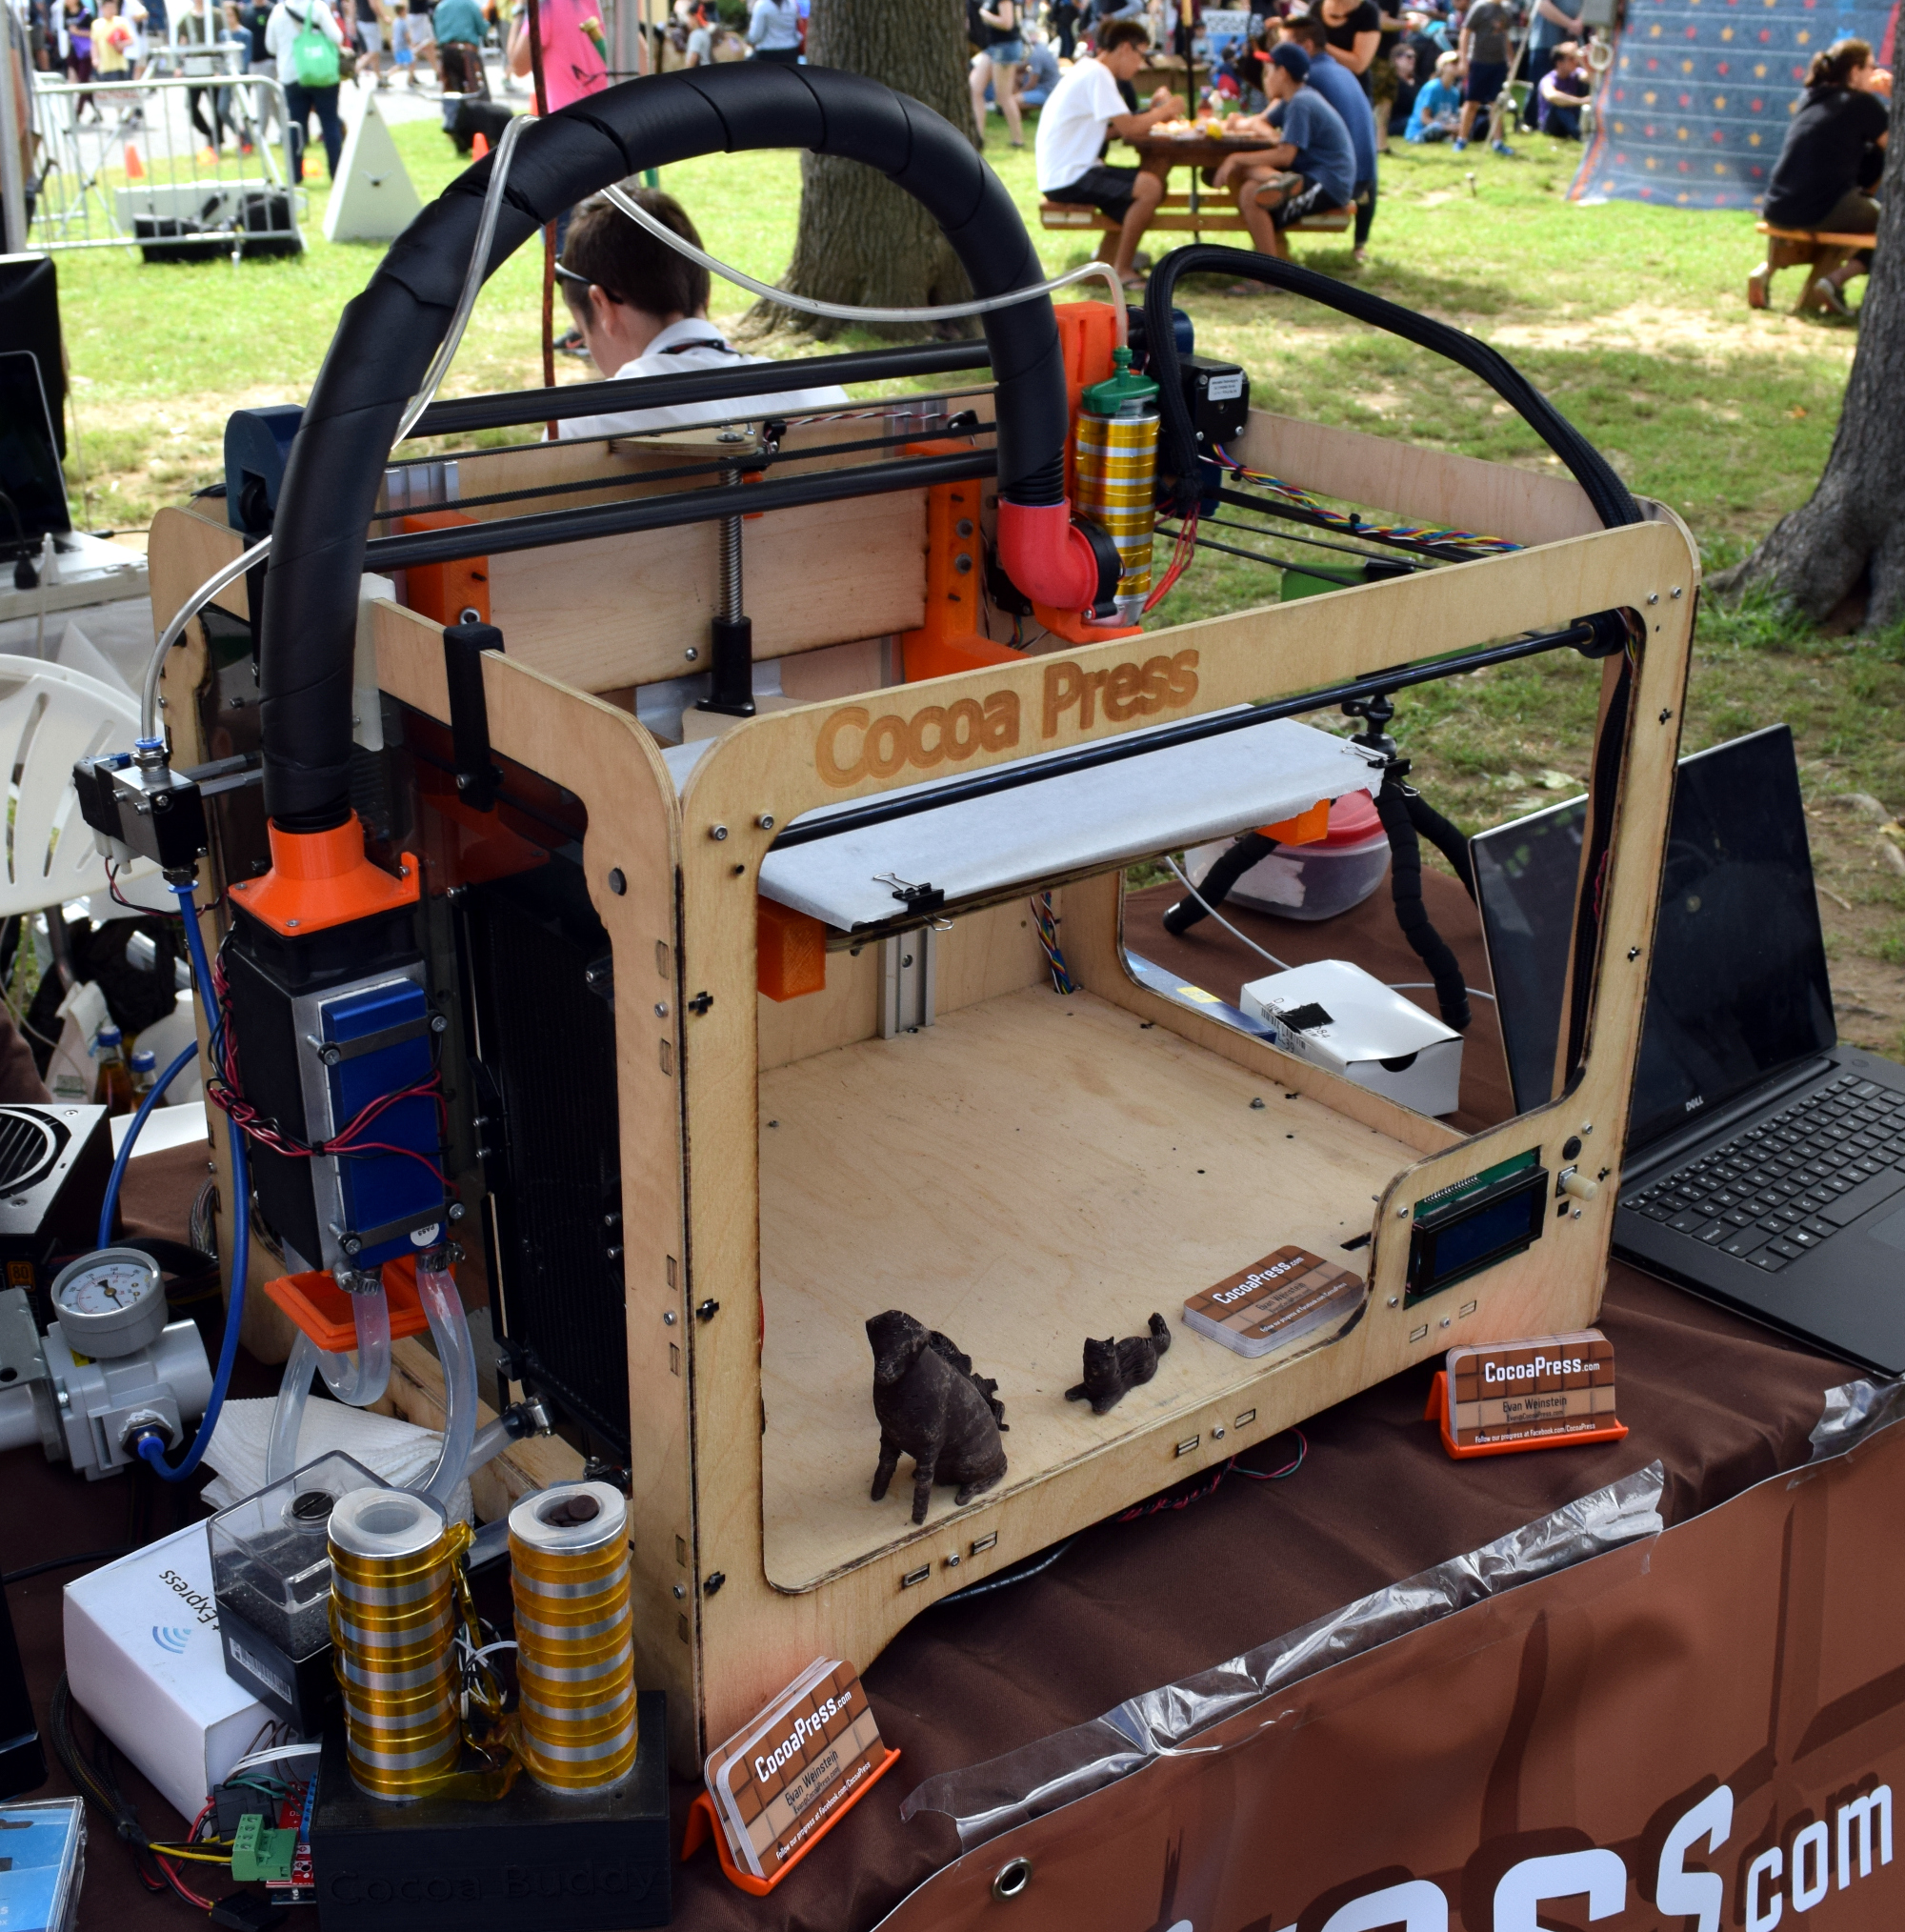
For example, the early version of the Cocoa Press Hackaday covered back when Ellie showed it off at the 2018 World Maker Faire in New York had an elaborate system of producing cold air using water-cooled Peltier units, which would blow across the chocolate as it exited the massive heating element. It worked, but it was a complex and expensive way to pump out custom chocolate shapes.
Ellie explained that the key was to experiment with different chocolate formulations, which ultimately allowed the temperature at which it melted and solidified to be fine-tuned. This, in turn, allowed the printer’s hardware to be simplified. It’s an interesting trade-off between chemistry and engineering, and though it does mean the printer needs to use its own custom chocolate blend, it’s worth it for the printer’s vastly reduced part count and cost.
For you amateur Willy Wonkas out there, the chat diverges at this point into a discussion of just what goes into common chocolaty treats. It’s not the sort of thing we often see in the Hack Chat, but it was fascinating nonetheless. We won’t dive too deeply into it here, but the short version is that the base of the chocolate (cocoa butter, palm oil, etc) determines how it responds to different temperatures and whether or not it requires tempering to achieve the desired “snap” when you bite into it. Never knew that chocolate needed to be tempered? Neither did we. Ellie says that’s why a chocolate bar that’s been melted is never quite the same afterwards, even if you try and throw it in the refrigerator to solidify it again.
In the end, Ellie says her formula for compound chocolate (containing palm oil and cocoa solids) prints at 33 °C (91 °F) and doesn’t require either a heated bed or an enclosed chamber. She does note however that there’s an upper limit on the ambient temperature of the room — with print quality falling off at temperatures beyond 26 °C (80 °F). As an interesting aside, that’s about the minimum temperature you’d be shooting for with an enclosed printer when working with common thermoplastics like PLA and PETG.

As for the mechanics of the extruder, that’s also gone through a few variations over the years. Early on Ellie was using air pressure to force the material out of the heated chamber, which had certain advantages, but again added complexity to the design. The final hardware, like most of the DIY paste-extruding printers we’ve seen, uses a motorized plunger. While a simple and reliable way to extrude thick substances like chocolate, one issue pointed out during the chat was the formation of air bubbles. The original pneumatic system handled them in stride, but with a physical plunger the bubbles need to be worked out of the material — usually by heating it up and vibrating the chamber. Several methods of automating this process were suggested, including using custom G-code or a small unbalanced motor to shake the extruder.
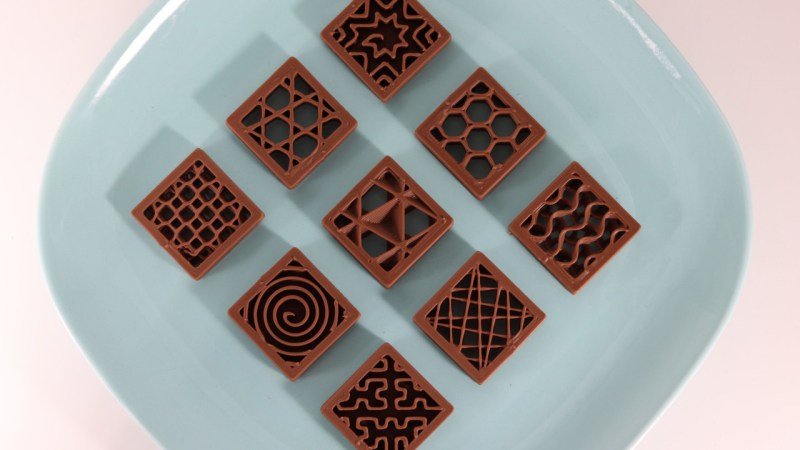
Speaking of custom G-code, one member of the chat asked if Ellie had experimented with pausing the printer at a given layer height so that the inside of the printed chocolate object can be accessed. She confirmed this can be done using the mechanism built into PrusaSlicer, and that she’s had good luck adding various solid and liquid fillings to objects mid-print. This naturally lead to a discussion about the various infill methods available, and how they would impact the types and amounts of fillings that would be possible via this method.
Towards the end of the chat, the discussion focused on what’s perhaps one of the least pleasant aspects of printing edible materials: clean up. Not only does the printer need to be cleaned to make sure it keeps working properly, but it’s obviously critical that everything is properly washed to prevent any bacterial growth that could compromise future prints. To that end, Ellie explained that it’s critical to limit the number of parts that actually touch the foodstuffs — on the Cocoa Press there’s only four. It’s also important that those parts be easily removable without the aid of tools, and that they be made of a food-safe material such as stainless steel.
We’d like to thank Ellie Weinstein for taking the time to talk with us about her experience developing the Cocoa Press, it’s a project we’ve been following on these pages for several years now, and we’re excited to finally see it so close to commercial release. Over the years we’ve seen several attempts at developing food printers, from both the hobby community and commercial players, but nothing managed to stick the landing. Here’s hoping that the Cocoa Press finally breaks the mold…literally and figuratively.
The Hack Chat is a weekly online chat session hosted by leading experts from all corners of the hardware hacking universe. (There’s one tonight!) It’s a great way for hackers connect in a fun and informal way, but if you can’t make it live, these overview posts as well as the transcripts posted to Hackaday.io make sure you don’t miss out.


The infill chocolate looks tasty. That would really add a new dimension to some foods, such an airy and strange collapsing texture
“…airy and strange collapsing texture”
I suppose it would be dependent on the infill properties. I would have thought the same about the airy texture if I had never eaten an Aero bar which is chocolate with a bunch of air bubbles. The tiny little shards from between bubbles created a mouth feel that I didn’t really appreciate. Maybe you have to let that chocolate melt in your mouth instead of actually chewing it.
(Sample size=1).
Full disclosure: I like Hershey’s chocolate, so make of my Aero opinion what you will.
Hershey’s is like brown candle wax. Aero is not bad, but not particularly good. For a textured chocolate experience try Cadbury’s Wispa. The bubbles are tiny and make a delicious variation to regular chocolate.
Cadbury’s UK chocolate is my ‘reference’ flavour, but it varies around the world depending on where it’s made. Canadian and Australian Cadbury’s, for example, is awful.
Brown candle wax indeed. Ever since I started making my own chocolates and realized how little chocolate is actually in most of them I stopped using a base of less than 60% for anything at all (and usual straight cocoa or 100% bar). The downside is a much smaller temperature window for everything and tempering can be difficult depending on other ingredients. Palm oil can make things easier but it’s been unavailable locally for a while now.
Hershey burns your taste buds it’s so sweet, borderline criminal. My favorite chocolate is the Belgian Leonidas, when I lived in France. Swiss chocolate is great too and more affordable. I’ve never had good American chocolate but I’m not giving up hope.
Containing palm oil and cocoa solids…?
Sound like this process also uses terrible chocolate.
As they do list cocoa solids, I assume there is no coco butter in the formula. But clearly it contains sugar, so formula is not clear.
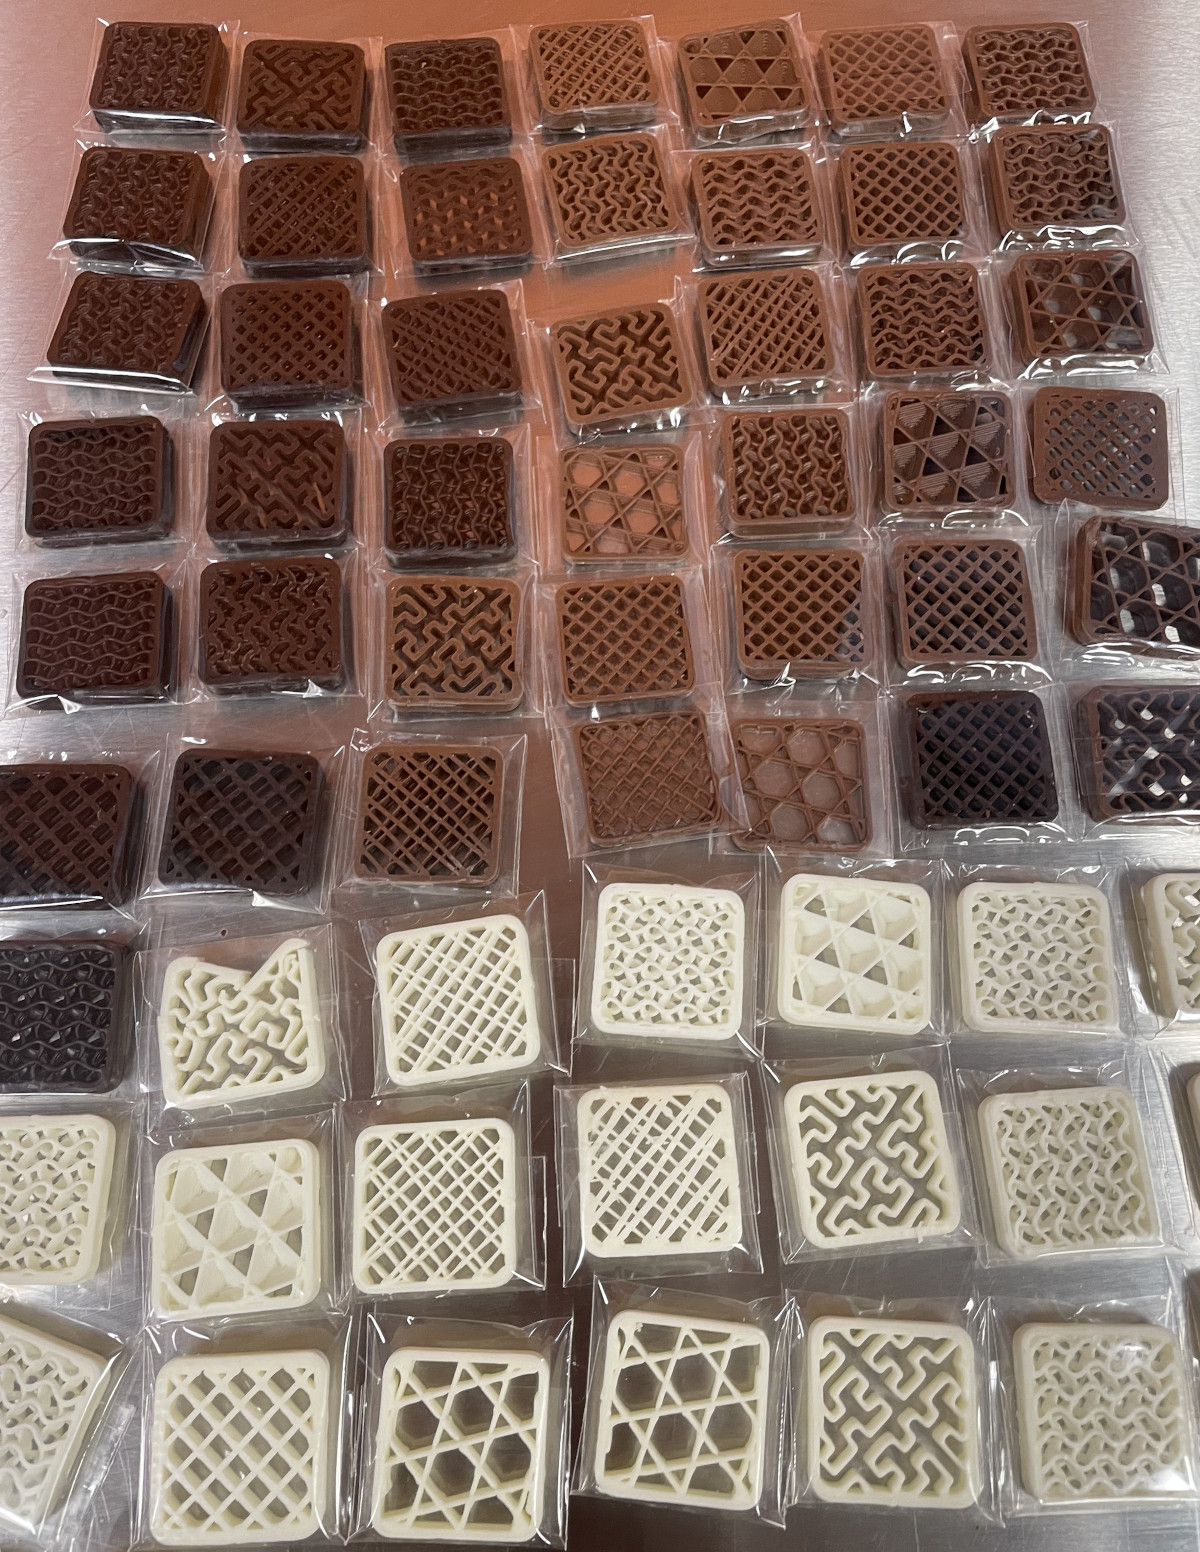
Note the picture of white chocolate items. FYI: White chocolate is chocolate free chocolate.
Also note apparent milk chocolate items. Better then white chocolate, I guess.
Non metal 3d printing is fundamentally a prototyping process though.
Assume you can charge boutique swiss chocolatier prices for bad 3d printed chocolate items. You still go broke 3d printing them.
To have any hope they’ve got to start with quality chocolate. Find a way to 3d print that quickly, with high success rate, then maybe.
I have to confess that I like Hershey’s Special Dark. It’s only a little dark, but it still tastes a lot better than milk chocolate.
Unfortunately “good” chocolate here in the States requires you to go to an organic food store. It also requires you to lighten your wallet more. You get what you pay for. I have to agree – overseas chocolate kicks our chocolates’ oversweetened asses. Hard.
Here in Oz Cadbury used to be ok but it’s sickly sweet these days. Whittaker’s from Zealand is excellent and IMO much better.
Great article, Tom! The exploration of 3D printing in the culinary world is indeed fascinating. I appreciate your deep dive into the challenges and innovations in this space, particularly the development of the Cocoa Press.
The idea of customizing not just the shape, but also the texture and fillings of food items, opens up a world of possibilities for chefs, confectioners, and food enthusiasts alike. I agree that the key to making this technology more accessible is simplifying the hardware and making it user-friendly. It’s interesting to see how Ellie Weinstein has tackled these issues with the Cocoa Press, and it’s inspiring for us as we continue to develop our own 3D printing solutions.
I’m looking forward to seeing how this technology continues to evolve and become more integrated into our everyday lives. Thanks for sharing these insights! For those interested in the evolution of 3D printing technology, I invite you to visit our website at https://www.spider3d.co.il where we explore the potential of printing with different materials.
I’d like a milk chocolate gyroid infill with lemon filling. 40% infill preferably.
I would love to try those textures. Stack them like wafers with some creme in the middle.
The work Ellie and the cocoa press staff are doing is super interesting and challenging. There are examples of the cocoa press bridging with chocolate! Just crazy! It is very cool to watch this evolve.
I thought that was Mayim Bailik for a second. Wouldn’t surprise me to see her in a project here, she’s a very smart woman.
I had the same initial impression.
I’ll take 3d printed chocolates for $500…
Great article! I too have been following the use of 3d printers in the culinary area. I am surprised that the high end restaurants haven’t embraced it yet as a next step in haute cuisine. Seeing these chocolates made me hungry ! There has been some other 3d printed sweets out for some time. There is a company in the UK that 3d prints realistic looking flavored sugar “strawberries” to put in your tea. Also there is a company that provides a 3d sugar printer for beautiful 3d geometric sugar cubes.
https://www.gessato.com/3d-printed-sugar-cubes-by-the-sugar-lab/
If it’s chocolate we’re talking about, stuff the fancy patterns and just print mine with 100% infill please :)
Those infill chocolates look fantastic! That’s a brilliant idea – not only does it show off the inherently nice patterns the different infills can make, but they are shapes in there that very clearly could not be molded in the traditional way. That makes them really stand out!
I’d be interested in how other oils affect the tempering process. The custom blend is a great workaround for easier/better sanitation and performance, but there are a lot of gripes with palm oil, depending on who you ask.
But I’ll be damned if that doesn’t look tasty.