
Prolific Hackaday.io member [Michael Gardi] has hit upon the biggest problem with making reprogrammable macro pads — the legend situation. What do you do when the whole point is that the keys can so easily be changed?
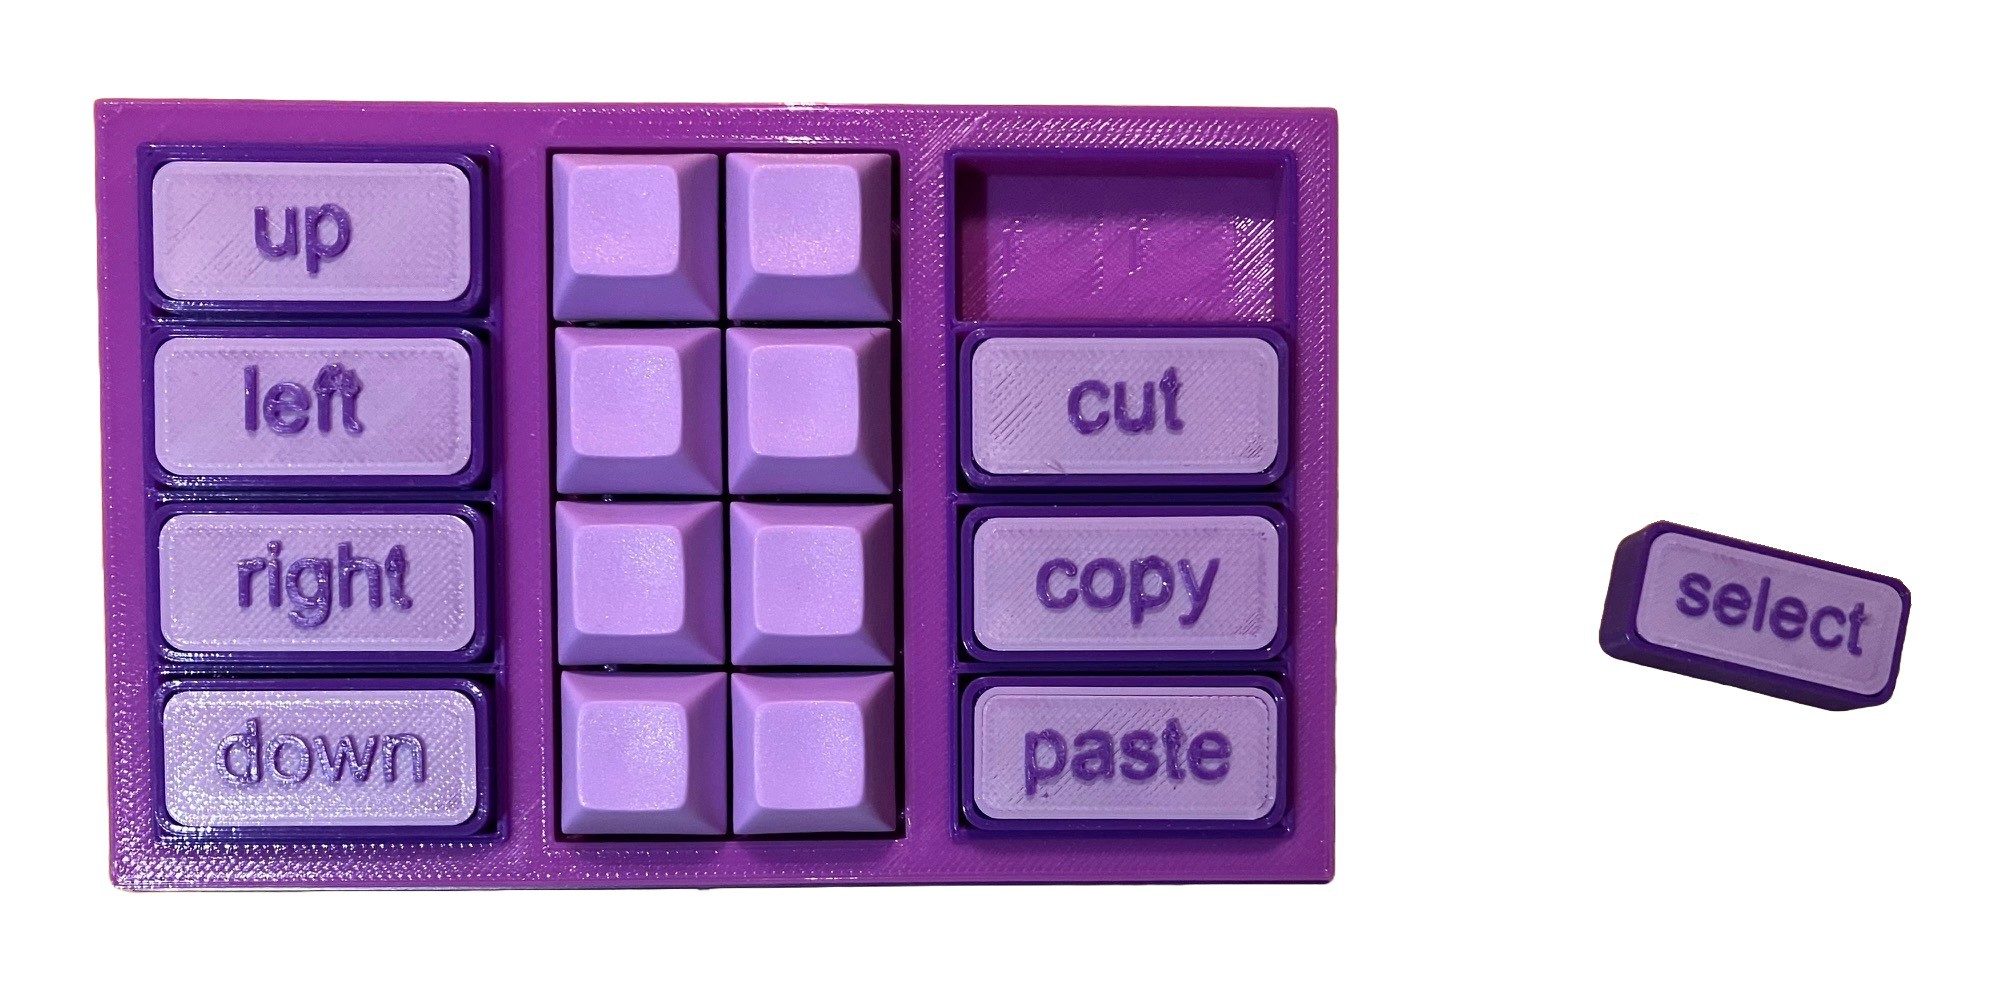 There are a couple of options: blank keycaps and memorization, re-legendable keycaps, and little screens instead of keycaps. Surely there has to be another way, and [Michael] has discovered one: a tile-based system of descriptors.
As you can see, the labels are removable 3D-printed tiles that swap out with ease thanks to tiny magnets. But these aren’t just tidy labels. Inserting a new label automatically changes the macro! Each tile holds a “simple numeric value” which maps it to a macro when inserted and detected by a Hall effect sensor. I can’t wait to hear these tiles click in action during a demo video, which I can only hope is forthcoming.
Life Human-Sized Key Switch
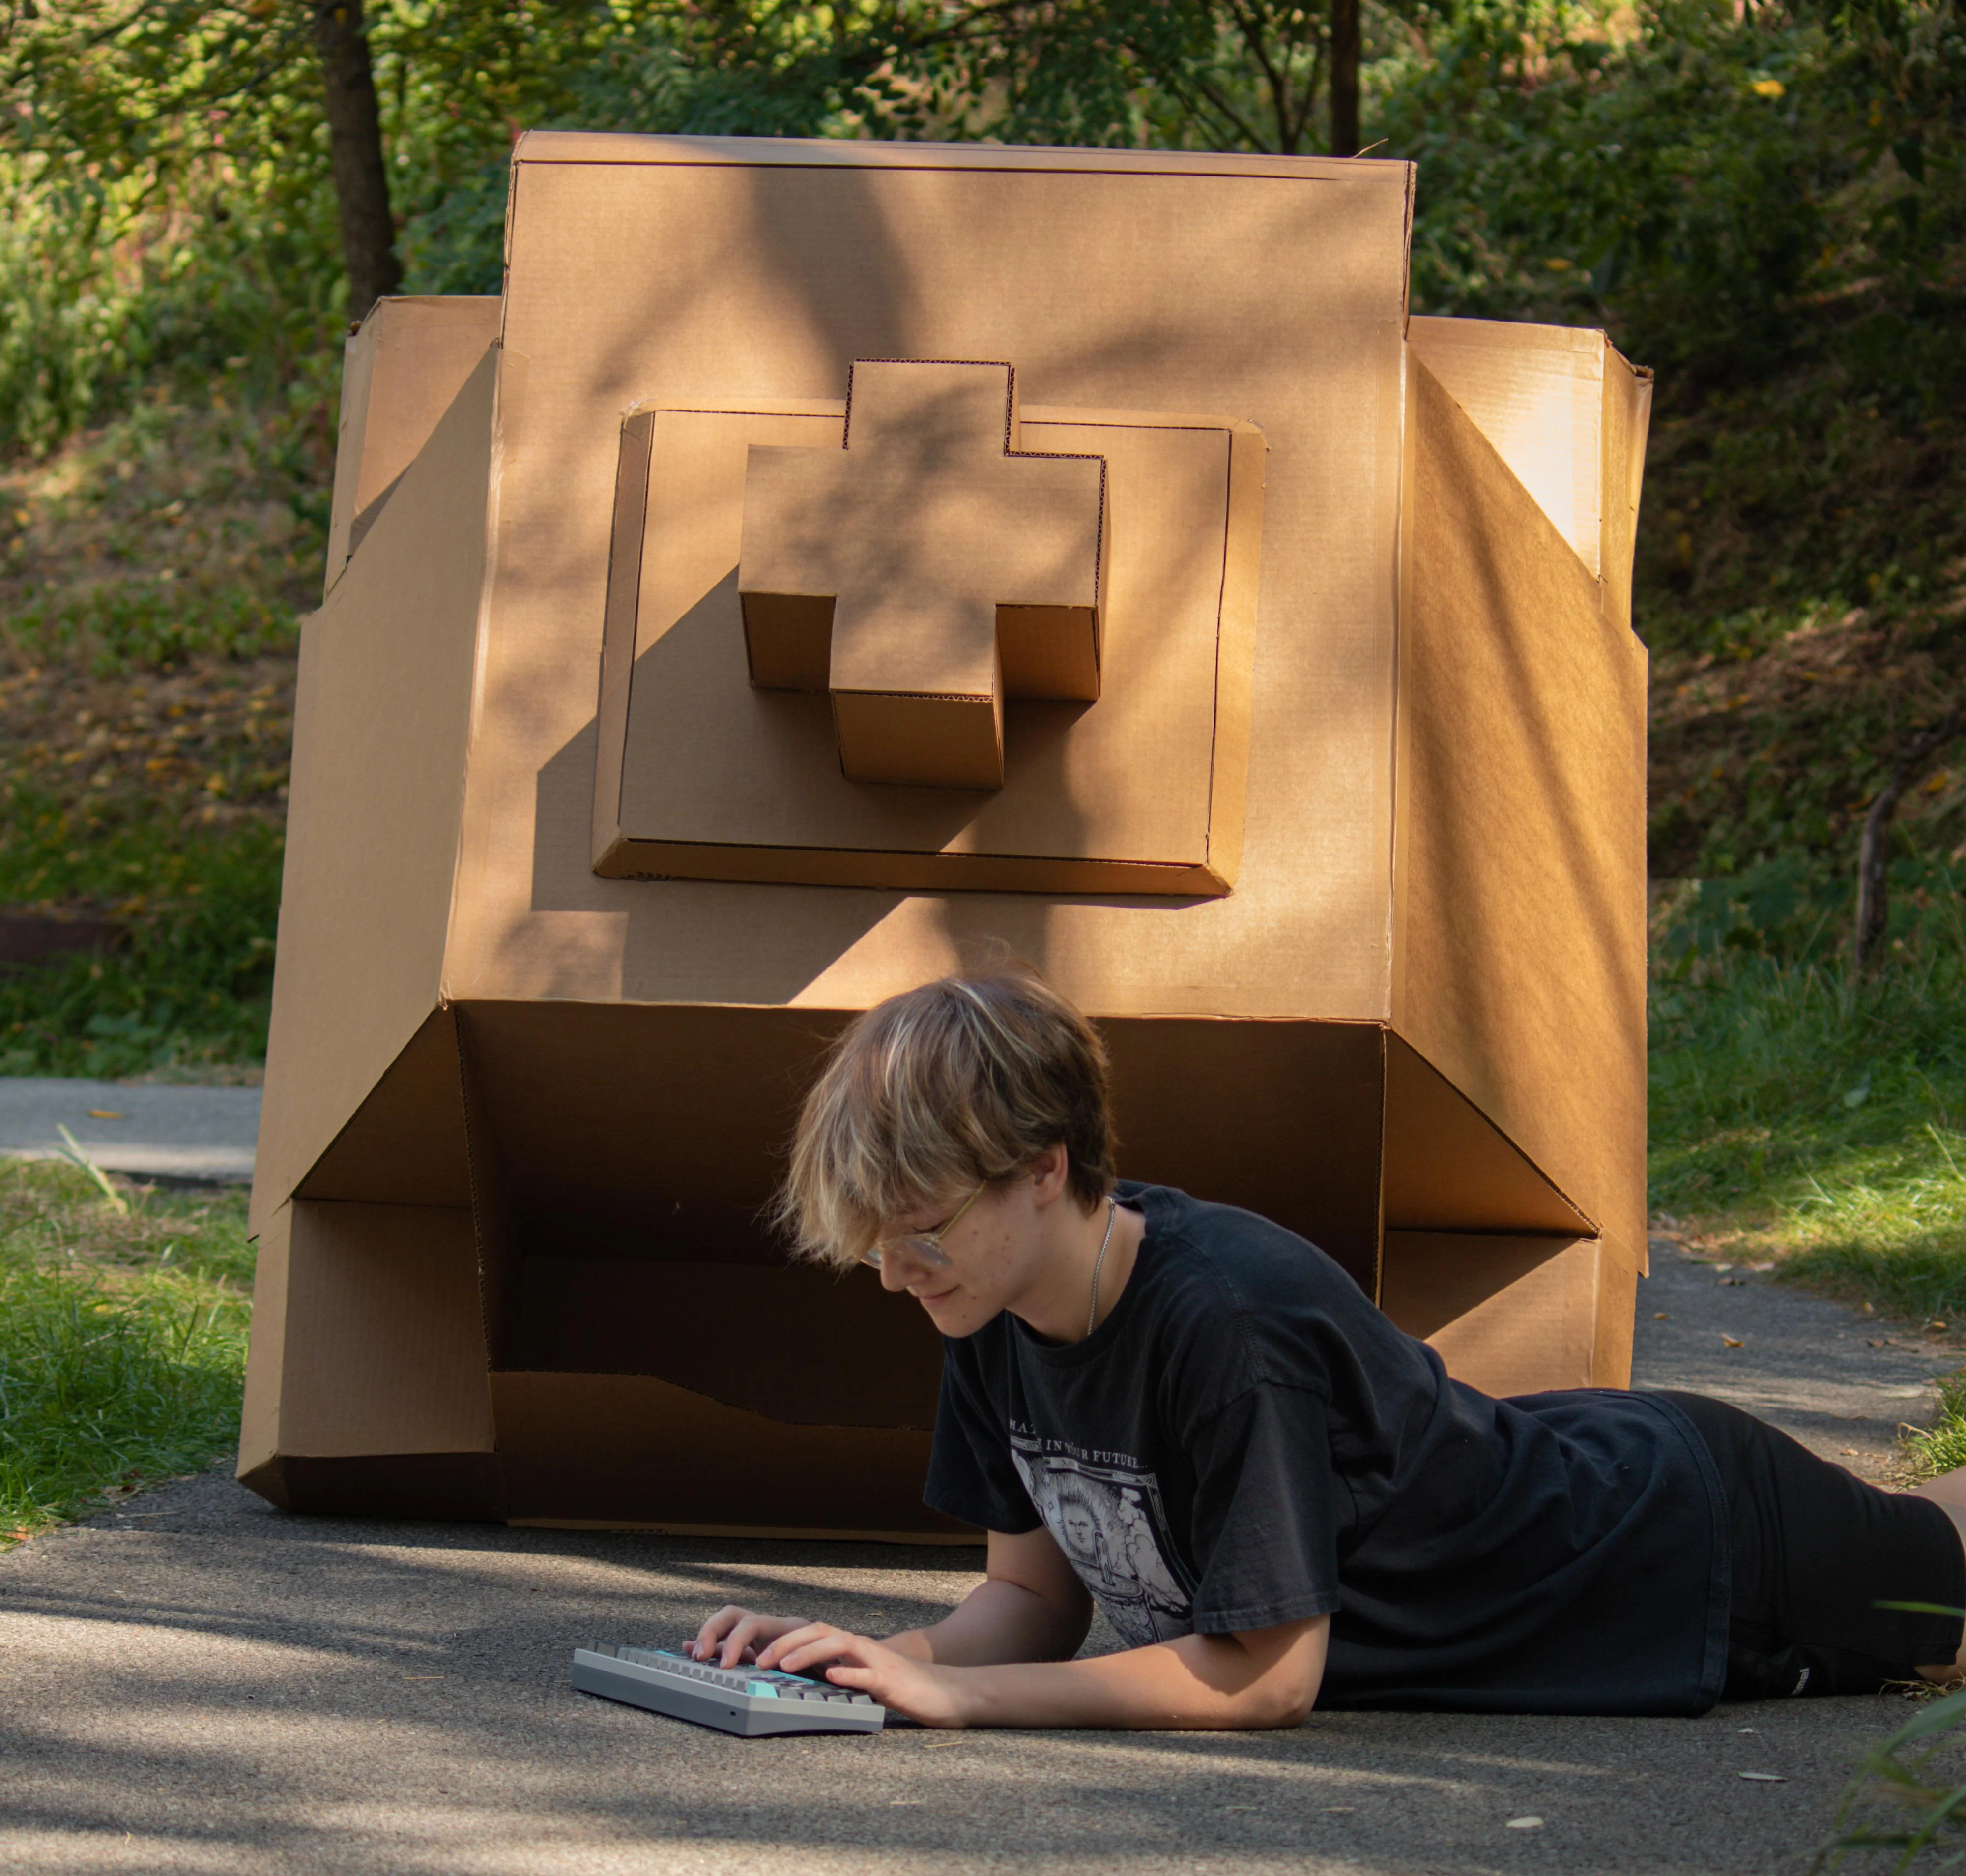 So what are we going to call this, a box-less box brown? Although [i_like_miniwheats] says that this giant key switch is based off a C3 Tangerine, which makes it linear. I sure do love over- and under-sized things, and this is no exception.
[i_like_miniwheats] was tasked with building a huge cardboard version of something tiny for a college art class. To our mutual delight, they chose the mechanical key switch for their study. Apparently it is sturdy enough to stand on its little nubbin and pins, just like the real switch that adorns the third picture (look carefully).
[i_like_miniwheats] says that this took 25-30 hours to build, not to mention the time to lube the thing. Just kidding — it was lubed with blood, sweat, and tears. My only wish is that it could be actuated, but that would have taken several more hours.
The Centerfold: A Bit of a Departure — Suffer!
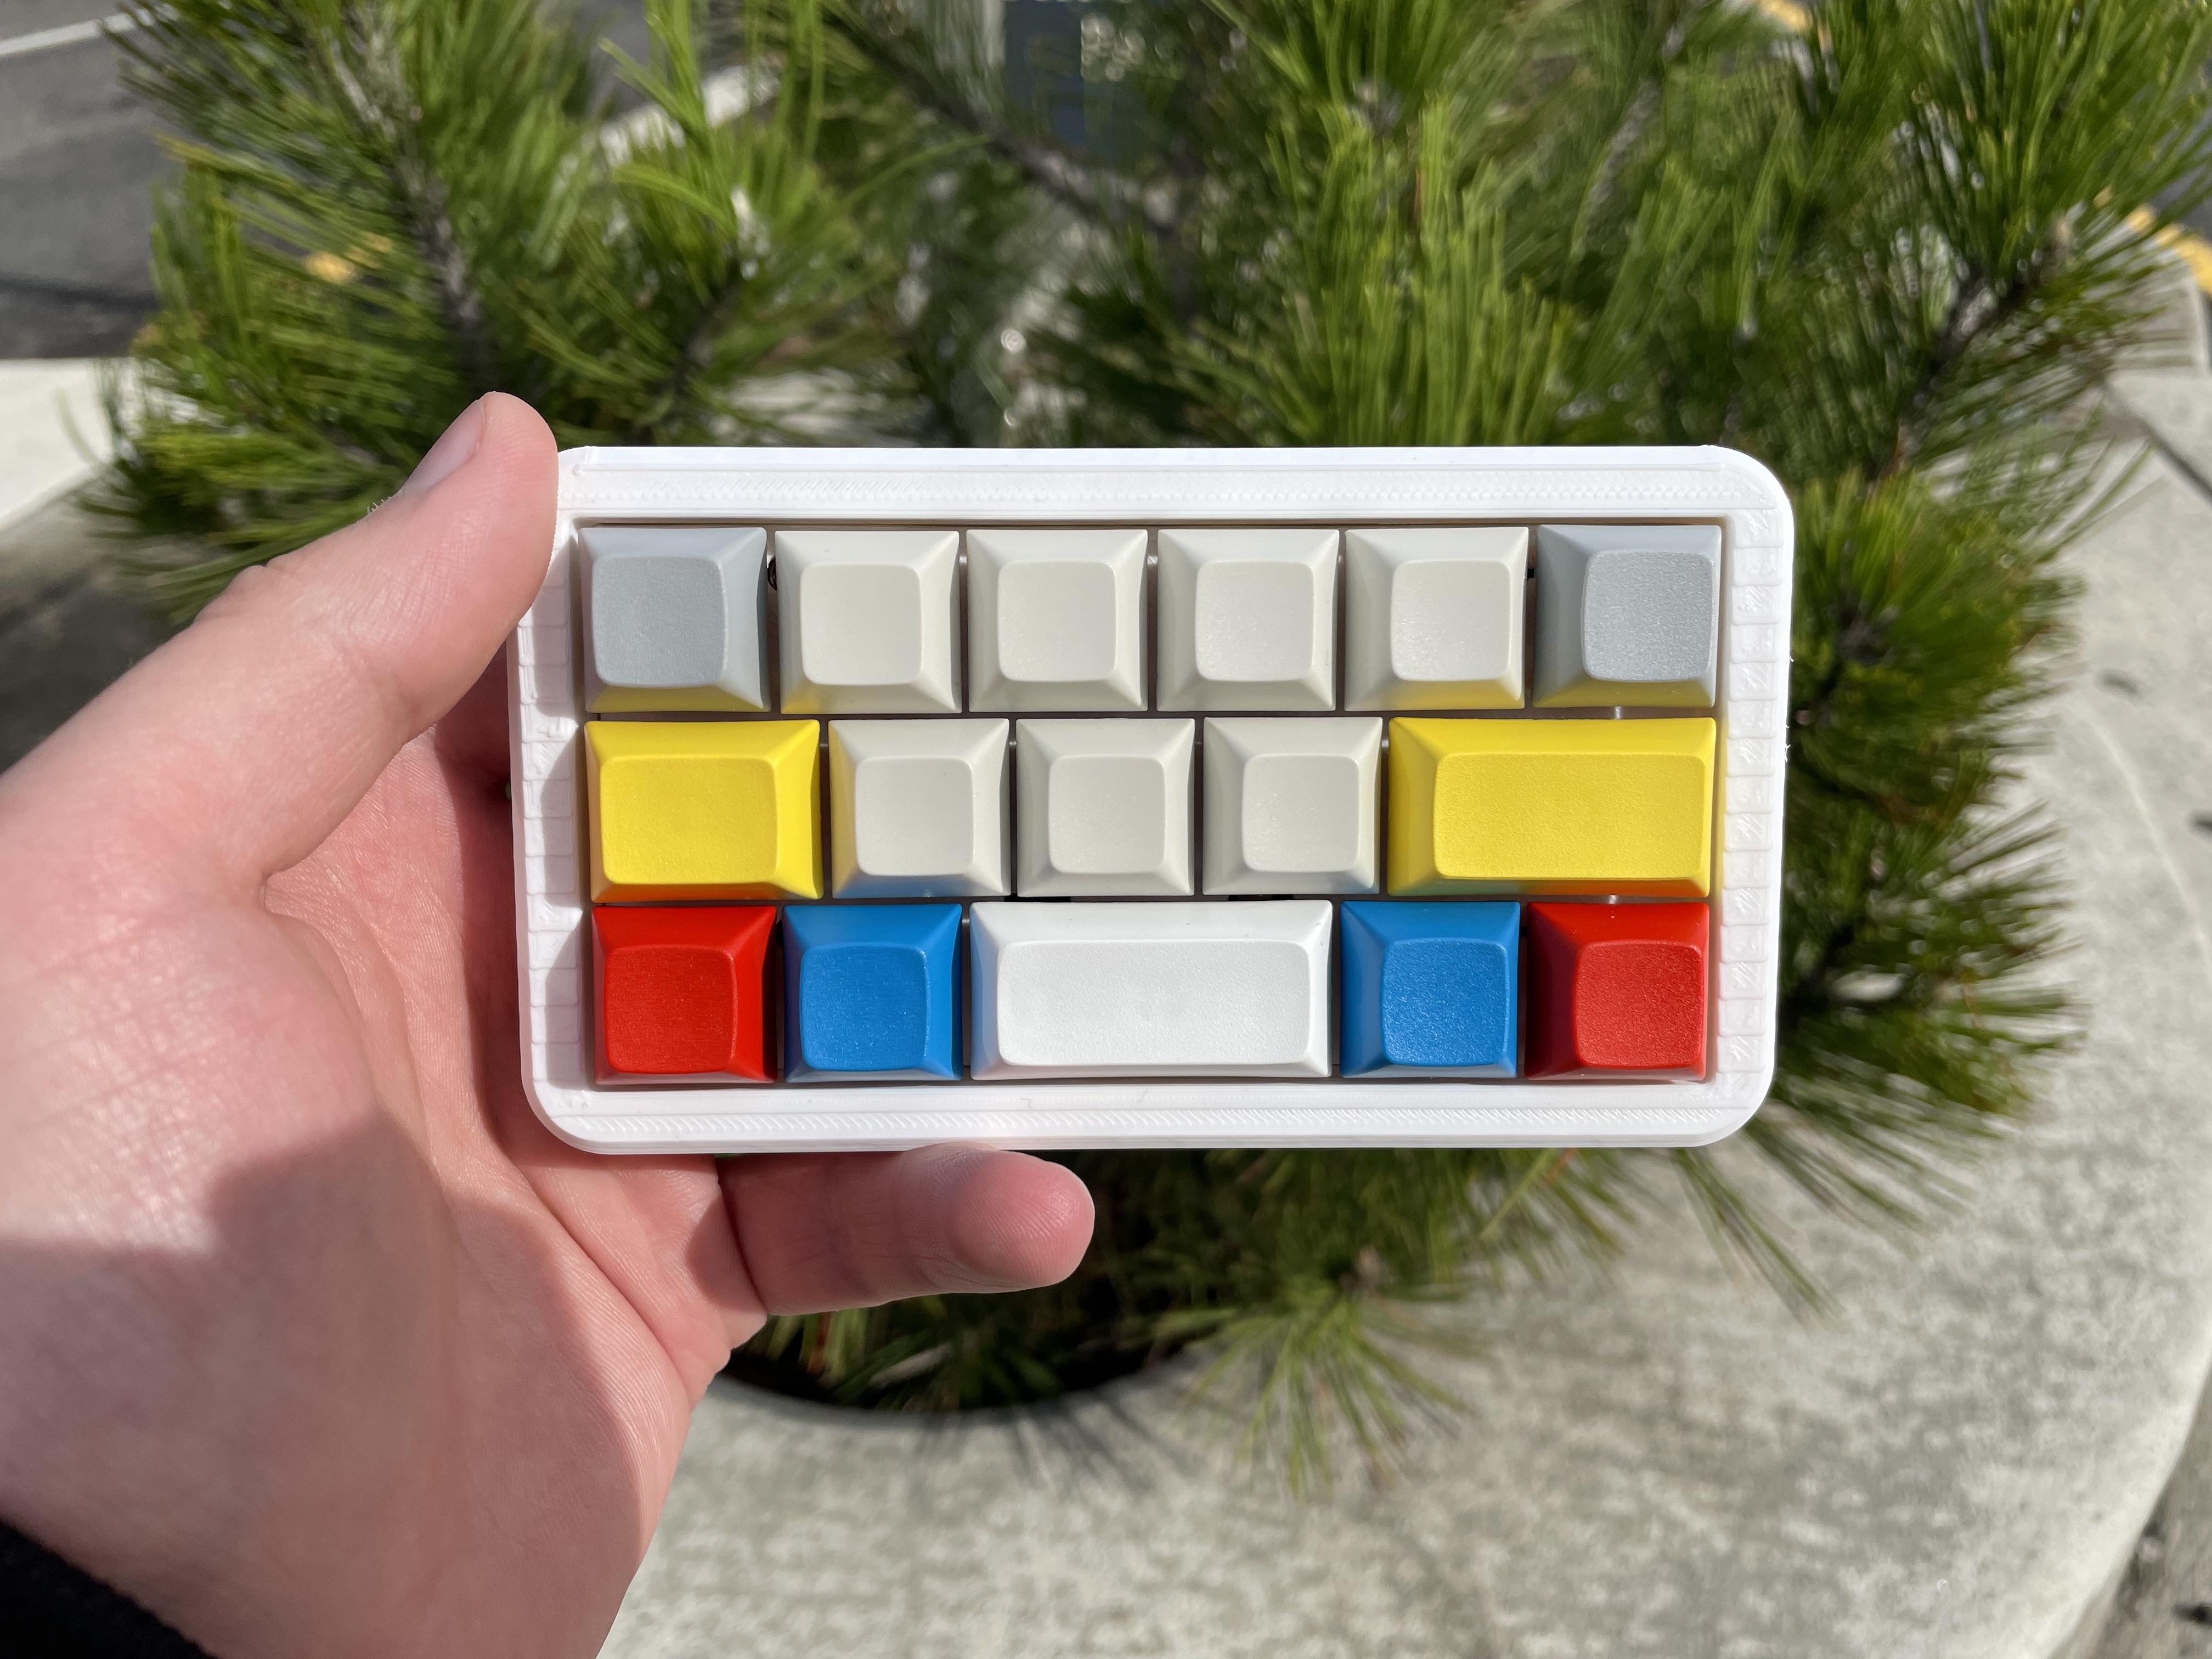
I’m not telling you to suffer, mind — that’s just the name of this macro keyboard, which is so insanely cute, especially in this Fisher-Price My First Keyboard color scheme, that I had to tuck it in the middle here.
Here are the dirty details — that’s the Suffer PCB from Kiser Designs (that is currently sold out, sorry, but restocking in November), a 3D-printed MFR2-style case, Tecsee Coral switches, and a bunch of YMDK 9009 blank keycaps plus a few from Signature Plastics/PMK.
Do you rock a sweet set of peripherals on a screamin’ desk pad? Send me a picture along with your handle and all the gory details, and you could be featured here!
Historical Clackers: the Sholes & Glidden
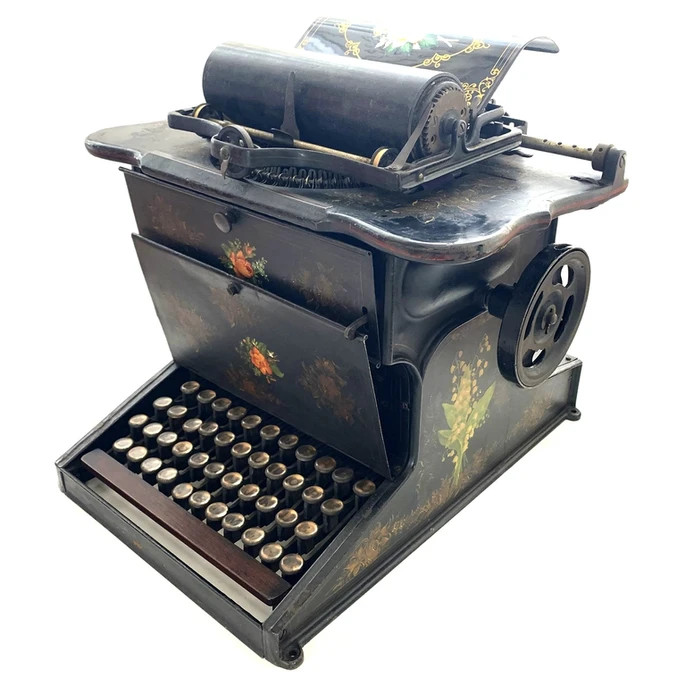
You’ve probably heard that Christopher Sholes invented the QWERTY layout to prevent type bars from jamming together. While that may be up for debate, Sholes definitely invented a interesting typewriter along with his mechanic buddy Carlos Glidden and Sholes’ coworker Samuel Willard Soule.
This was the first commercially viable typewriter, first completed in 1867 and made available in 1873. The Sholes & Glidden set several standards in typewriter design, the four-row QWERTY layout among them.
Aesthetically speaking, they resembled sewing machines of the era and even featured treadles that returned the carriage/stand. This is because Remington eventually picked up the design, refined it, and made it available to the public. They were made in the same factory where Remington built their sewing machines.
Eventually the treadle was replaced with a side lever and later, a top lever. Thus three different models were produced and are now referred to as the Flywheel model, the Side Lever model, and the Top Lever model. Another innovation of the Sholes & Glidden was the circular upstrike typebar arrangement, though of course this evolved into the half circle of later machines.
Here’s a sample of the typeface, and here are many more pictures of this lovely machine.
ICYMI: A Nubbin For Next to Nothin’
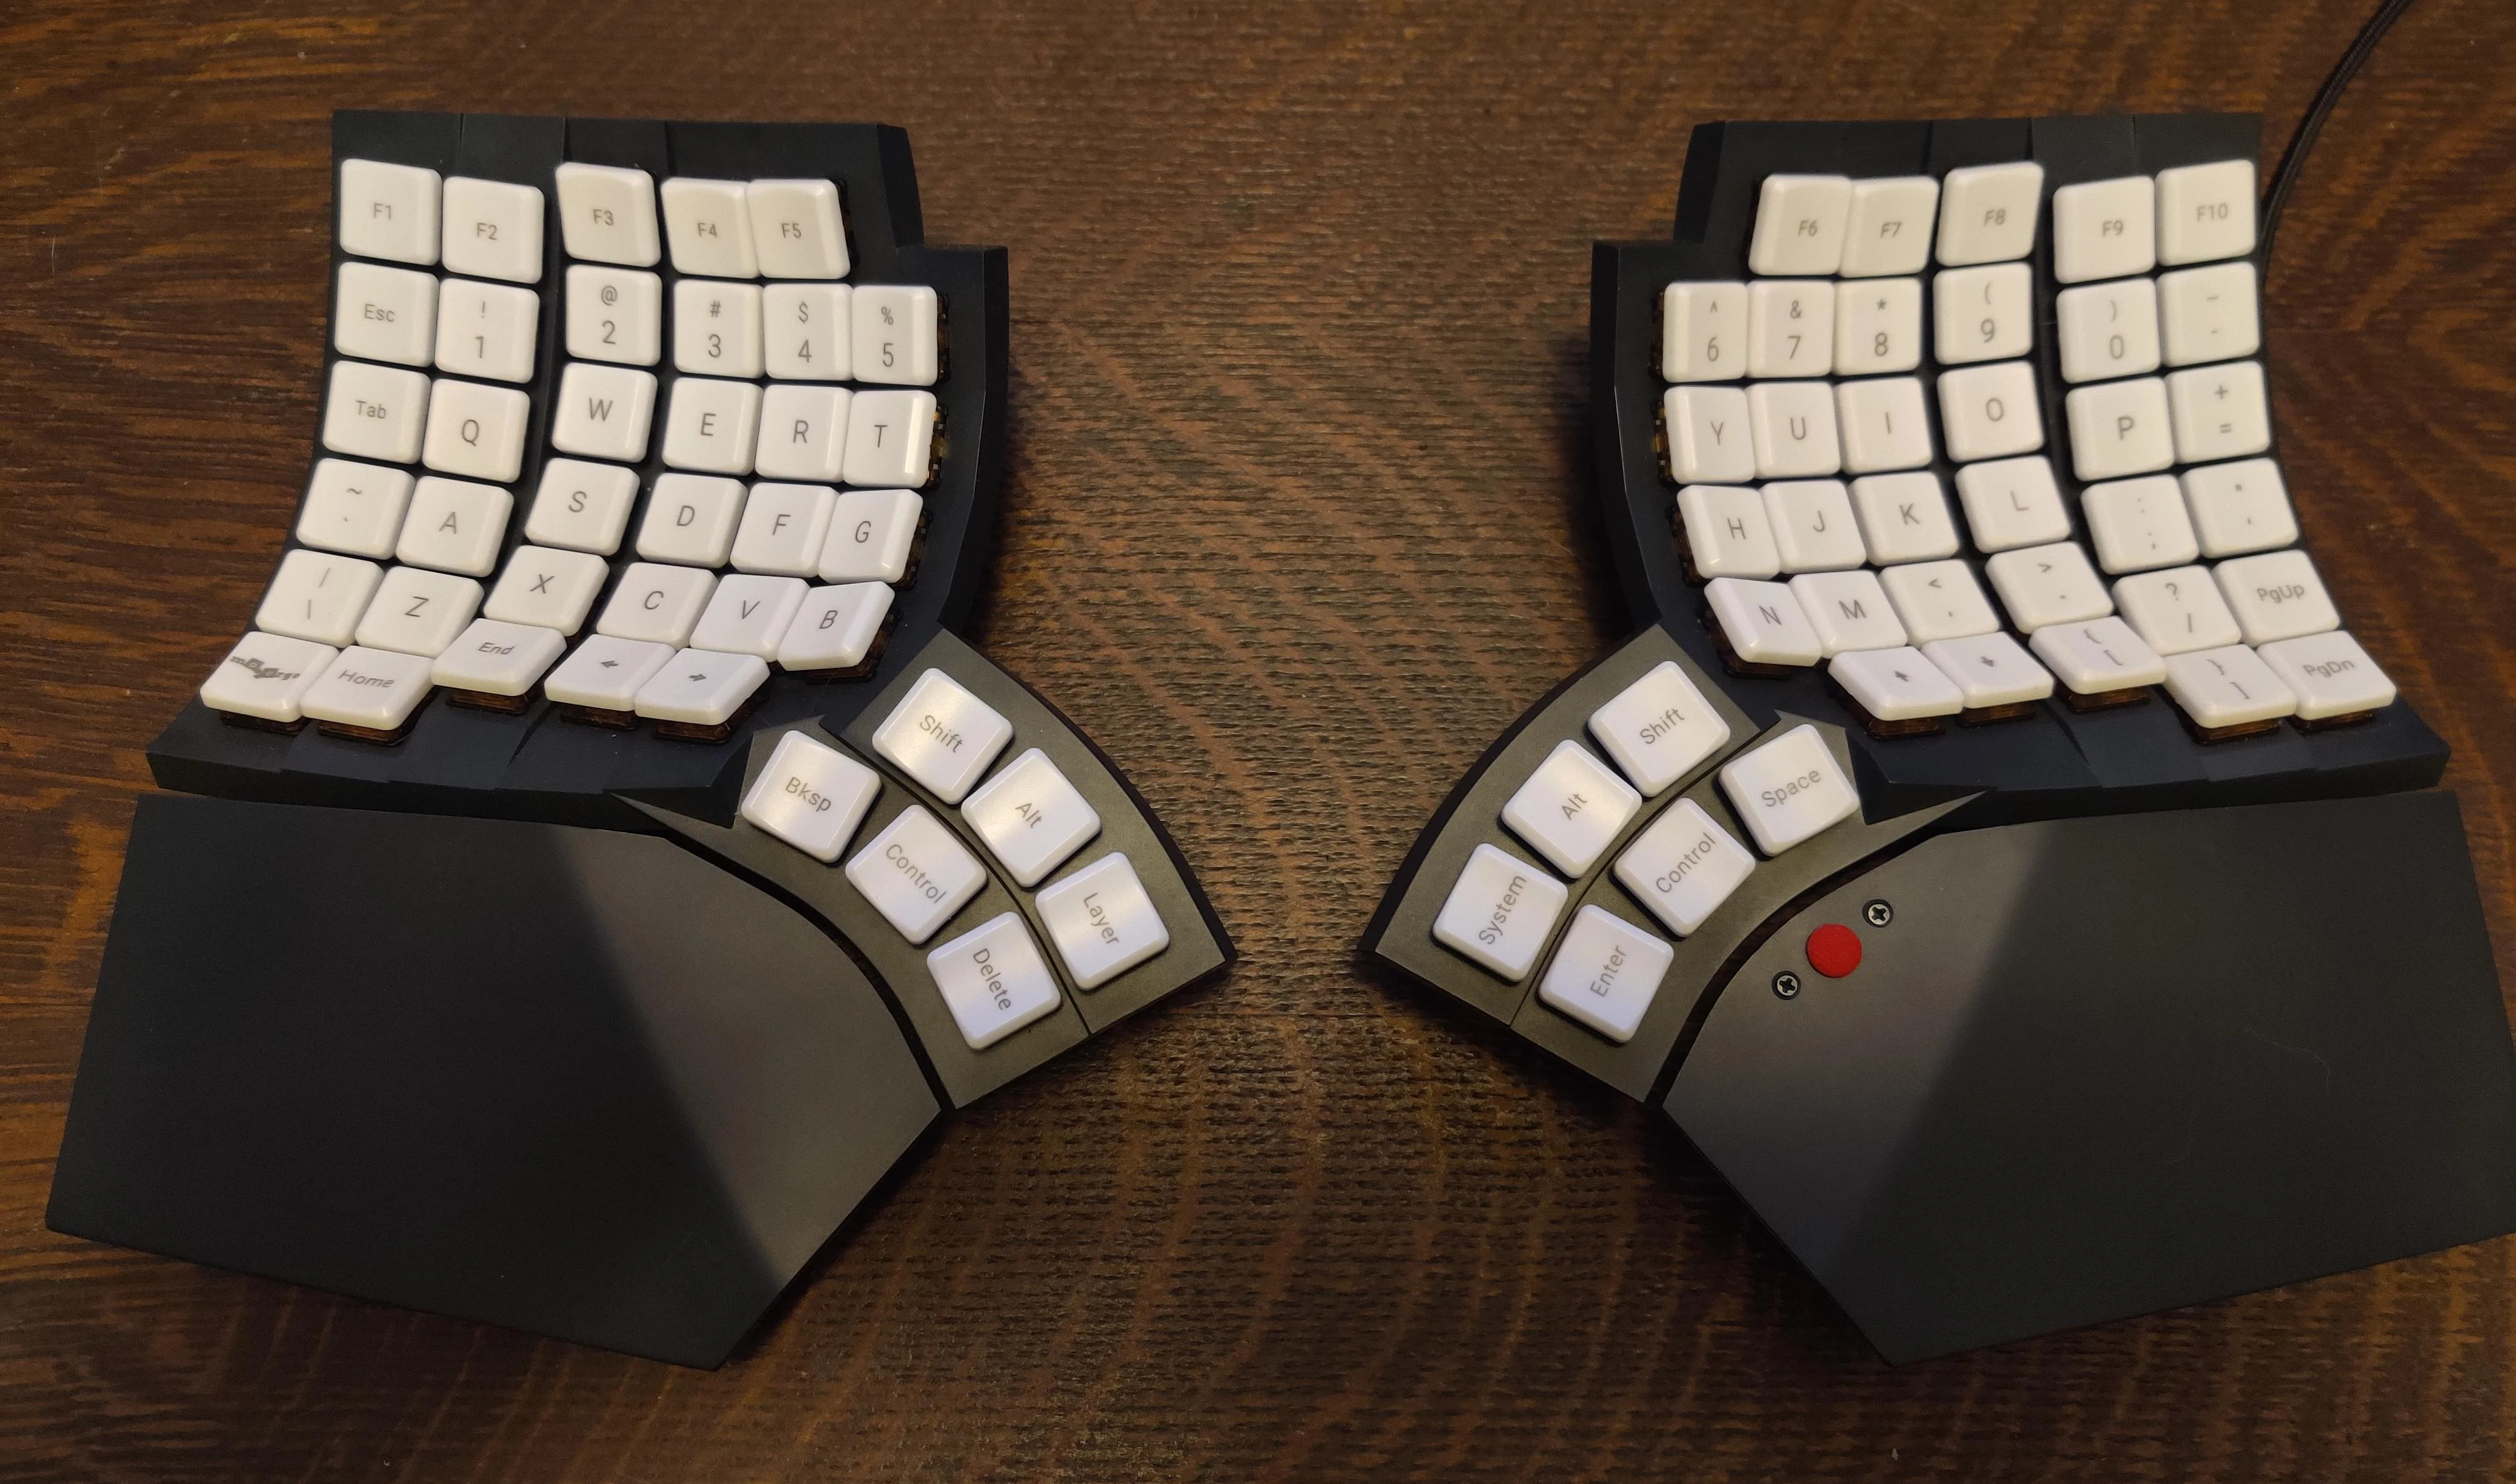 In what must have been quite a nerve-wracking undertaking, [notshitashi] added a trackpoint nubbin to their Glove80 wireless split.
The Glove80 is a lovely keyboard, and although [notshitashi] only had to drill into the detachable palm rest, the quest is nonetheless scary.
[notshitashi] started with a trackpoint module from Ali, but had to trim it down a bit to fit the palm rest. Not surprisingly, it took burning through a few modules to get it just right.
For some reason, [notshitashi] calls this a “cheap and dirty hack” simply because the trackpoint module is a separate, wired USB HID. But what are you gonna do when stock ZMK doesn’t support pointing devices yet? Cheap and dirty nothing; this is freaking elegant in my book.
Got a hot tip that has like, anything to do with keyboards? Help me out by sending in a link or two. Don’t want all the Hackaday scribes to see it? Feel free to email me directly.


I’m not sure the Hall effect part of the system makes sense, seems like a simple resistor in each tile and direct electrical contacts would be cheaper and probably work just as reliably if not more (what hacker doesn’t occasionally have magnets on their desk (or in the hand) to mess up the hall sensor reading).
I do really like the idea though, it does look really slick and more importantly easy for anybody to set up and use. There is something much more satisfying about a tactile interface, and you won’t be shocked when you find you were still in configuration D. So despite my chronic deskspace issues I can see it being a good choice.
I think if that clean ‘magic’ electronics look is really important then perhaps this is the easiest way, though I’d look at illumination based detection using some light pipe style logic in the tiles if it was me – figuring that those light source can also play a backlight to help find the keys and read the legends. Or perhaps OpenCV based if throwing a few compute cycles at it isn’t a problem – then you can easily scale up for a bigger macropad if you want, and perhaps put in shift/Alt style functions as well – just read the second/third label slot.
I like the resistor idea a lot, but I worry a bit about the reliability of establishing a solid mechanical connection every time even using magnets to line things up. Ah implementation details right. FYI the range of the hall effect sensors is limited so to interfere a magnet would have to be very big or very close.
I’ve gone to OpenCV route in another tile based project and it worked pretty good. See: https://hackaday.io/project/174667-tmd-2-turing-machine-demonstrator-mark-2
If you pick the right resistor values you should have enough margin between each tile that a less than ideal contact done via just about any method won’t actually matter in the real world I’d think. I was thinking those round glass fuse type clips so you don’t need any magnets and each tile will clunk into place in a very satisfying way, should be good for lots of cycles, easy to hit with contact cleaner if needed, does the mechanical constraint and is cheap to make.
One problem with hall effect is the tiny rare earth power house magnets are so common now that misplacing one that will sneak underneath and stick to the bottom is very possible. Though again like the resistors if the correct window for each value is large enough it becomes very hard to confuse the systems accidentally and unless you are using this at your hacking/crafting desk the odds of actually bringing a sufficient magnet close enough seem low unless you are one of the nutters that sticks one in your fingertip…
I enjoy the your additions of historical keyboards.
Thanks!
Ah there’s my Suffer! Kinda strange that the person who wrote this article didn’t bother to ask about using my image or description but oh well.
Perhaps at some point hackaday will take my image of all of they keyboards that I have in that theme when I get a picture of them together (there are like 12 of them)
It would be great to see a larger version of this but the tiles have scratch commands in them. So children can physically build a program and it’ll type it out on the screen as they add blocks. Perhaps dynamically editing the code by going through a loop after each change.
I’m always looking for tile interface ideas, and this is a good one. Thanks for sharing.
I use a (somewhat) similar concept to that for a museum exhibit years ago… https://rasterweb.net/raster/2019/02/04/physical-turtle-graphics/