Homebrew Macropad Looks Good

We are fans of macro pads and especially homebrew ones. The Apna Dost project by [np_vishwakarma] ticks most of our boxes. In addition to a few buttons, there’s an encoder, an OLED display, and it runs QMK firmware. Plus, it looks good, too.

We like that the system uses an RP2040. It is possible you have everything you need to put one of these together right now. We would wish for a few more keys, but it wouldn’t be hard to add them, either.

Continue reading “Homebrew Macropad Looks Good”

Peripherals Hacks

Custom peripheral projects are among the most rewarding. Especially if you’re like me and you sit at the computer eight hours per day, anything that you can use on a daily basis is super satisfying. This topic of DIY peripherals came up on the podcast while chatting with Kristina, who is no stranger to odd inputs herself.

We were talking about a trackball that had been modified to read twisting gestures, by a clever hijacking of the twin mouse sensors inside. If you do a lot of 3D modeling, you can absolutely get by with just a mouse and shift-ctrl-alt as modifiers, but it’s so much more immediate to use a dedicated 3D input device. (I’ve got an ancient serial Space Mouse just under my left hand as I type this.)

My old favorite, which I haven’t used in ages, is the guts of a 5” hard-drive platter stack that I turned into a scroll wheel. Unfortunately, I don’t have space for it on my desk anymore, but it was just so pleasing to scroll through a document with something that had some real chonky momentum to it.

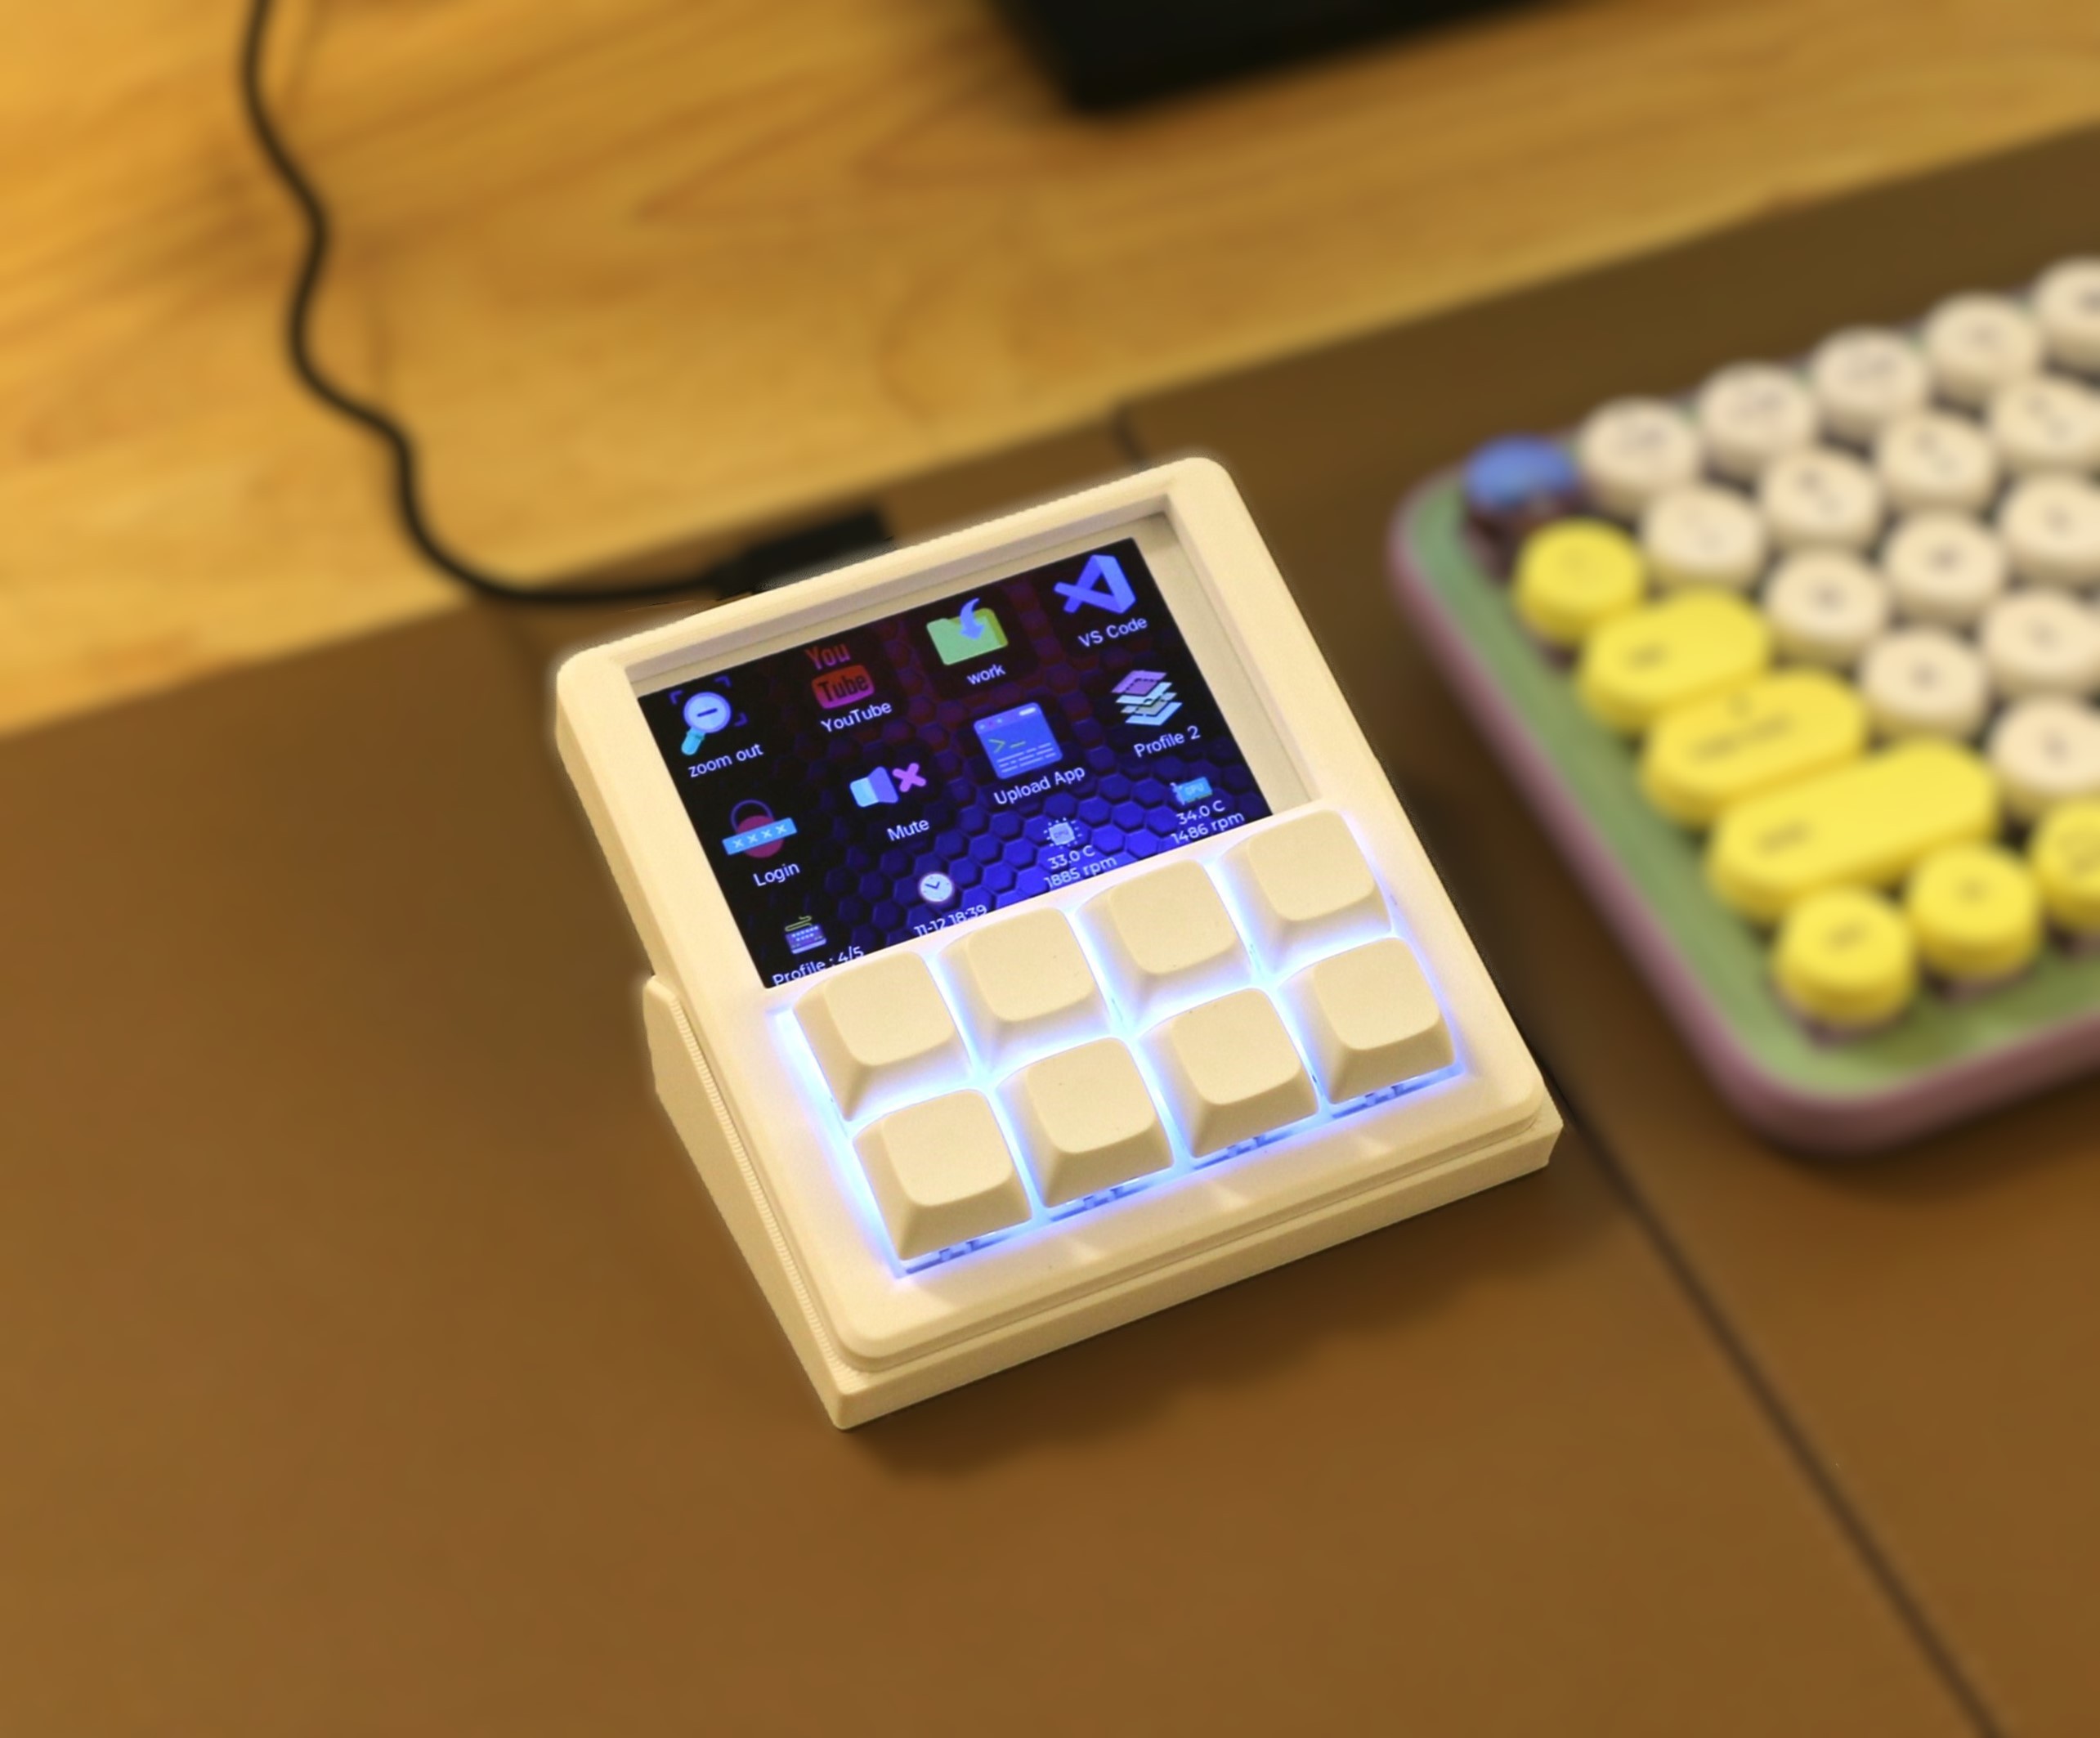
And it’s easier than ever to make your own. The classic blocky macropad is a great introduction, but as long as you’re doing the design yourself, why not extend it, or at least make it fit your hand? Or take your flights of fancy even further away from the mainstream. Consider the Bluetooth mouse ring, for instance.

Point is, the software side of almost any peripheral device you can imagine is sorted out already, and interfacing with the hardware is equally simple. Peripheral hacks have such a low barrier to entry, but afford so many creative hardware possibilities. And nothing says “Jedi” like building your own lightsaber.

An E-Ink Macropad For Improved Productivity

Why press many button when few button do trick? That was the thinking of [Bike Cook Robots] when it came time to revamp his desk. To that end, he whipped up a tidy macropad to make daily computing tasks easier.

The build is based around an Adafruit RP2040 Feather ThinkInk devboard, chosen because it plugs straight into a readily-available 4.2 inch e-ink. The display is tasked with showing icons that correspond to the macro assignments for the 3 x 4 array of mechanical keyboard switches. Everything is wrapped up in a 3D printed frame, with an bracket to mount it to the monitor arms on the desk. The macropad is set up to talk to a custom Python app that runs on the host machine, which handles triggering actions and can also talk back to the pad itself.

The combination of e-ink display and button pad is a great way to display the function of each key without excess complexity. We’ve seen some other great builds in this space before, too.

Continue reading “An E-Ink Macropad For Improved Productivity”

Illustrated Kristina with an IBM Model M keyboard floating between her hands.

Keebin’ With Kristina: The One With The Elegant Macro Pad

Some people are not merely satisfied with functionality, or even just good looks. These persnickety snoots (I am one of them) seek something elegant, a true marriage of form and function.

Image by [YANG SHU] via Hackaday.IO
Should such a person be in the market for a macro pad (or ‘macropad’ if you prefer), that snoot should look no further than [YANG SHU]’s 8-key programmable stream deck-like device.

The main goal here was the perfect fusion of display and feel. I’m not sure that an FDM-printed, DIY macro pad can look any better than this one does. But looks are only half the story, of course. There’s also feel, and of course, functionality.

Yes those are (hot-swappable) mechanical key switches, and they are powered by an ESP32-S2. Drawn on the 3.5″ LCD are icons and text for each switch, which of course can be easily changed in the config app.

There’s a three-direction tact switch that’s used to switch between layout profiles, and I’m sure that even this is satisfying on the feel front. Does it get better than this? Besides maybe printing it in black. I ask Hackaday.

Continue reading “Keebin’ With Kristina: The One With The Elegant Macro Pad”

The Android Linux Commander

Last time, I described how to write a simple Android app and get it talking to your code on Linux. So, of course, we need an example. Since I’ve been on something of a macropad kick lately, I decided to write a toolkit for building your own macropad using App Inventor and any sort of Linux tools you like.

I mentioned there is a server. I wrote some very basic code to exchange data with the Android device on the Linux side. The protocol is simple:

  • All messages to the ordinary Linux start with >
  • All messages to the Android device start with <
  • All messages end with a carriage return

Security

You can build the server so that it can execute arbitrary commands. Since some people will doubtlessly be upset about that, the server can also have a restrictive set of numbered commands. You can also allow those commands to take arguments or disallow them, but you have to rebuild the server with your options set.

There is a handshake at the start of communications where Android sends “>.” and the server responds “<.” to allow synchronization and any resetting to occur. Sending “>#x” runs a numbered command (where x is an integer) which could have arguments like “>#20~/todo.txt” for example, or, with no arguments, “>#20” if you just want to run the command.

If the server allows it, you can also just send an entire command line using “>>” as in: “>>vi ~/todo.txt” to start a vi session.

Continue reading “The Android Linux Commander”

Debugging The Instant Macropad

Last time, I showed you how to throw together a few modules and make a working macropad that could act like a keyboard or a mouse. My prototype was very simple, so there wasn’t much to debug. But what happens if you want to do something more complex? In this installment, I’ll show you how to add the obligatory blinking LED and, just to make it interesting, a custom macro key.

There is a way to print data from the keyboard, through the USB port, and into a program that knows how to listen for it. There are a few choices, but the qmk software can do it if you run it with the console argument.

The Plan

In theory, it is fairly easy to just add the console feature to the keyboard.json file:

{
...
    "features": {
        "mousekey": true,
        "extrakey": true,
        "nkro": false,
        "bootmagic": false,
        "console": true
    },
...

That allows the console to attach, but now you have to print.

Continue reading “Debugging The Instant Macropad”