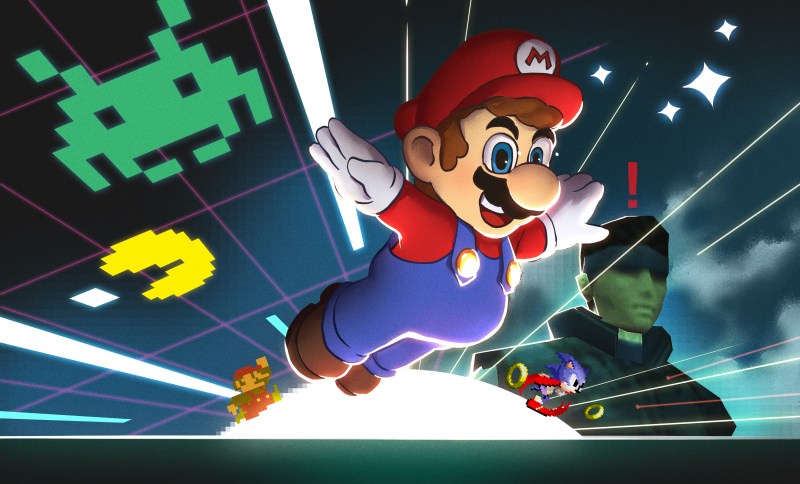
Have you ever wondered how the graphics in your favorite video games worked? This is the start of a series on game graphics, and what better place to start than how exactly the original Mario Bros. got those glorious pixely pixels onto the screen. Buckle in, because we’re “racing the beam” with systems like the NES, Commodore 64, and many other classics from the 1980s.
And to understand the 1980’s, it’s important to understand how the televisions of the time worked. Cathode Ray Tube (CRT) televisions work by precisely bombarding a phosphor layer with electrons, which excites the phosphor, which then releases visible light. The beam scans from left to right then top to bottom, giving each pixel a small fraction of a second of time. All of this effectively means that pixel data needs be sent at the same time as when the pixels are being lit up, which is why this type of graphics is often dubbed “racing the beam”.
Another thing to understand about the 1980s is that 64 kB was a lot of memory. Back then, there was almost never enough memory to store an entire frame of video, nor were the CPUs of the time anywhere near fast enough to fill such a framebuffer. Because of this, these computers grouped 8 x 8 pixels into “tiles” or “characters” and used those repeatedly when they needed them, greatly reducing the amount of memory required. Such a tile is usually represented by a single byte in the “tile map” memory, which is in turn used as an index into the “tile data”, which is what actually stores the images of the tiles.
Coloring By Numbers
Colors were implemented in many different ways, but there are two solutions that are far more common than the rest: tile colors and tile palettes.
The simpler approach of the two, which I call “Tile Colors”, gives you two colors to work with. The tile stores the “picture” and then colors it in with a per-tile foreground color, against a larger background color. The tile color was stored in a similar way to the tile map and was a simple index to a color value. For example, the Commodore 64 uses one background color shared across all tiles and another foreground color per tile.
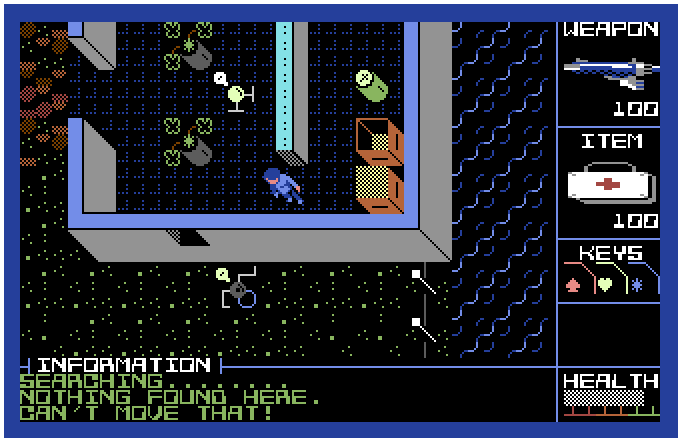
Using just tile colors and a background color might sound very restrictive (and it is) but that didn’t prevent Commodore 64 games from looking great. This screenshot demonstrates the technical limitations of tile colors very well, showing clearly a black background with a single color per tile in the foreground, but also tiles of different colors.
The more advanced approach is to use multiple bits per pixel in the tile data and to assign a palette to a tile using the color data. As is the theme here, the color palettes were in yet another piece of memory, though this time it’s usually in the actual video chip instead of RAM.
This screenshot shows a combination of multiple layers for tiles and palettes for said tiles, allowing for parallax scrolling of a background and more colorful tiles respectively.
Bitmap Modes
(Concubism by Archmage)
Some games do decide to use more memory in return for a higher resolution. In such “bitmap modes”, there is no “tile data” to look up because instead of using tiles, the image data is used directly. Bitmap modes trade memory for detail, but still use tile-sized chunks for colors. This is often eight times as much memory, because tiles are eight by eight, which is often too much if you also want to play a game. But for those few games that do use bitmap mode during gameplay there’s another drawback: it takes orders of magnitude more time to update than tiles.
This art shows what a Commodore 64 is capable of in multi-color bitmap mode. In this mode, the pixels are stretched horizontally, and can have one of four colors: background, alternate 1 and 2 and foreground. This art combines multi-color bitmap mode and manual dithering to give the illusion of higher color resolution.
Sprites

Tiles are great for static background images, but can be quite limiting when displaying moving characters, and bitmap mode still wouldn’t fix clashing colors. This is where sprites come in: sprites are usually made out of one or more tiles, or tiny bitmap images, that can be placed arbitrarily on the screen. Instead of replacing all the pixels like tiles do, sprites are overlays on top of the background image.
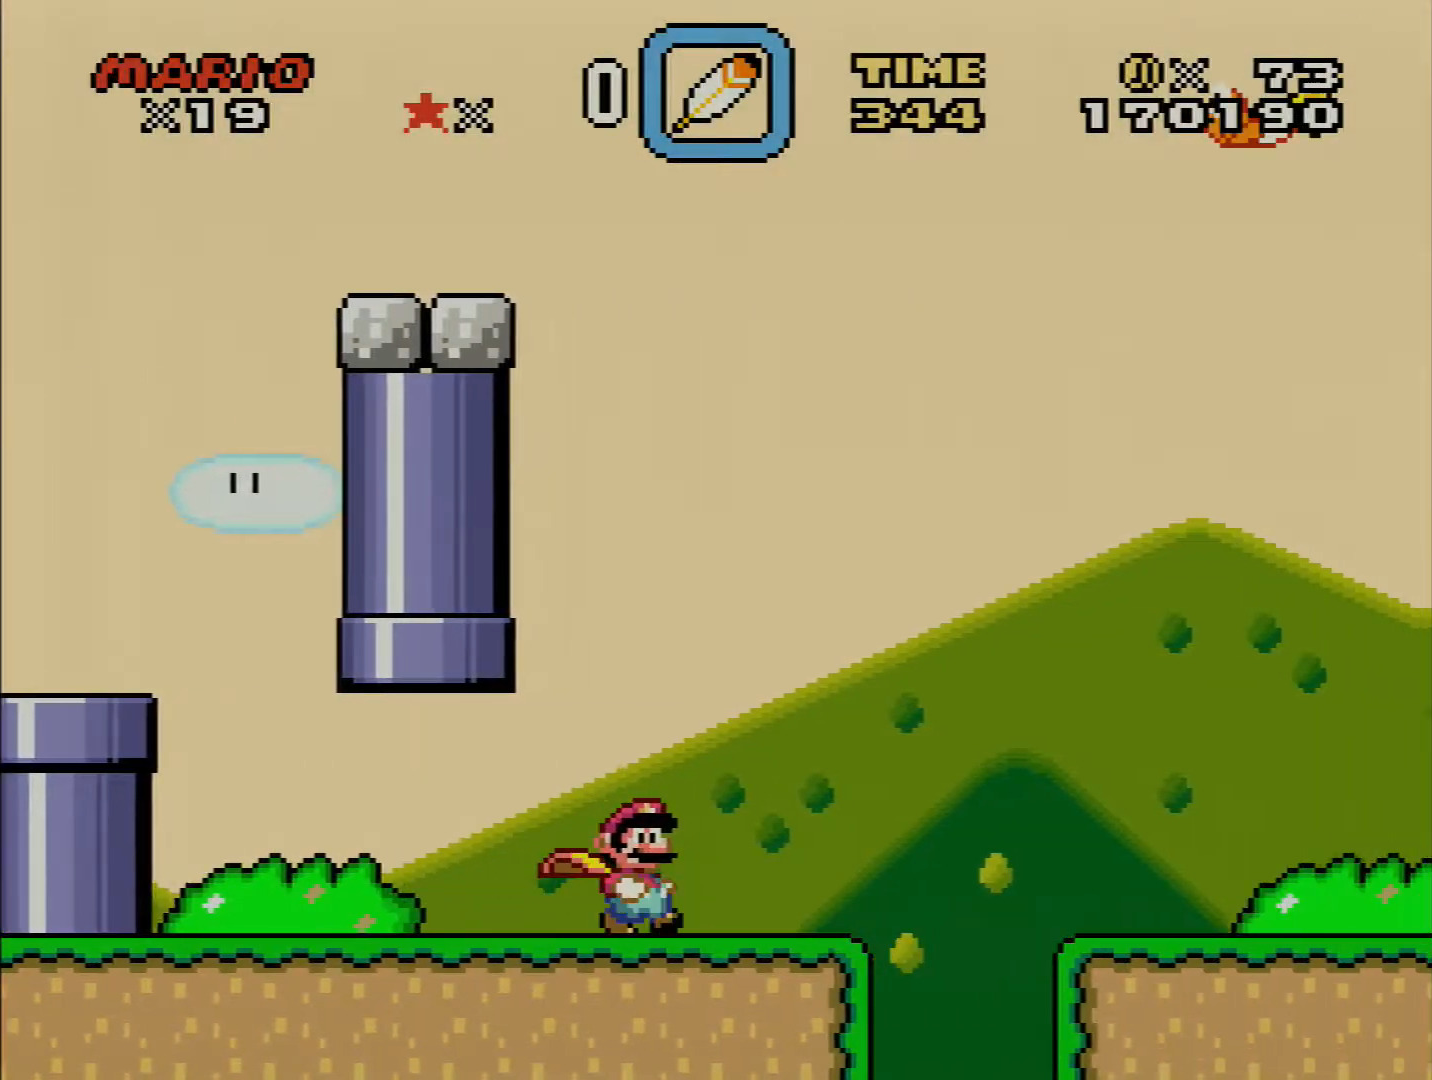
This screenshot from Super Mario World shows about 16 sprites, which is half of how many the SNES can show on one scanline. Mario, the shell, the points, and the turtles are all rendered as sprites.
On the SNES, for instance, sprites are tiny bitmap images that use palettes the same way tiles do, so they’re even more flexible. Rendering these to the screen was taken care of by the graphics hardware, so the CPU overhead in using a sprite was minimal.
Scanline Interrupts
Scanline interrupts are a technique that’s more reliant on the CPU than on the graphics chip. They use the fact that the video chip must necessarily know what scanline it is drawing to synchronize the CPU to it. This allows effects that render each scanline normally, but change the parameters between said scanlines.
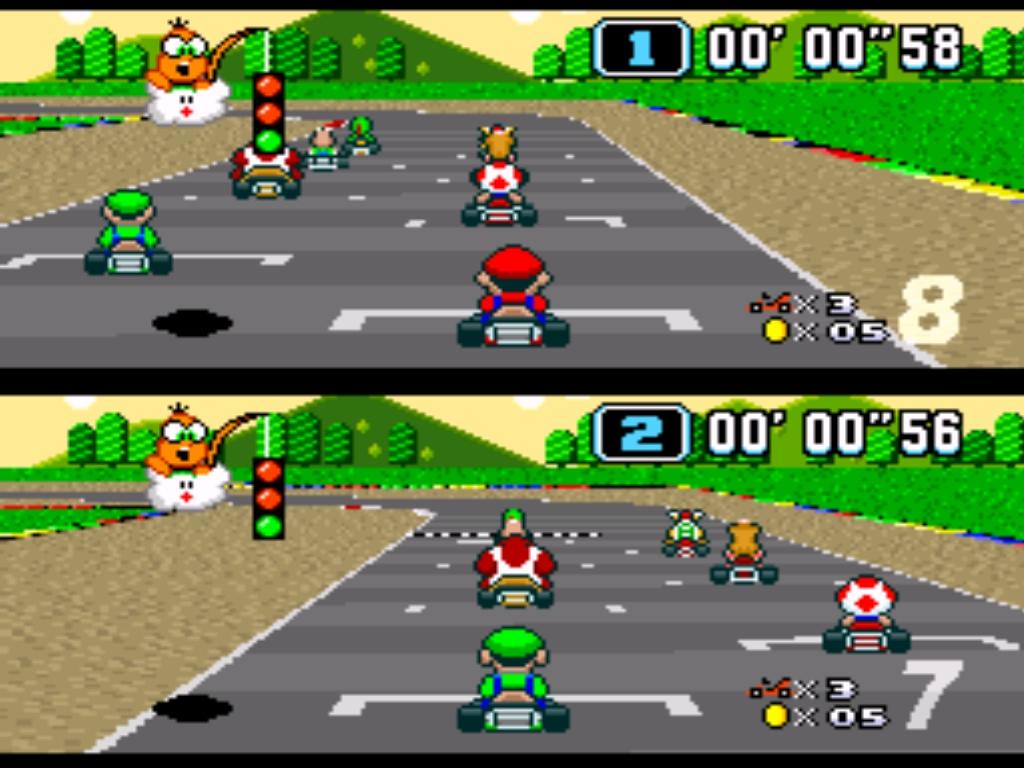
This allows games to show multiple different graphics modes, more sprites than there can be on one scanline, or even make the illusion of 3D! In combination with affine transformations, Super Mario Kart created the illusion of depth. The street is made up of the same alternating patterns, but depending on where they’re drawn on the screen, they are drawn wider or thinner, and shifted off to the left or right, and voila, the illusion is complete.
We’ll talk more about the matrix math in game graphics later on, but note that this is really just multiplying to change the width, and adding an offset to make the road curve.
Conclusion
While racing the beam is a very different approach to graphics than we have now, it’s definitely possible to make games look good and even do some very nice looking art. Basic tiles are good at displaying text but are inferior in detail to bitmap mode. On the other hand, bitmap mode consumes much more memory than tiles do, and is too detailed to be effectively updated by 1980s CPUs alone. Sprites can be used to have moving elements in otherwise “static” scenes and are present in almost all implementations of racing the beam. Finally, scanline interrupts allow programmers to get much more out of the hardware by strategically changing the settings at the perfect time. Putting it all together lets an animated plumber drive a go-kart.
Next, we’ll step forward in time to when memory wasn’t so scarce, and talk about basic 2D graphics with a framebuffer and how shape primitives are drawn. See you then!


History of cheaper memory and it’s effects on computer development, a non-scholarly paper.
I am surprised to hear Super Mario Kart’s 3D effect was CPU-based. I thought it would have used the SNES’s PPUs’ Mode 7 to offload it from the CPU to the PPUs. In fact, Wikipedia says it was in fact using Mode 7.
I’m also not clear how that technique was used to make the roads curve, since the courses were all tile maps used as the background layer in Mode 7. Different transform matrices would be used to rotate the map relative the view, but the roads themselves were definitely defined as static tile maps.
It does use Mode 7, but Mode 7 alone can only achieve affine transformations, which a perspective transformation is not. So what it does is changing the affine transformation parameters for each scanline to achieve the perspective effect. These parameters are hardcoded, that’s why only a single perspective angle is supported.
An illustrative video: https://youtu.be/K7gWmdgXPgk?t=856
Thank you, I found that video very helpful in understanding the perspective transformation discussed above
Excellent explanation of “racing the beam” here:
https://www.youtube.com/watch?v=fr-t9plOkHY
I’m a bit confused by this article as the frame buffer of the 8 bit machines could quite easily fit in 64K, the ZX Spectrum for example had a screen size of 8K, and could easily compute a frame in the screen refresh time. I know, i was coding on one at the time.
I think the author is confusing the 8-Bit home micros with the Atari-2600, which only had 256 Bytes of RAM. You certainly had to race the beam with that, as it could only store one TV line.
I think a bit more research is needed here, as this could be misleading for someone getting interested in retro graphics.
I’m not familiar with the spectrum, but is that a 64k address space including ROMs and program code? Could you afford a framebuffer if it used a significant amount of your ram?
I’ve just been working on a project with a large LED matrix on an arduino (I know, I could switch to an ESP32 and get megs of RAM, but it’s a teaching project for the kid). The framebuffer uses 75% of the ram… 😬 it’s a serious consideration if we want one or if we just compute values on the fly.
Yep, the Spectrum had a 64K address space for everything, RAM/ROM/Peripherals/screen – i had a 128K model which had two bank switched spaces you could switch between, even in basic (which impressed me at the time).
The frame buffer for it was basically hardwired into the system RAM at a known location from START to START + 8K. Any writes into this region would appear on the screen after the TV asic chip cycled through it. Quite an interesting system.
Your project sounds great, a really good idea for teaching. I don’t know the ESP very well, i guess it has onboard memory in the 64K sort of size, so the Speccy could be an interesting frame buffer layout to investigate.
Actually, 256×192 1-bit pixels plus “attributes” (colour choices), one byte for each 8×8 block of pixels, exactly 6912 bytes (6 kB for the pixel data and 3/4 kB for the attributes).
What a timely article, as I am just coming up to speed programming my RP6502 ‘modern retro computer’. It is a very cool hybrid that has a 65C02 at its core, but uses 2 raspberry pi pico microcontrollers for usb I/O and VGA display.
https://m.youtube.com/playlist?list=PLvCRDUYedILfHDoD57Yj8BAXNmNJLVM2r
search for picocomputer 6502
Awesome article! I’m very interested to read this series.
How can you talk about “racing the beam” without talking about “Racing the Beam”?
https://doc.lagout.org/science/0_Computer%20Science/Racing_the_Beam_-_The_Atari_Video_Computer_System.pdf
im still racing the beam…
…and let me just say…this article is full of incorrect information…
hell the amstrad CPC had a 16k screen size…and 16 colors in mode 0 …blowing C64 out of the water….and its I/O and rom space were separate to the ram space (thanks to the z80)..so full access to the 64k of ram… with 16k of that ram space being the screen buffer… there are even techniques for double buffering thanks to the CRT Controller being able to point the screen addresses to start at a different address…