The NTSC television standard is a masterpiece of mid-century engineering, to pack a color image into the transmission bandwidth of a monochrome one, and to do so while maintaining backward compatibility with earlier monochrome TV sets. In terms of its timings and choice of sync and carrier frequencies it’s elegantly thought out for maximum quality on a 1950s round-CRT color TV set.
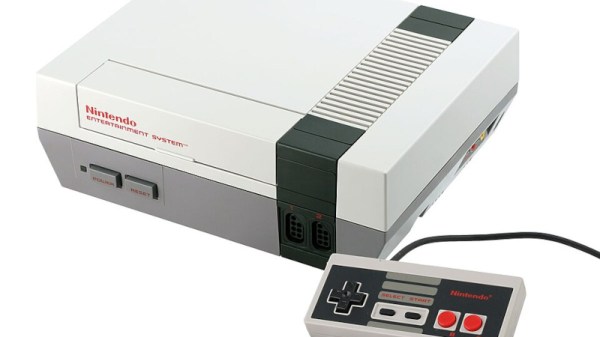
 The trouble is, that while the standards are exacting, the receivers are quite forgiving, and will display adequately even with substantially off-spec video. [Nicole Express] is here with an in-depth examination of a time when that was pushed just a little bit too far, explaining why the Nintendo Entertainment System (NES) displayed wobbly color images.
We’re treated to a run-through of the NTSC standard itself, and a look at how some of the other consoles and home computers of that era either had similar problems, or managed to avoid them. The key lies in the exacting timing required to achieve perfect interlacing, and the NES’s use of a single crystal to provide all the clocks. The dot clock on adjacent frames was almost right, but not quite, leading to a side-to-side wobble that while barely perceptible, was exacerbated by some graphics. It’s a fascinating read.
We’ve looked at composite video in detail in the past.
NES image: JCD1981NL, CC BY 3.0.