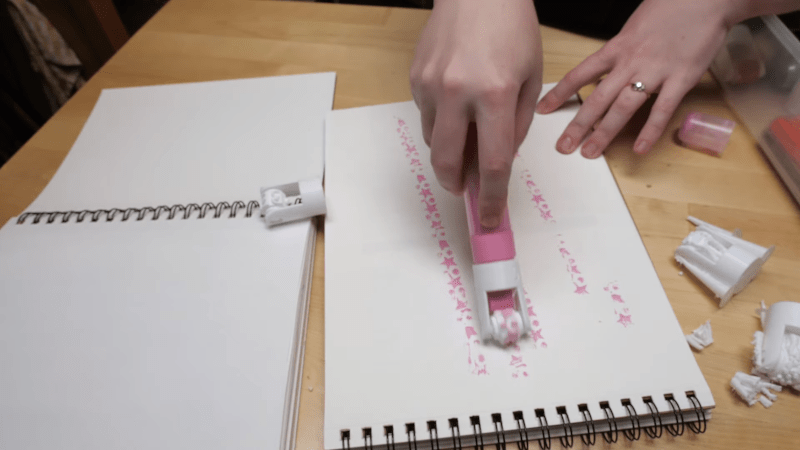
If you have an artistic bent, you might have seen self-inking stamp rollers. These are like rotary rubber stamps that leave a pattern as you roll across a page. [Becky] wanted a larger custom roller and turned to 3D printing to make it happen. The first prototype used a modified Sharpie. However, she soon moved to an unmodified acrylic marker that had a rectangular tip.
A Tinkercad design produces a cap that fits the marker and a wheel that contains the desired pattern. Text works well, although you can easily do a custom pattern, too, of course.
The design counts. [Becky] noticed that commercial products had small artifacts deliberately on the design. Turns out these were made to help the roller spin reliably. Clearly, not everything will work as well as others when you use it as a pattern. But Tinkercad is easy enough, so you should be able to experiment easily.
If you prefer a more conventional rubber stamp, that’s easy enough. If you want to do more advanced things in Tinkercad, check out how to do parameterization.


Maybe the PrusaSlicer emboss/deboss feature can be used on a .stl with a blank wheel in place to easily add custom text or symbols.
Could a wide axle be placed through the roller and have rubber disc wheels on each end. These would be spaced wider than the ink pad so they remain clean. Then a more sparse embossing pattern could be used.
Neat! Also a typo: Market -> Marker