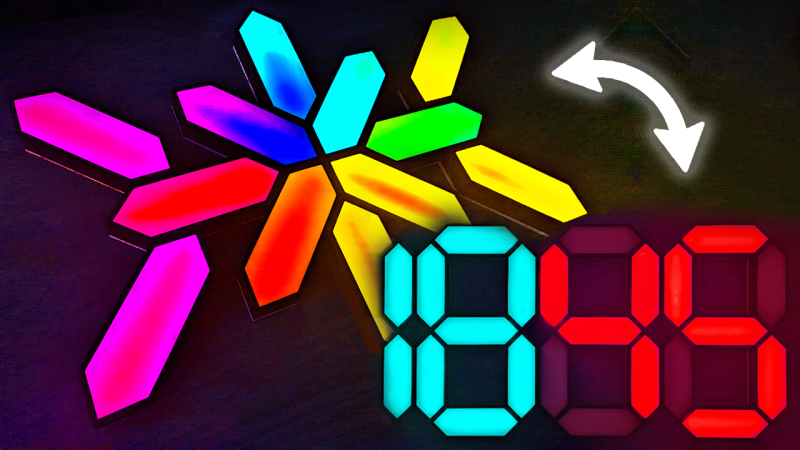
Nanoleaf is well-known as being that company that makes those lovely glowing tiles that you can hang on your wall. The only thing is, they’re not cheap. So if you want a really cool layout, you have to spend a great amount of money. [Projects with Red] was inspired by the basic concept, though, and whipped up their own gem-shaped wall tiles along similar lines.
The irregular hexagon shape of each gem has ten connection points to attach the segments together. Physical connections are made using the 3D printed housings of each segment, while connections are simply made with wires and connectors hanging out the back for flexibility.
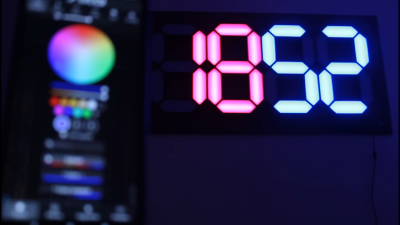
Each segment features a black printed housing with a solid lid and a translucent acrylic sheet to act as a diffuser. An addressable LED strip is mounted to the lid for illumination, with Dupont connectors for hooking them up to power and data. An ESP32 is used to drive the addressable LED chain, running the WLED.me software for easy control of the lights and animations. The video below also explains how to configure the segments into a giant colorful 7-segment display.
It’s a neat way to build some LED wall art, with plenty of scope to reconfigure it to suit your own needs. We’ve seen some other fun LED tile projects before, too.


Timely.
These are MUCH prettier than the Nanoleaf stuff.
definitely, yes, the references to nanoleaf should be cleaned out before it gets DCMAed or something through…
These are prettier and give more privacy and control over the lights/your data. I hate big brand oem iot stuff. I dont trust them house keeping the lights and servers. This is better!
Hot on the heels of this earlier article:
https://hackaday.com/2024/01/27/a-look-at-3d-printed-professional-led-signage/
I’ve never gotten the ws2811 to work with nodemcu/esp8266 due to the 3.3v logic, and I’m pretty sure that the esp32 is 3.3v aswell? ws2812 seems to work perfectly. Is this just because I’ve bought shitty ws2811 from ali, or should it actually work?
the esp32 is 3.3v too but getting the 3.3v data line up to 5v has been solved for a long time, just use a buffer/line driver chip like a 74HC125 and you’ll be fine. alternatively, there’s a method that uses a sacrificial LED to boost the data line to 5v.
Yes. I’ve been using buffer drivers to make it work occasionally (nowadays I just use ws2812 wich seems to work), I’m just curious since this maker doesn’t use any drivers or level shifters, and still seems to pull it off
The sacrificial pixel method sort of proves that you can drive the ws2811 pixel with an esp32 as long as it’s close to the esp32. From there it gets transformed to the right voltage signal and it can bridge the longer connection to the actual strips. If you look at the video near 17” you can see that the esp32 connection to the first ws2811 pixels is very short, so you don’t need a level converter. A good low resistance connection to the first pixel is important to make it work.
It´s all explained here: https://kno.wled.ge/basics/getting-started/
It should work
Get to the basics and learn to use a transistor, or better (for this task): a MOSFET
The one nit I have to pick, is that he uses male female pins on the input to the LED strings. This leaves power exposed on male pins coming from the controller, providing an easy way to short 5V to ground unintentionally. I see no good reason to have made this choice, and it is also pretty intuitive for people born since the early 20th century, to plug make pins on a power-consuming device into female receptacles on a power source.