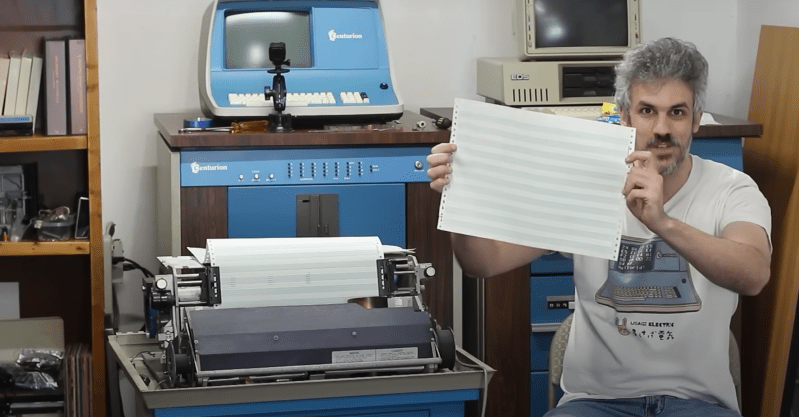
What does it take to get a 47-year-old printer working? [Usagi Electric] shows us it’s not too hard, even if you don’t exactly know what you’re doing. When we last left this project, he’d tested and verified his power supply was working. This week, after a bit of cleaning, it was time to dig into the mechanics.
If you haven’t seen a chain printer in action before, definitely check one out. They’re big, loud, and sound a bit like a turbine when they spool up. The type chains on these printers never stops moving. This means the printer has to know exactly where a particular letter is before launching one of 66 hammers at it. If the timing is off, parts will fly. To the average computer user, they’re quite intimidating.
Thankfully [Usagi’s] printer was in pretty good shape. When he flipped the big power switch, there was plenty of strange noises, culminating in the test pattern of dollar signs. Probably an early reminder to customers that they needed to order more print supplies.
The print quality wasn’t exactly stellar though. There were dark columns and, smeared characters. Some $’s were missing altogether. These printers have a ton of adjustments, but the problem in this case turned out to be a Mylar spacer located behind the hammers. The material acts as a cushion between the hammers and other parts of the printer.Time had not been kind to this part. It was worn through and cut into several pieces. A Mylar folder made the perfect replacement.
With a few tweaks complete, the printer delivered a perfect page. But the success didn’t last. The next page arrived with even more problems. When the paper spitting from the top of the printer gets too heavy, it folds over. That was enough to bring the dark columns back. Hopefully, this problem will be solved when [Usagi] installs the paper guides back on the printer. Until then, we’re waiting patiently for the next installment of “Raiders of the lost ribbon”


HaD’s own Dan Malony would remember chain printers can also serve as musical instruments, and (further down the link target) someone not too long ago figured out how to remanufacture the precious and perilously fragile chains. https://hackaday.com/2019/09/13/teaching-a-vintage-line-printer-to-make-music-all-over-again/
(first?)
Thx for mentioning this. There is a detailed description at https://ibm-1401.info//1403ChainRebuild/ReBuilding1403-1&2ChainReport-2.html on how they rebuilt a chain by carefully winding music wire into a new band.
That was a fascinating read. Major props to the team that tackled that job!
Heh…those things (and drum printers) use 14″ wide rolls of ribbon. And they absolutely DESTROY them. Messiest job in the computer room was changing the damn ribbon roll when it was shredded.
Been there. Done that.
Back in the ’80’s I was using a large chain printer and was trying to diagnose a random error that kept occurring – missing characters in the print with no real pattern to it. Staring frustratedly at the chain and ribbon whirring around, I suddenly noticed a ‘blob’ go past and there was a missing character. A bit later same again!
Turns out the ribbon had a few holes in it and whenever the ribbon hole coincided with the hammer position it resulted in a random missed character.
Those beasts could go through a box of paper in short order. There was no such thing as getting output on disk. We used punched cards and magnetic tape for input. Disk space was too limited and there was no such thing as reviewing output on a screen. This was in the late 70’s.