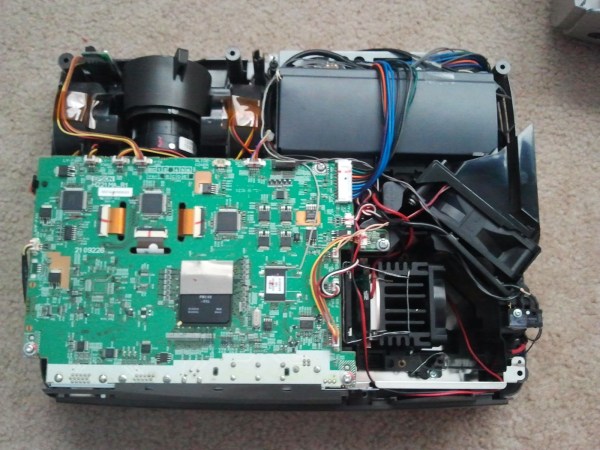
Projector bulbs can be incredibly expensive to replace. Sometimes it’s more cost efficient to just buy a whole new projector instead of a new bulb. [Shawn] recently found a nice deal on an ‘as is’ Epson EMP-S4 on eBay and decided to take a chance. He assumed it probably worked with the exception of the missing lamp the seller mentioned. His suspicions were correct, and one custom LED mod later, his projector was up and rolling.
Without a stock lamp installed, the projector would give an error message and shut itself off. So, the first step was to wire up a little bypass. Once that was taken care of, [Shawn] installed a 30W 2000 lumen LED and custom fit an old Pentium CPU heatsink to keep the LEDs temperature down. He also wired up the heatsink fan in parallel with the stock exhaust fan for good measure. Optical lenses help focus the light, and some custom wiring makes the LED turn on and off just like the stock lamp would.
In the end, his first experiment was a success, but [Shawn] wants to try an 8000 lumen 100W LED to make it about as bright as the stock lamp was. Check out a little video walkthrough after the break.
[Thanks Shawn]
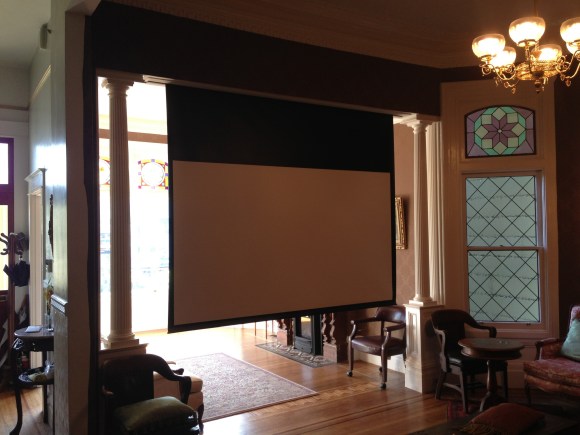 We understand where [John Clarke Mills] is coming from when he says he wants a home theater but not at the expense of dedicating a room to it. His situation is a bit more sticky than most folks in that he has a beautifully kept Victorian era home. Recently he was removing a renovation from ages past that didn’t fit with the style and it gave him the opportunity to