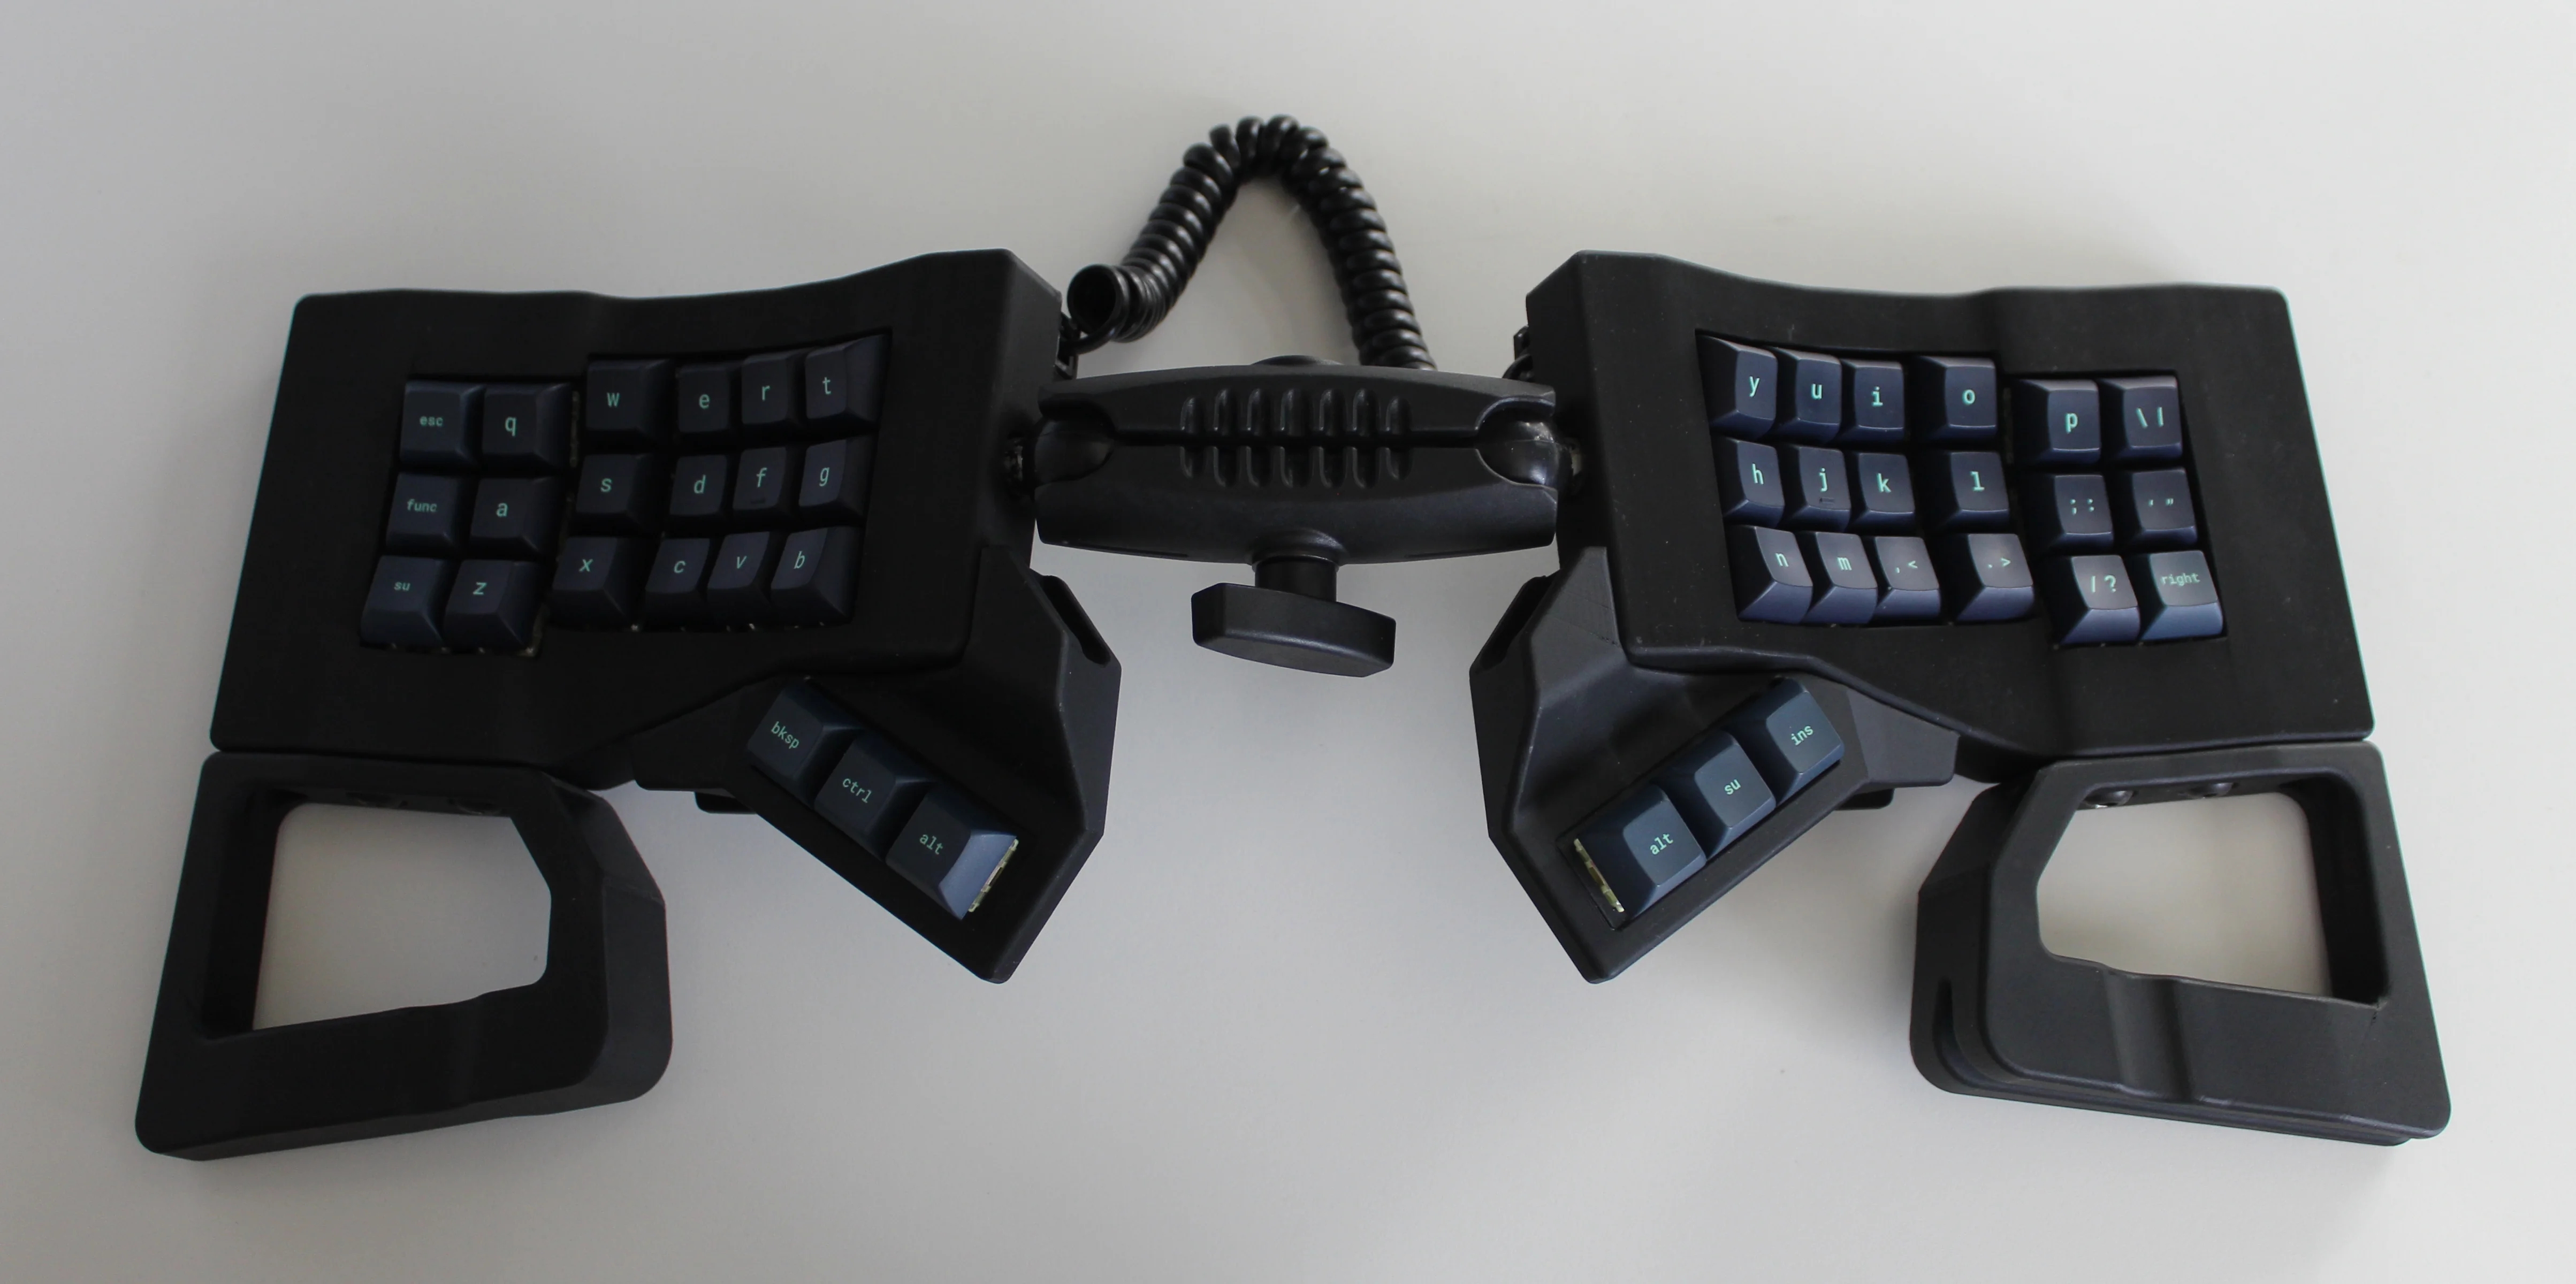
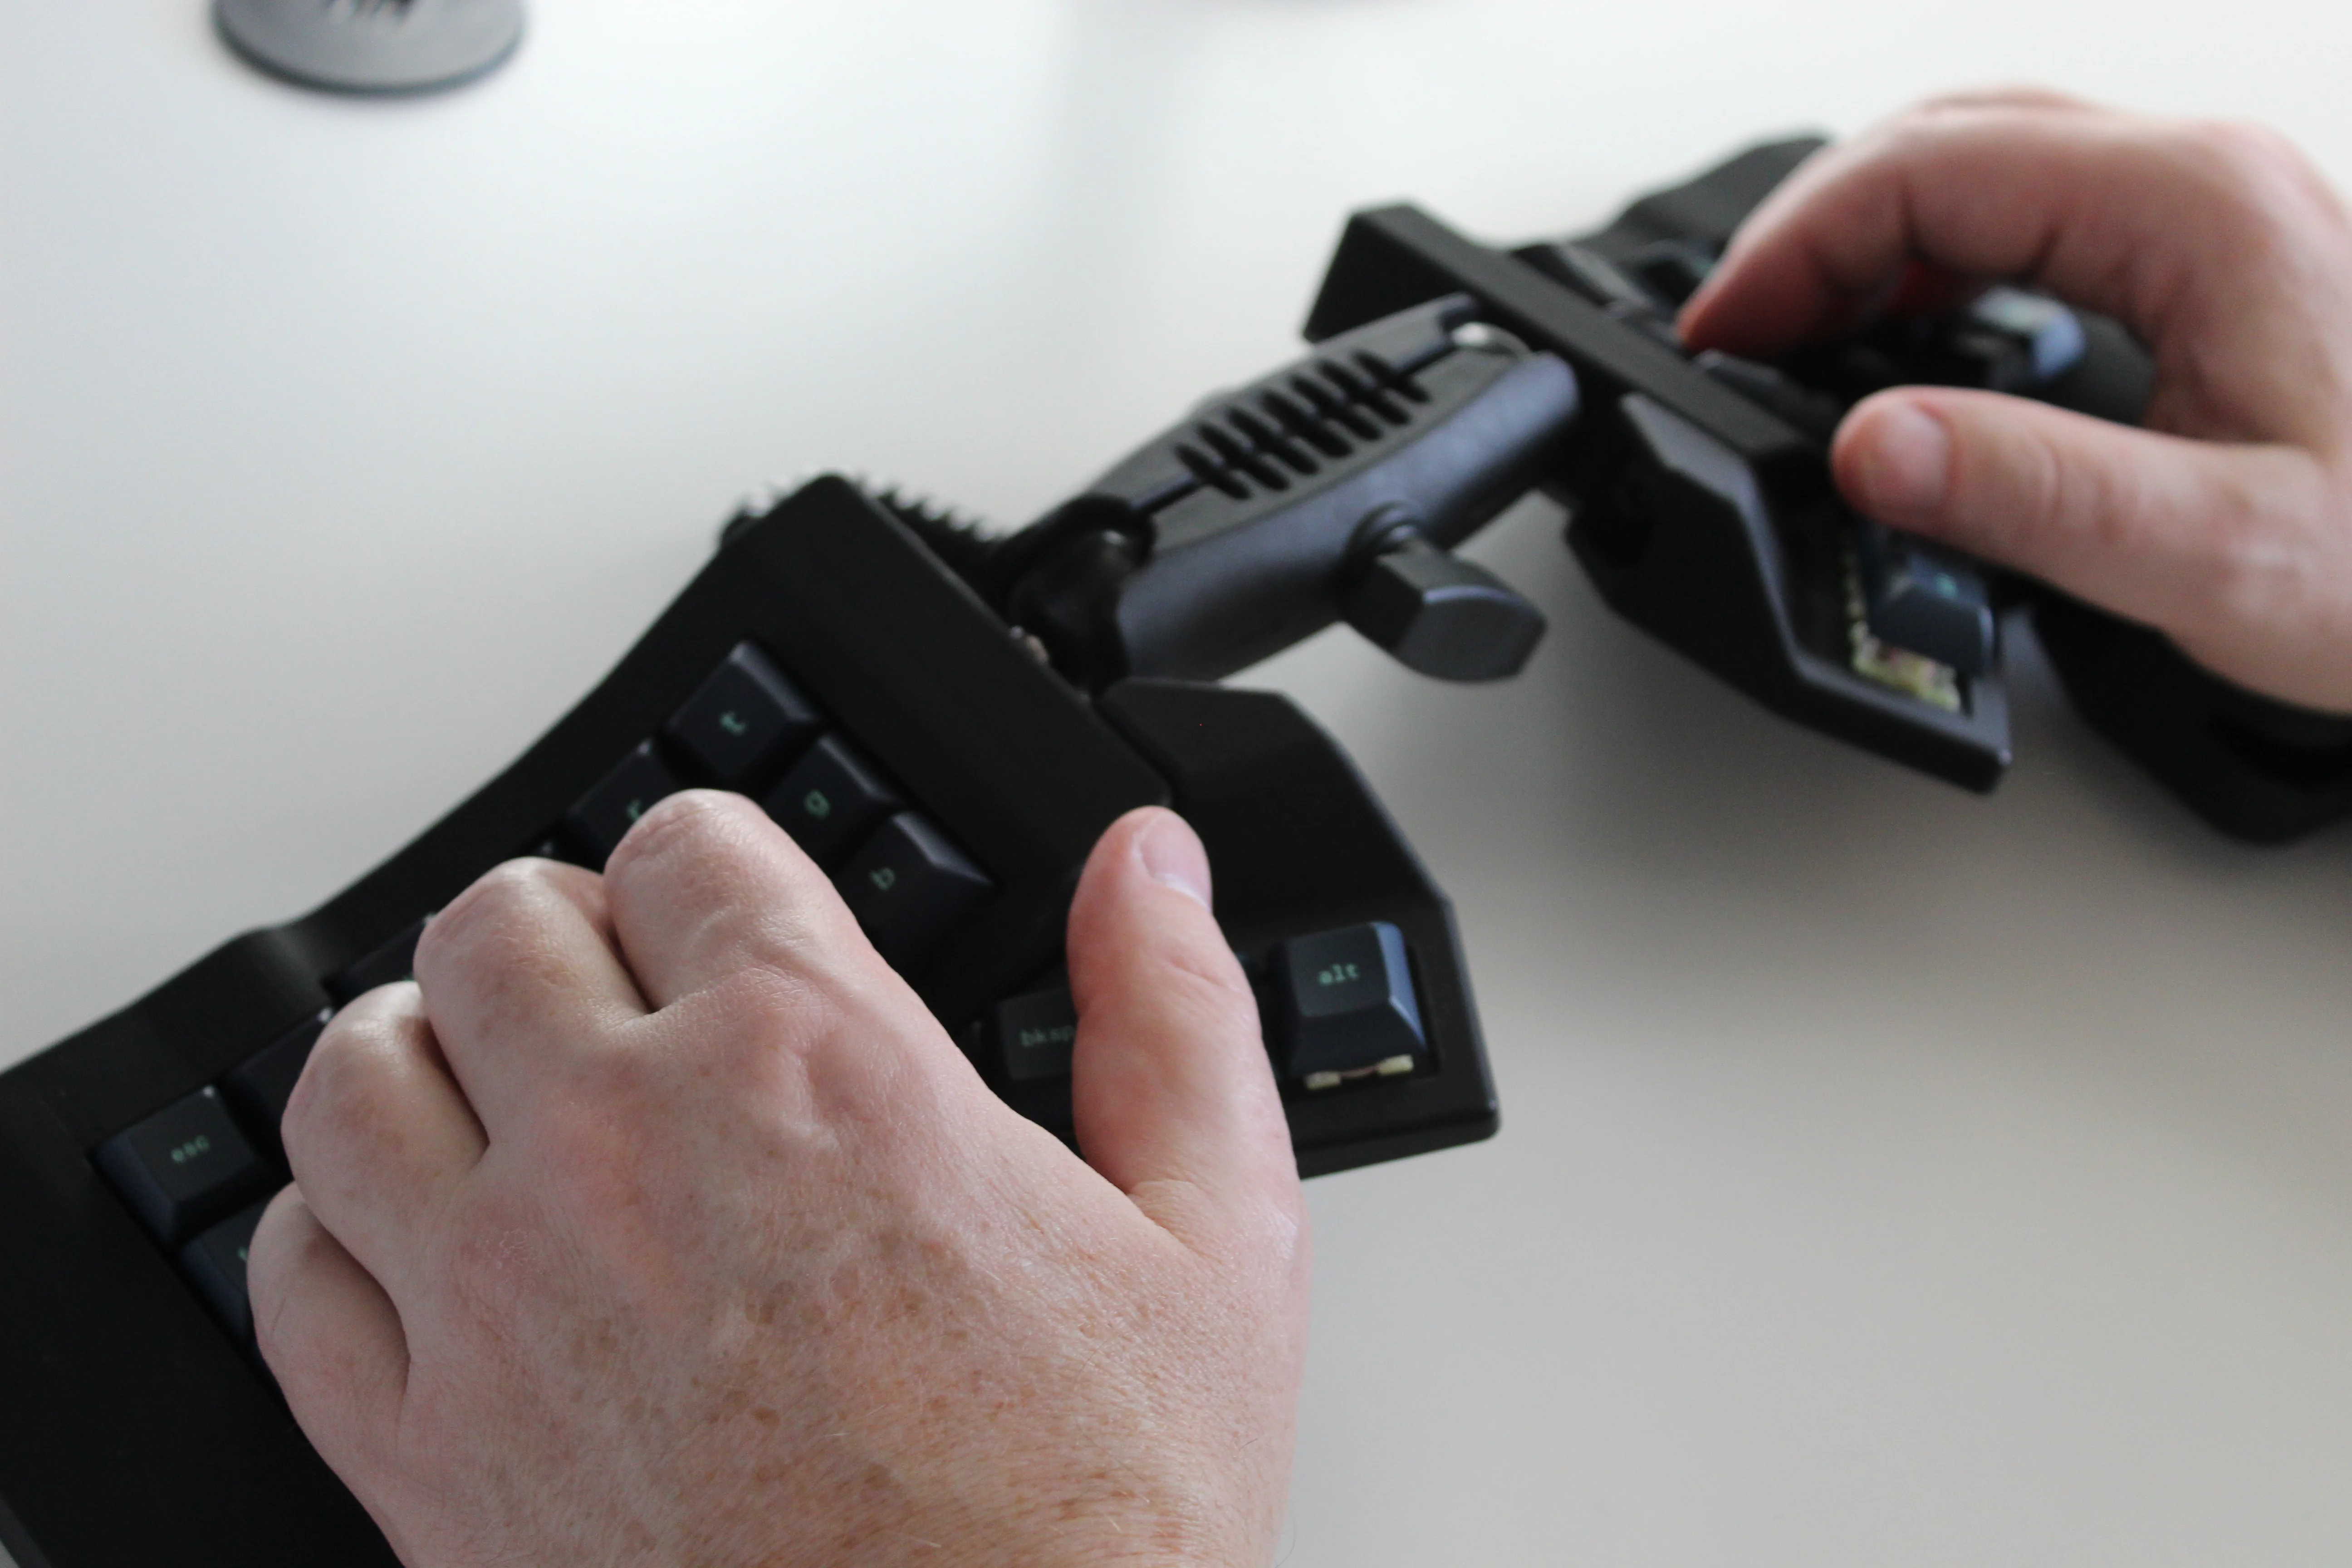
Get a handle on this bad boy! Okay, so those voids are really more for airing out your palms, I’d imagine, because palm sweat sure is real — you should see the pads of my Kinesis. This kind of looks like two sawed-off machine guns kissing, and I mean that in the best possible and non-violent way.
And yet, pricing (oh yeah, this is gonna be A Thing You Can Buy) will be around $115-155, depending upon whether you want the base kit, or the add-ons, too, minus switches and key caps.
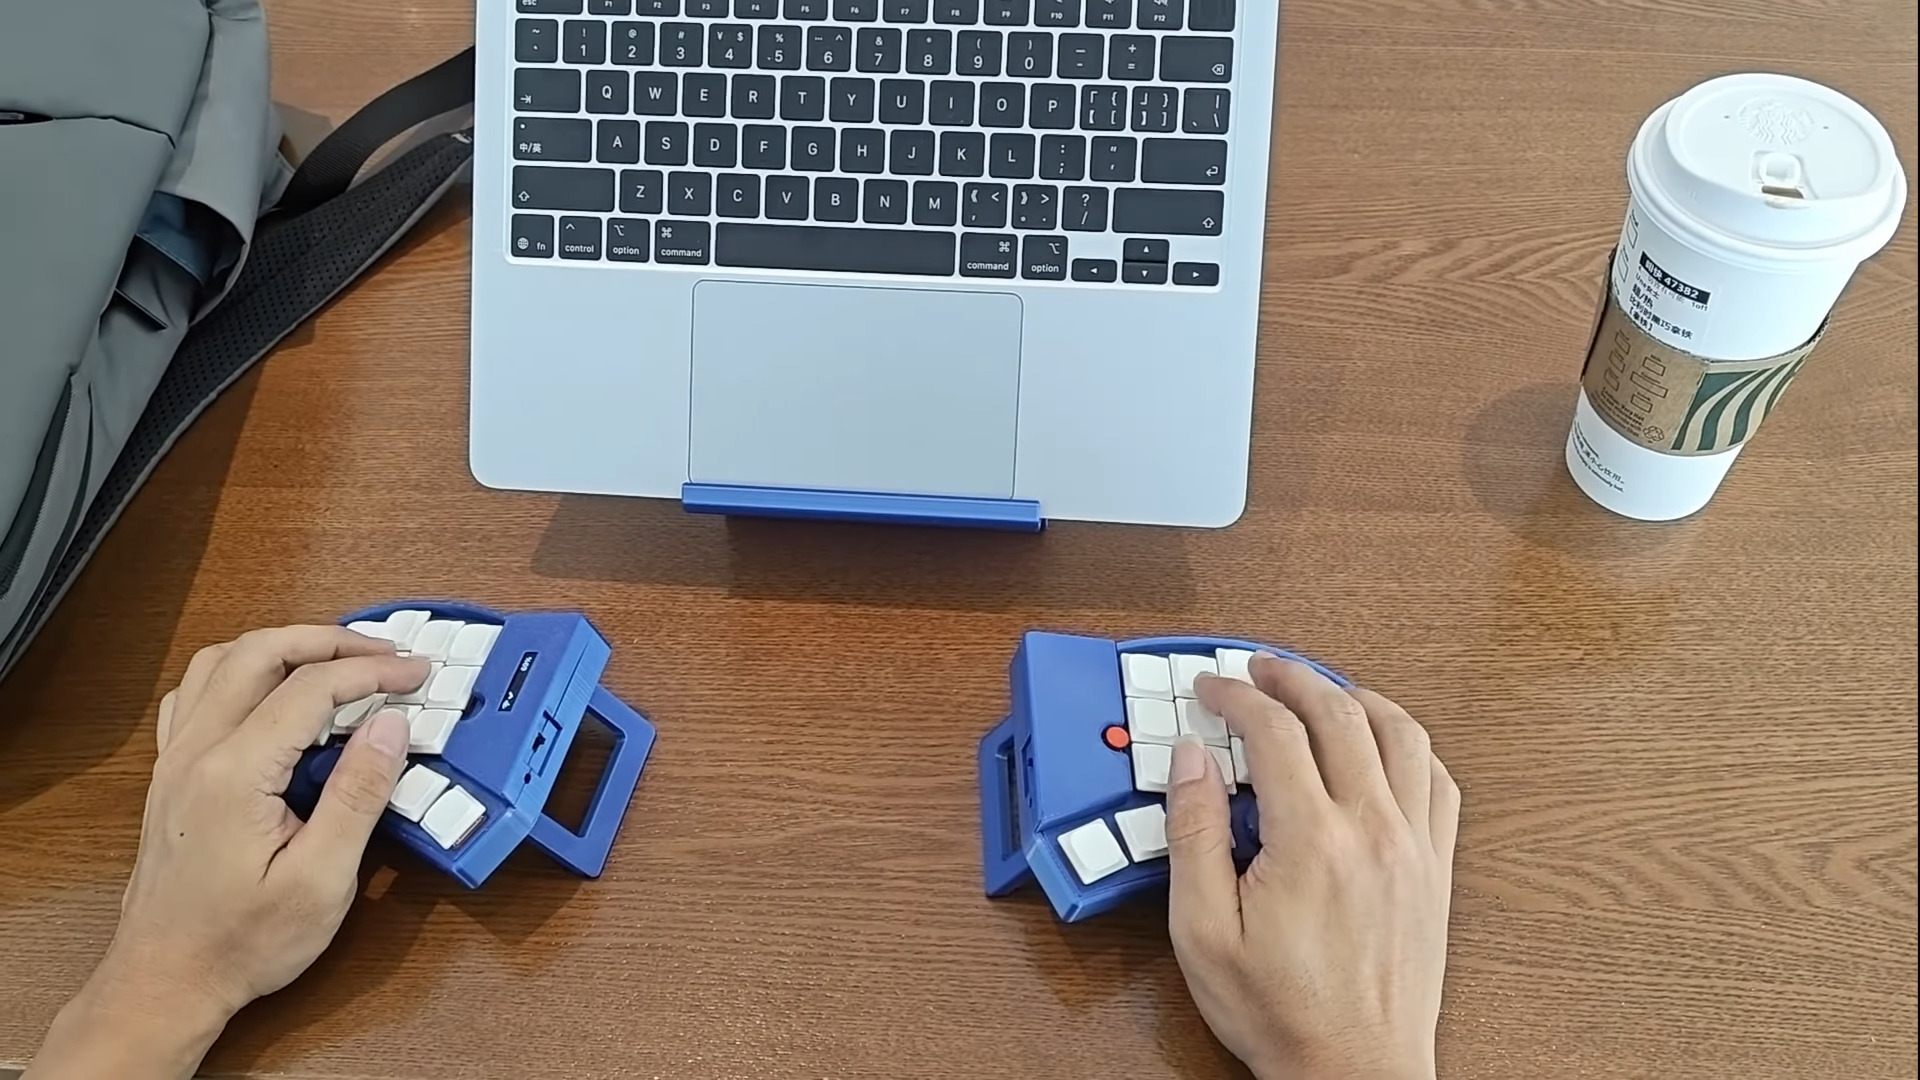
So let’s get into the particulars here. As you can see, there are key wells and thumb clusters, inspired by other keyboards including your bog standard Maltrons, Kinesis Advantages and more modern, open-source takes like the Dactyl. [ntc490] loves the key well-thumb cluster combination, and I do, too (hello from the Glove80). And miraculously, the keys are hot-swappable via sockets.
Inside, you’d find direct wiring to the GPIOs, so I’m gonna guess that those are RP2040 clones in there. There’s no PCB, no diodes, no matrices to debug.
So please do go visit the thread if this keyboard appeals to you at this price point. I love it, but I would need more rows of keys, personally. The top reddit comment mentions this as well, and [ntc490] says that because the thing is modular, it can easily accommodate more keys in both the wells and the thumb clusters. I seriously want one of these. Just with a few more keys.
Continue reading “Keebin’ With Kristina: The One With The Ball-Joint Keyboard”