But sir, it is wafer-thin. That’s how they get you! Just when you couldn’t possibly justify building another keyboard, let alone owning one, along comes the Kambala by [aroum2].
Image by [aroum2] via redditNow, ‘Kambala’ means a few things, but here it refers to fish, as evidenced by logo and matching themed PCB key chain shown in the gallery.
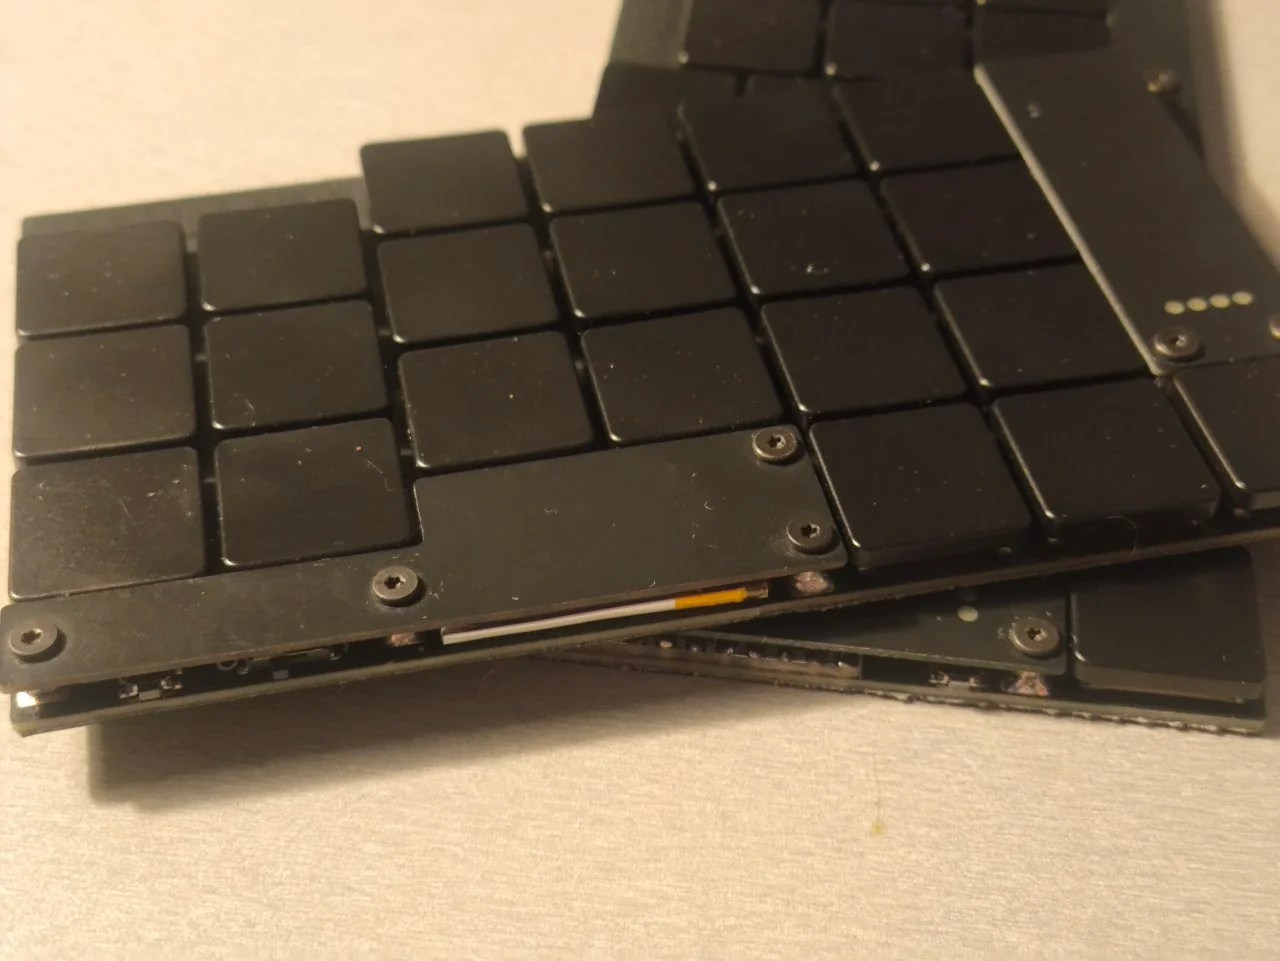
This catch is so flat because of the switches: PG1316S, and 42 of them. These are better known to some as Kailh butterfly switches, and are meant for laptops. But, this is Hackaday.
No matter what you call them, those switches are controlled by a nice!nano V2-compatible controller, which allows for ZMK firmware support. There’s a 110 mAh battery and four status LEDs, and best of all, the charging indicator is in the fish’s eyes.
[aroum2] might share the files later. Here’s hoping!
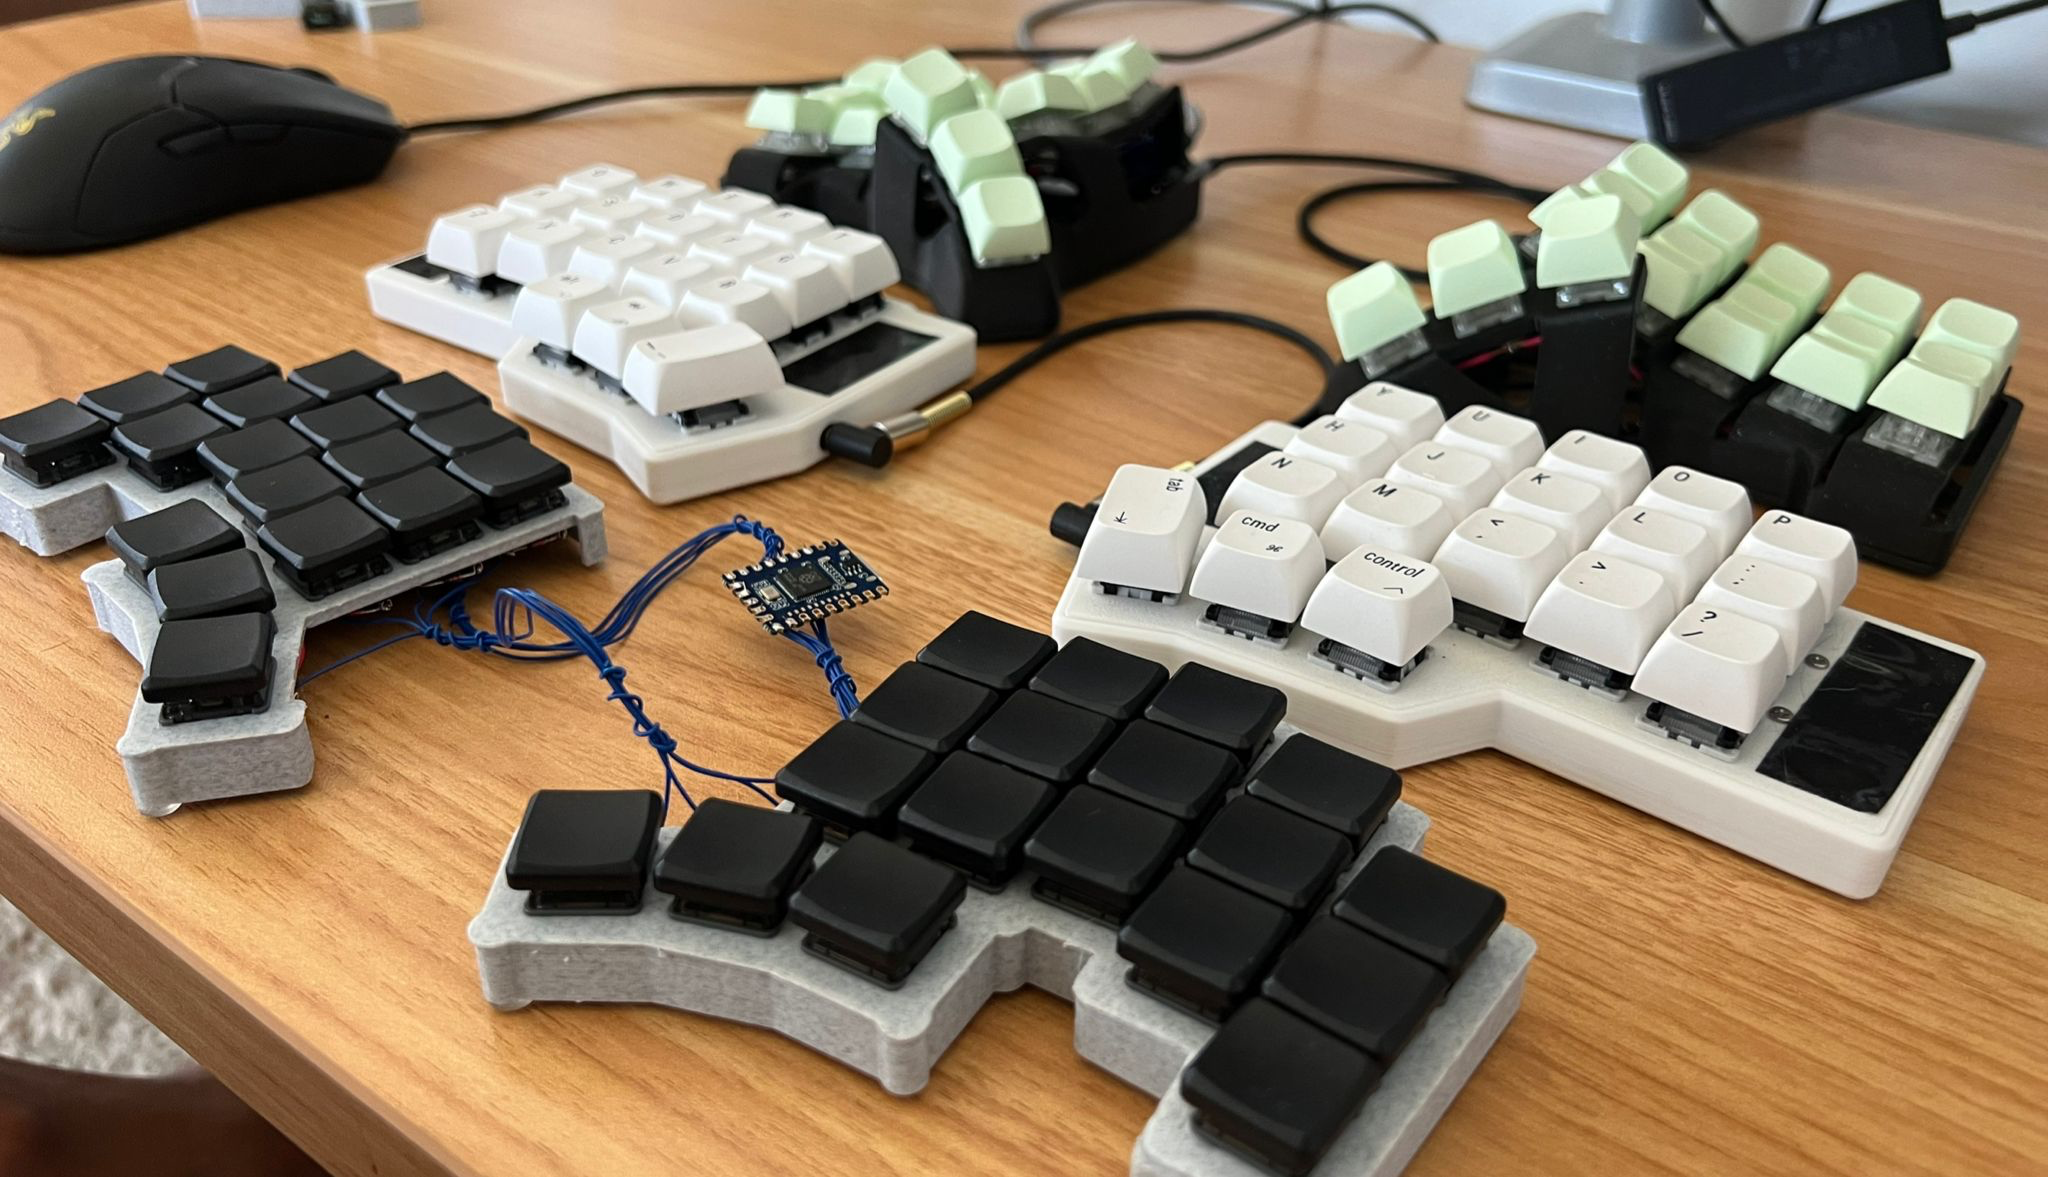
Curious about split keyboards, but overwhelmed by the myriad options for every little thing? You should start with [thehaikuza]’s excellent Beginner’s Guide to Split Keyboards.
Image by [thehaikuza] via redditYour education begins with the why, so you can skip that if you must, but the visuals are a nice refresher on that front.
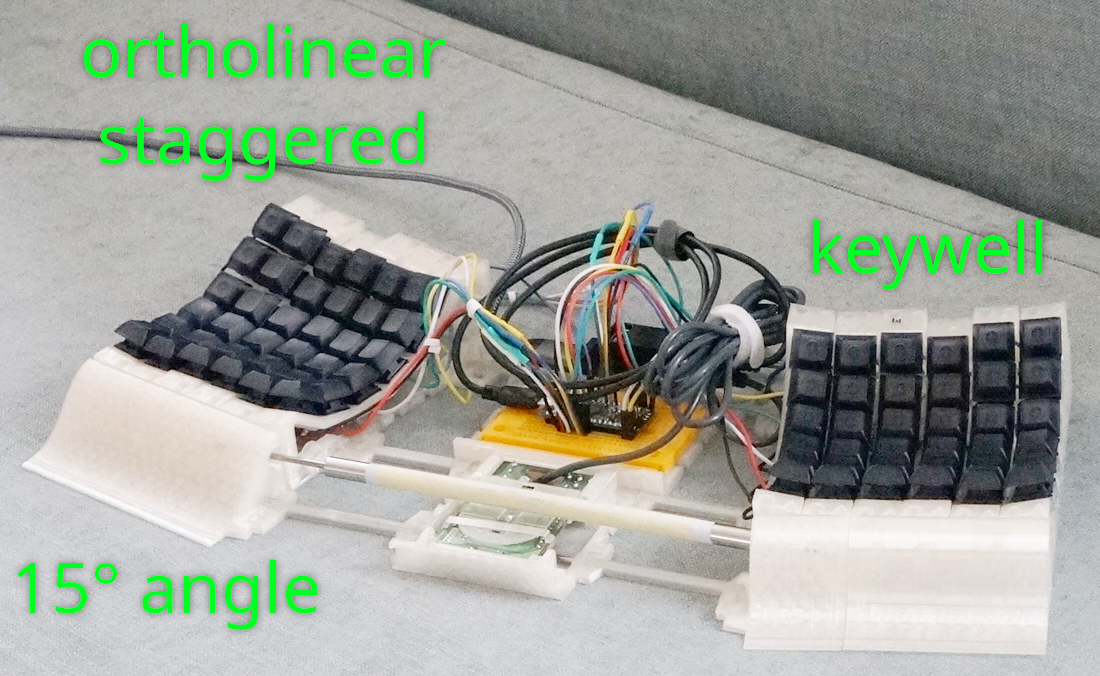
He then gets into the types of keyboards — you got your standard row-staggered rectangles that we all grew up on, column-staggered, and straight-up ortholinear, which no longer enjoy the popularity they once did.
At this point, the guide becomes a bit of a Choose Your Own Adventure story. If you want a split but don’t want to learn to change much if at all about your typing style, keep reading, because there are definitely options.
But if you’re ready to commit to typing correctly for the sake of ergonomics, you can skip the Alice and other baby ergo choices and get your membership to the light side. First are features — you must decide what you need to get various jobs done. Then you learn a bit about key map customization, including using a non-QWERTY layout. Finally, there’s the question of buying versus DIYing. All the choices are yours, so go for it!
Personally, I love a monoblock or uni-body split. You’ll pry this Kinesis Advantage from under my cold, dead hands. But on the go, I really like the Glove 80, a true split that can be completely wireless in case you want to put the halves really far apart.
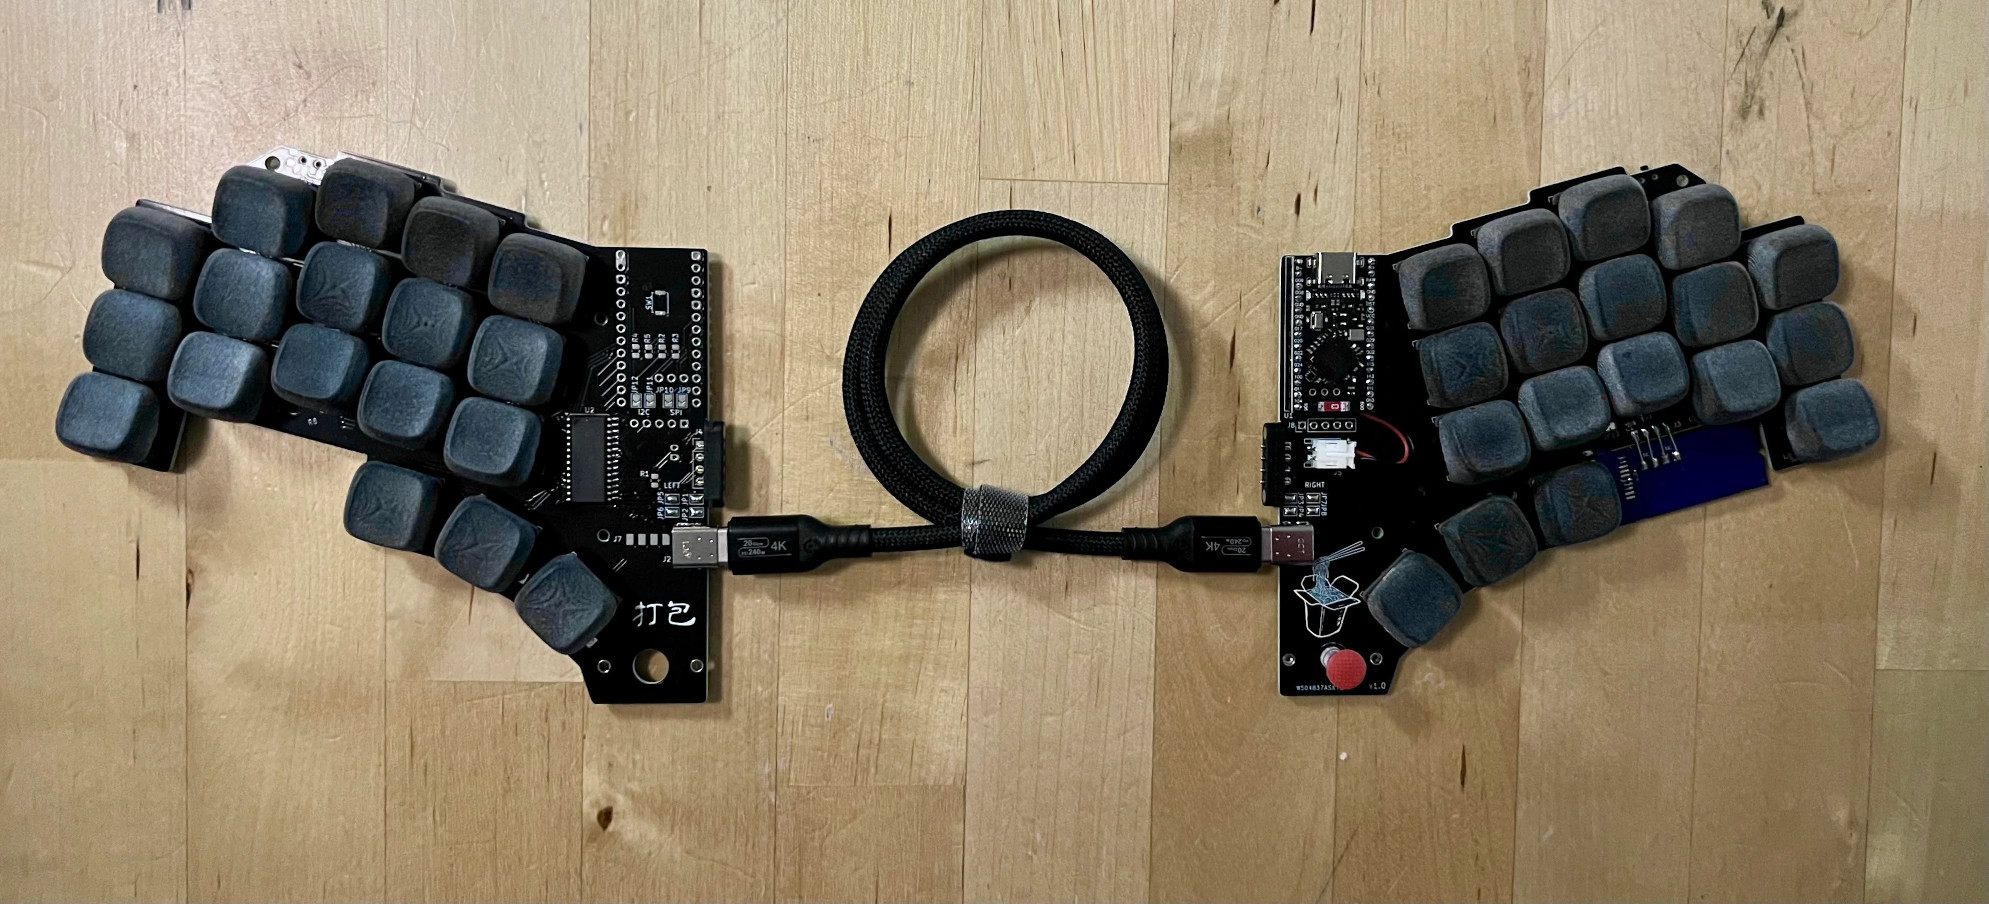
Image by [thehaikuza] via reddit[thehaikuza] is the opposite, preferring a full split at the desk, but finding it troublesome when using it on the couch or at a cafe or co-working space, and so created dǎ bāo (打包) — a uni-body split that can also be a distant split. And this best-of-both worlds creation is remarkably [thehaikuza]’s first keyboard.
The name means to take out food, and if you click the picture you can see a cute little take-out container on the silkscreen of the right half. Directly below it, there’s a track point nubbin to be used with the thumb.
It does its split-in-half trick via a magnetic four-pin connector for when you want the halves stuck together. When the halves are separated, they can instead talk over a USB-C cable. One half has the microcontroller, and the other has a GPIO expander.
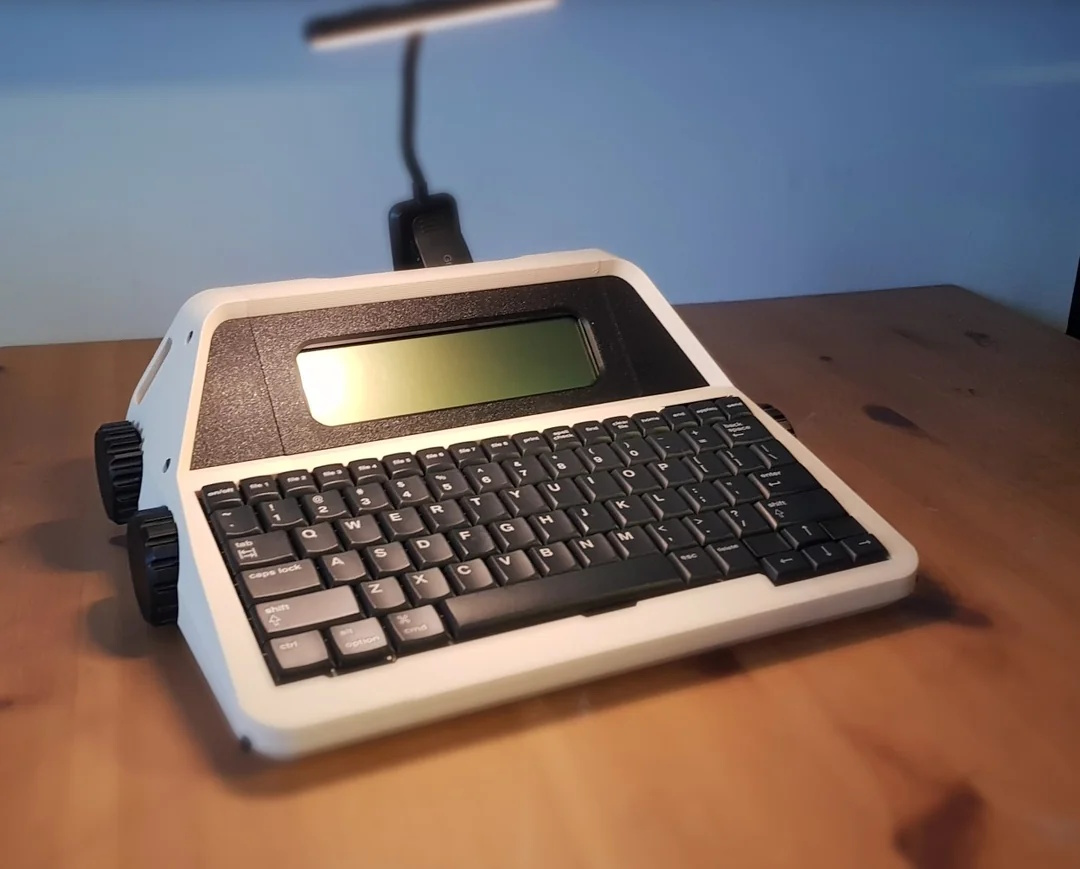
Isn’t this glorious? If you don’t recognize what this is right away (or from the post title), it’s an AlphaSmart NEO word processor, repackaged in a 3D-printed typewriter-esque shell, meticulously designed by the renowned [Un Kyu Lee] of Micro Journal fame.
Assembly looks easy enough; there’s no soldering, but you do have to disconnect and reconnect the fiddly ribbon cables. After that, it’s just screws.
This design happened by accident. A friend named [Hook] who happens to manage the AlphaSmart Flickr community had given [Un Kyu Lee] a NEO2 to try out, but before he could, it fell from a shelf and the enclosure suffered a nasty hole near the screen. But the internals seemed fine, so he got the idea to design a new enclosure.
I don’t believe the knobs do anything, but they sure do look nice. There’s an area along the top where you can clip a light, since the NEO has no backlight. There are also two smaller slots on the sides if your light won’t clip to the top.
I’d really like to do this to one of my NEOs. I have two NEO regulars, but reviewers on Tindie report that it works just as well with those as the NEO2.
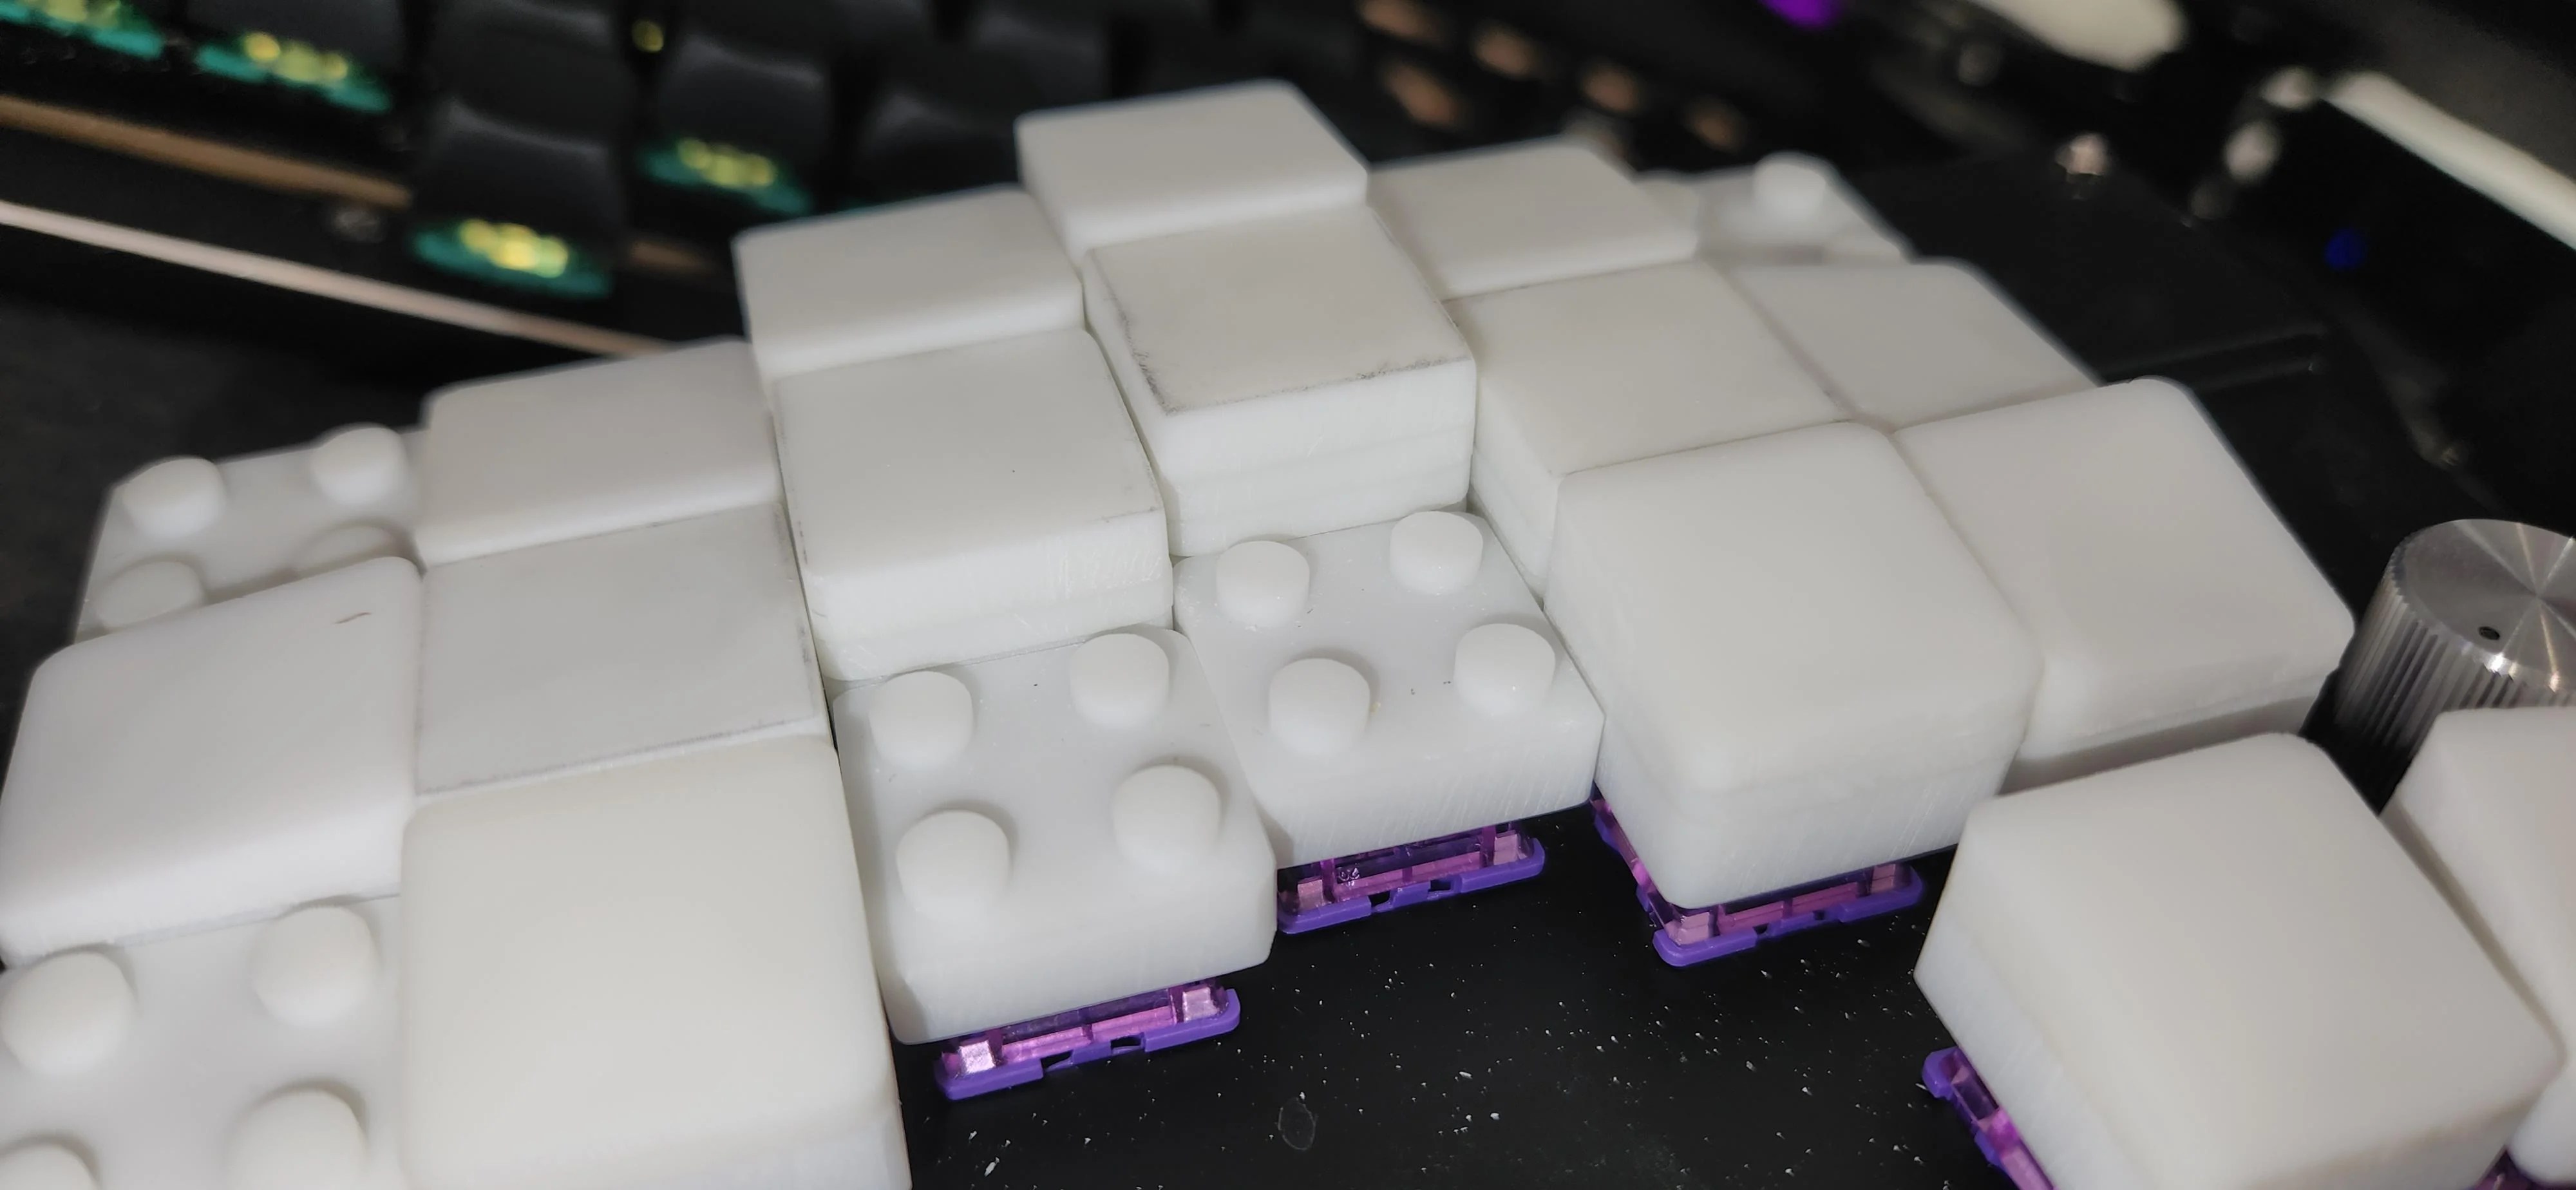
Now, we can’t call these LEGO key caps for obvious reasons, but also because they don’t actually work with standard LEGO. But that’s just fine and dandy, because they’re height-adjustable key caps that use the building block principle.
Image by [paper5963] via redditNow you could just as easily build wells as the dome shape pictured here, and I’d really like to see that one of these days.
In the caption of the gallery, [paper5963] mentions foam. As far as I’ve studied the pictures, it seems to be all 3D-printed material. If they were foam, they would likely be porous and would attract and hold all kinds of nastiness. Right?
[paper5963] says that there are various parts that add on to these, not just flat tops. There are slopes and curves, too. They are also designing these for narrow pitch, and say they are planning to release the files. Exciting!
I just love it when y’all send in your projects, so thanks, [Kai]! But were do I even begin with this one? Okay, so, first of all, you need to know that [Kai Ruhl] built an amazing split keyboard with plenty of keys for even someone like me. Be sure to check it out, because the build log is great reading.
Image by [Kai Ruhl] via Land of KainBut that wasn’t enough — a mousing solution was in order that didn’t require taking [Kai]’s hands off of the keyboard. And so, over the course of several months, the RollerMouse Keyboard came into being. That’s the creation you see here.
Essentially, this is an ortholinear split with a built-in roller bar mouse, which basically acts like a cylindrical trackball. There’s an outer pipe that slides left/right and rolls up and down, and this sits on a stationary inner rod. The actual mouse bit is from a Logitech M-BJ69 optical number, and [Kai] operates the roller bar using thumbs.
[Kai] found it unpleasant to work the roller bar using thumbs, so mousing is done via the palm rests. You may find it somewhat unpolished with all that exposed wiring in the middle. But I don’t. I just worry about dust is all. And like, wires getting ripped out accidentally.
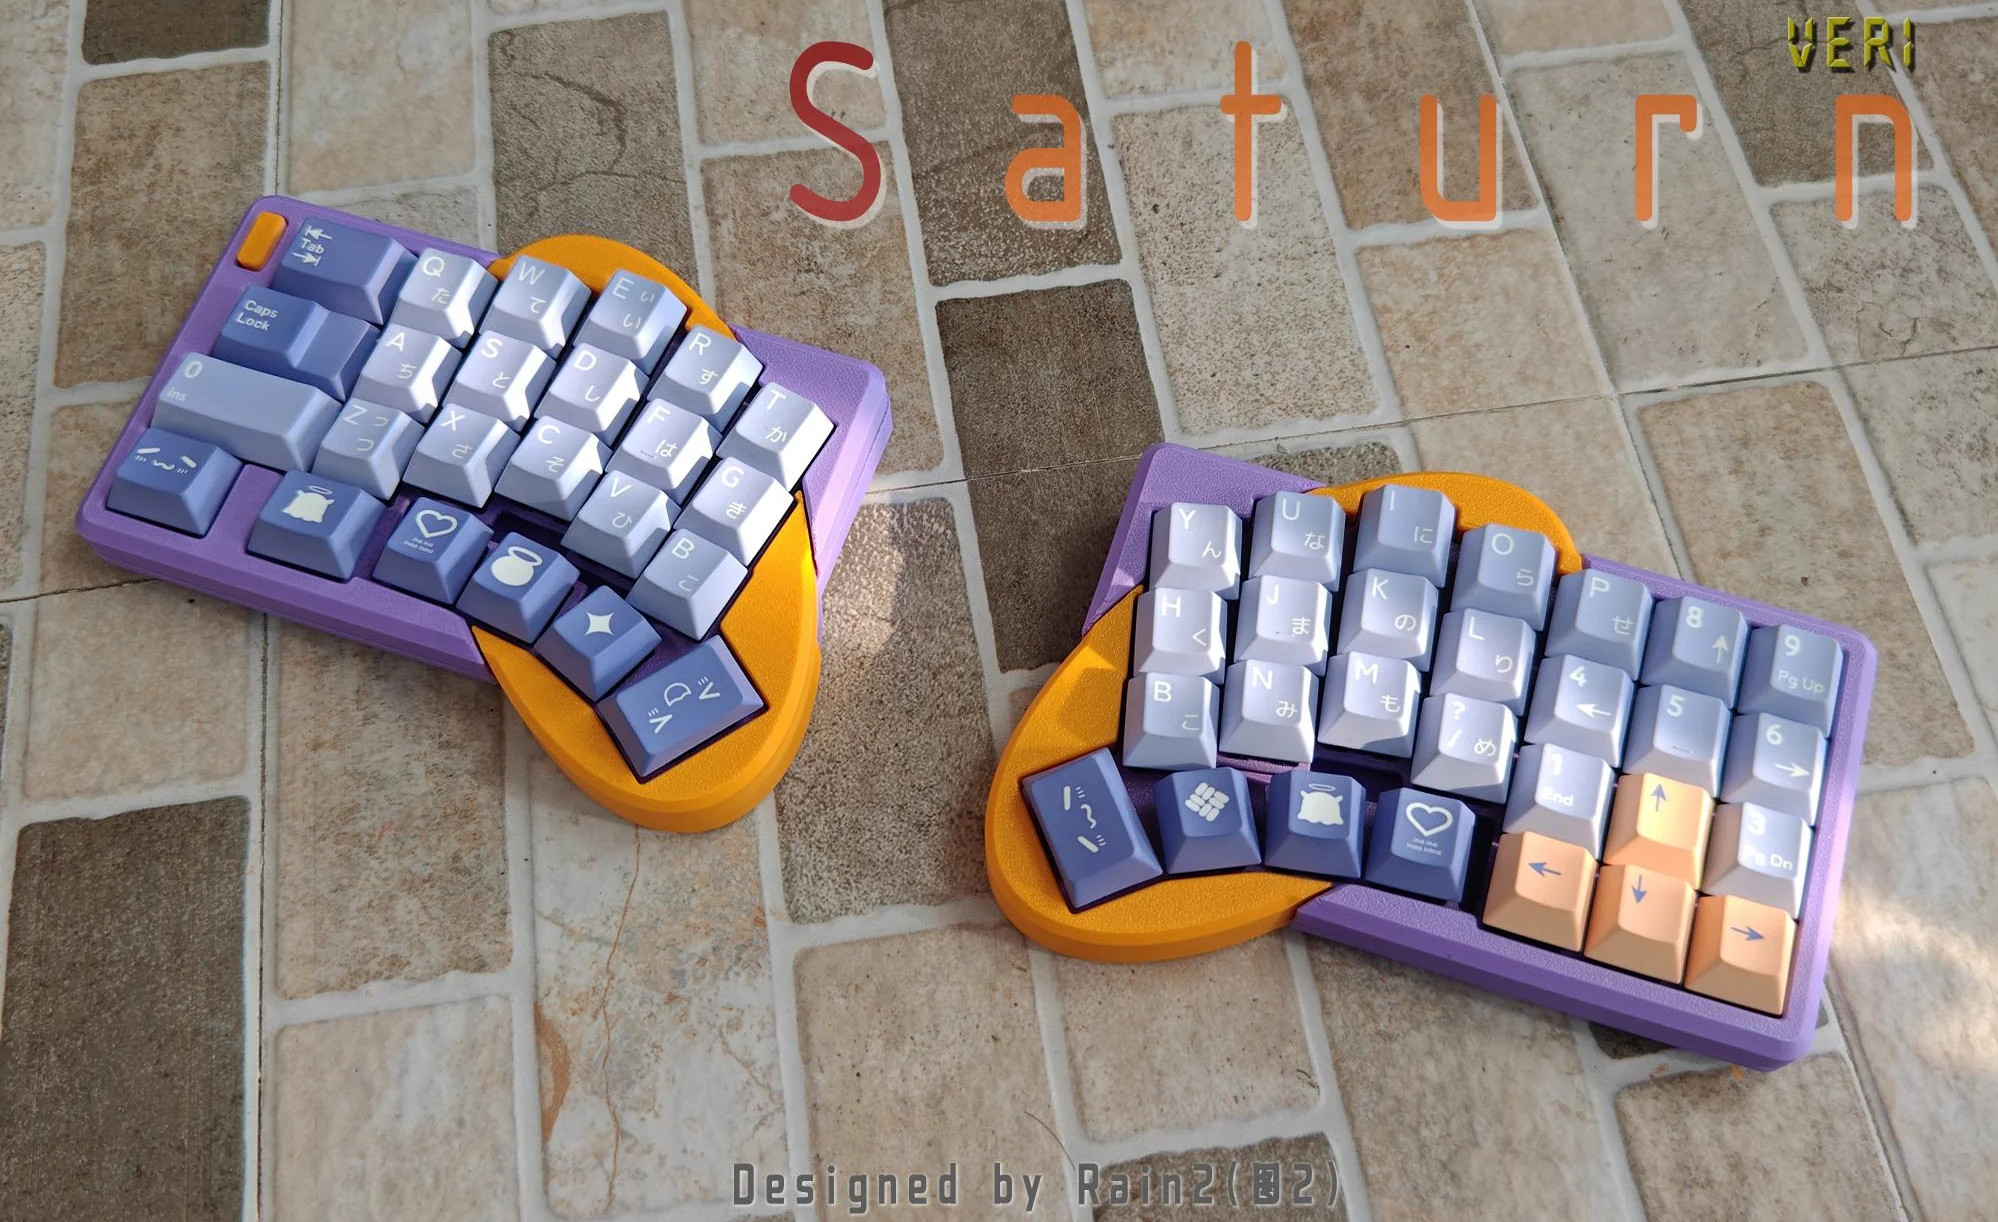
I love, love, love Saturn by [Rain2], which comes in two versions. The first, which is notably more complex, is shown here with its rings-of-Saturn thumb clusters.
Image by [Rain2] via redditSo what was the impetus for this keyboard? It’s simple: a friend mentioned that ergo keyboards are a no-go if you need a num pad really bad.
Saturn has one built right in. The basic idea was to add a num pad while keeping the total number of keys to a minimum. Thanks to a mod key, this area can be many things, including but not limited to a num pad.
Unfortunately, this version is too complicated to make, so v2 does not have the cool collision shapes going for it. But it is still an excellent keyboard, and perhaps will be open source someday.