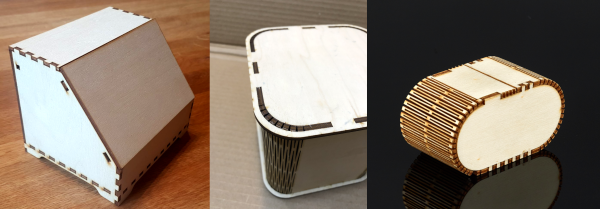
I needed something to test out a low-power laser cutter, and thought that some small cardboard boxes would fit the bill nicely, so off I went to scour the Interwebs for a quick-and-dirty finger-joint box generator. And the best of the best was to be found, drumroll please, on Hackaday.io. [Florian Festi]’s boxes.py not only has a sweet web interface, covers an absurd number of box styles, and includes kerf tests to ensure that your joints are tight, but it’s also written in easy-to-extend Python for when you have really particular needs.
 But you won’t need to design anything of your own. There are already boxes with living hinges, boxes that fit 19″ racks, Eurorack skiff boxes with laser-cut mounting rails, and even a generic electronics project box with mounting ears for your PCB. Console2 has integrated clips on the rear service hatch.
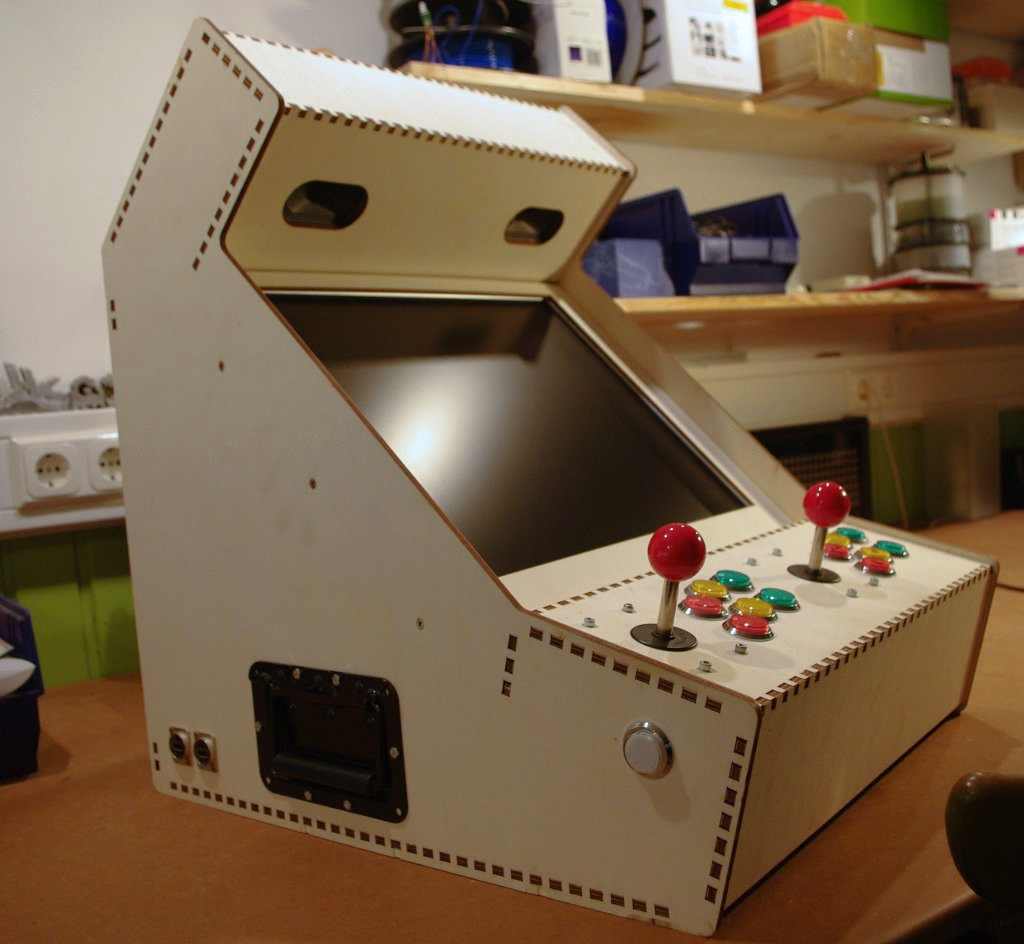
You need a pentagonal prism with a round opening? What size? I guess a complete arcade-style console is technically a box. Naturally, there are also geartrains and even a robot arm design. Wait, what?
Each of the box designs is fully customizable, so it’s easy to make something like a box with customized dividers, where the different compartments are specified in a sweet text markup. [Florian]’s example box set for the game Agricola is amazing.
Underpinning the code is a LOGO-like finger-joint drawing routine. This makes it relatively easy to draw your own funny shapes, and have the hard work of thinking through the joining fingers taken care of by the computer. [Florian] seems open to taking pull requests for new box shapes, but I haven’t thought of one yet.
I can’t say enough about how cool boxes.py is, and most of the demo applications are worth a look on their own. This was an entry in the Hackaday Prize back in 2017, and it’s been growing and improving ever since. Way to go, [Florian] and Co.