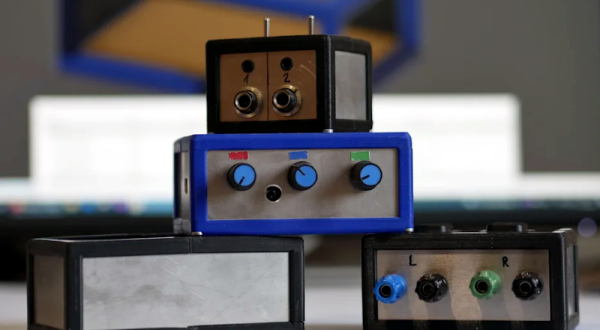
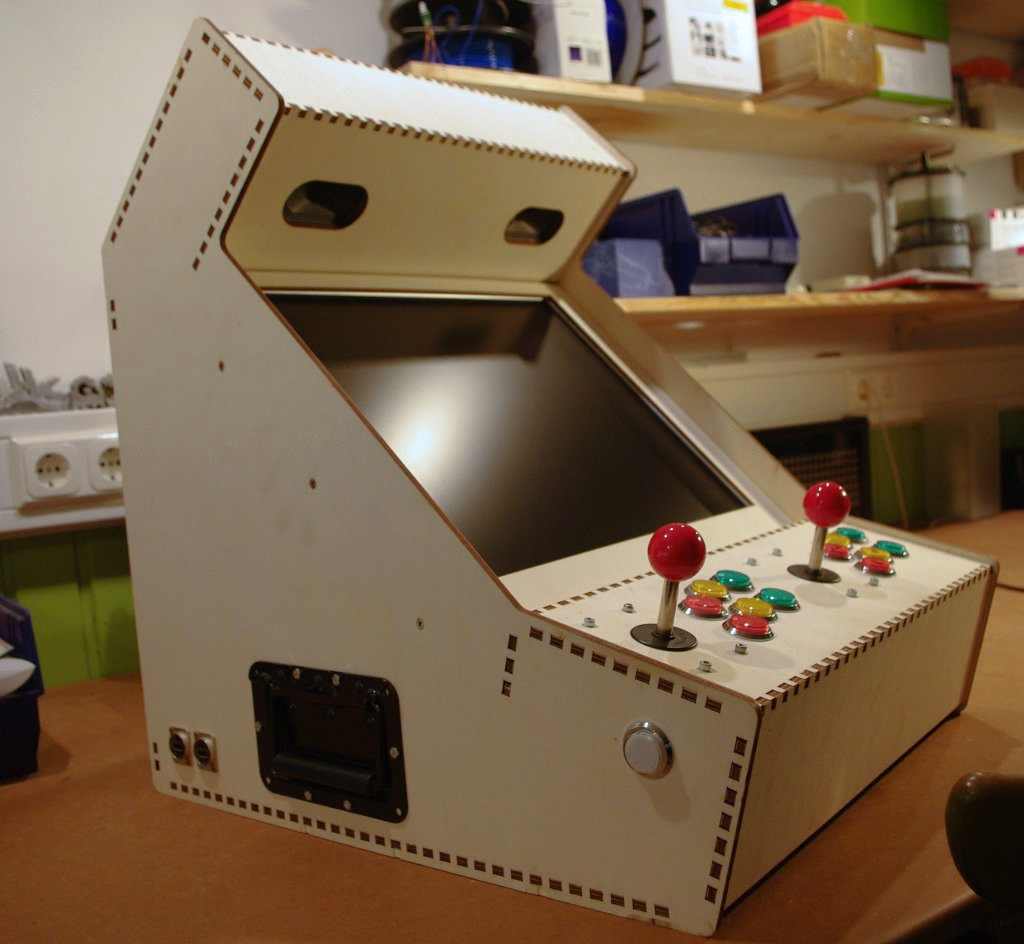
Every once in a while, there’s a Hackaday article where the comments are hands-down the best part of a post. This happened this week with Al Williams’ Ask Hackaday: How Do You Make Front Panels?. I guess it’s not so surprising that the comments were full of awesome answers – it was an “Ask Hackaday” after all. But you all delivered!
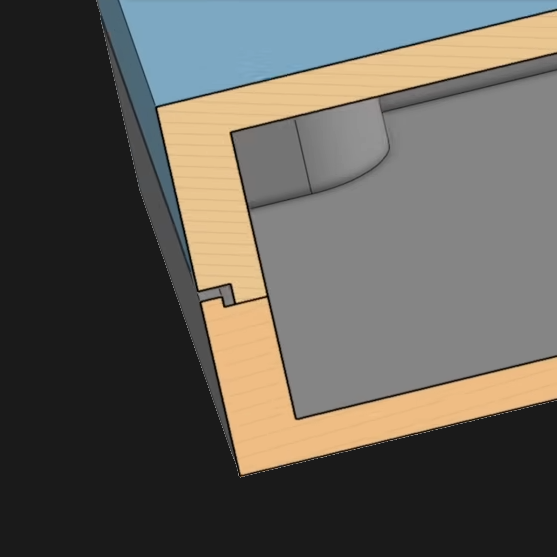
A technique that I had never considered came up a few times: instead of engraving the front of an opaque panel, like one made of aluminum or something, instead if you’re able to make the panel out of acrylic, you can paint the back side, laser or engrave into it, and then paint over with a contrast color. Very clever!
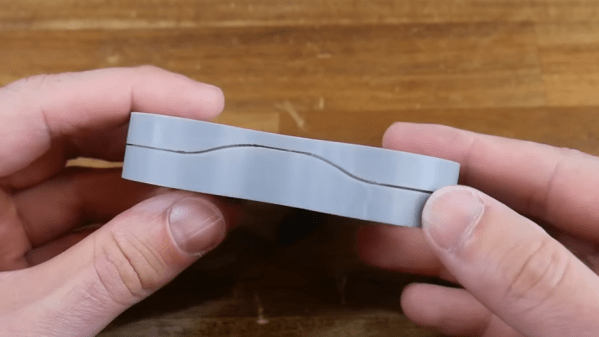
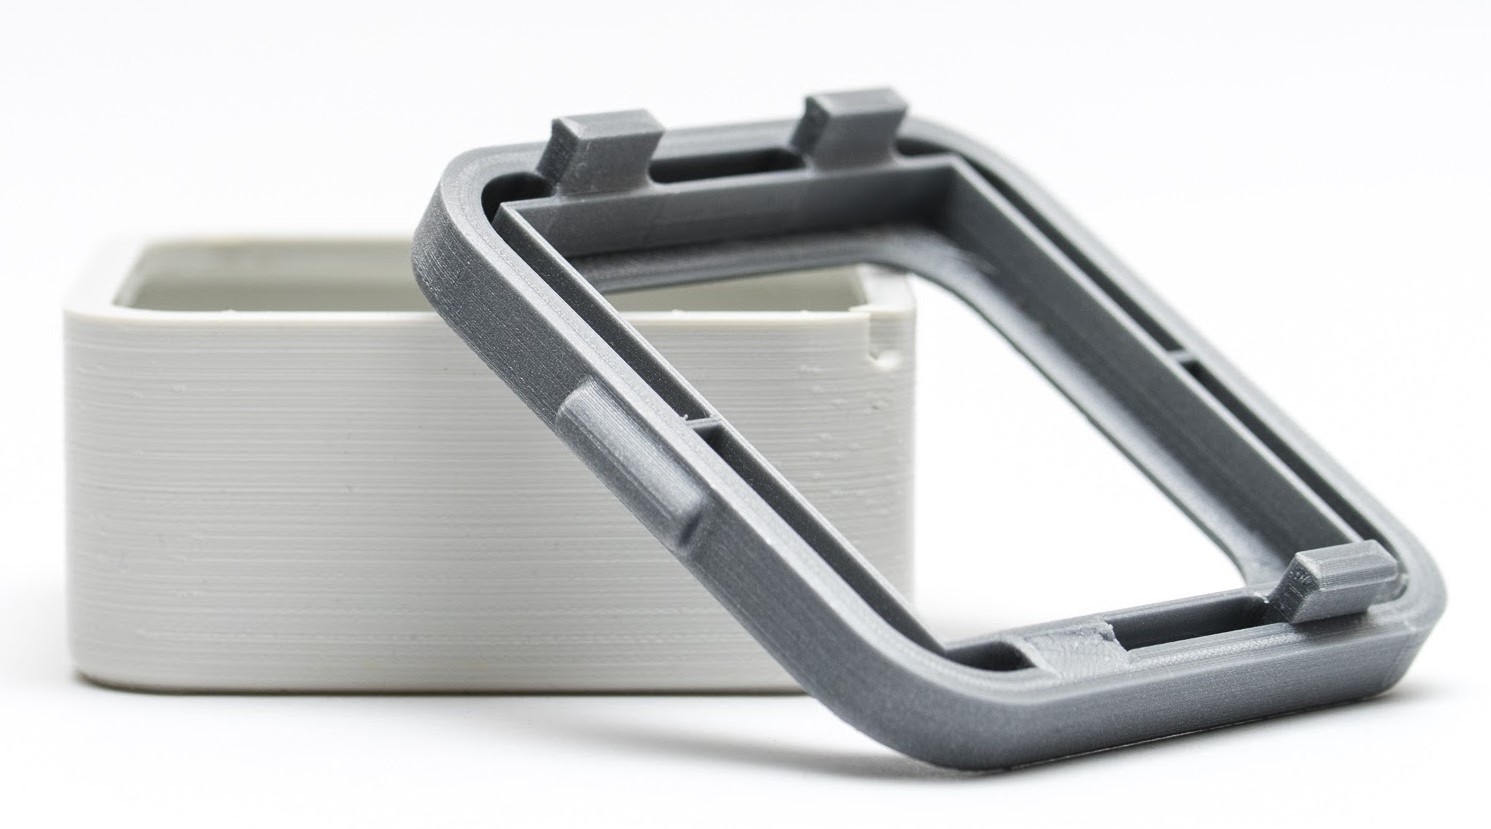
Simply printing the panel out onto paper and laminating it got a number of votes, and for those who are 3D printing the enclosure anyway, simply embossing the letters into the surface had a number of fans. The trick here is in getting some contrast into the letters, and most suggested changing filament. All I know is that I’ve tried to do it by painting the insides of the letters white, and it’s too fiddly for me.
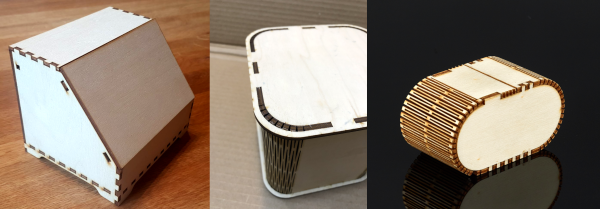
But my absolute favorite enclosure design technique got mentioned a number of times: cardboard-aided design. Certainly for simple or disposable projects, there’s nothing faster than just cutting up some cardboard and taping it into the box of your desires. I’ll often do this to get the sizes and locations of components right – it’s only really a temporary solution. Although some folks have had success with treating the cardboard with a glue wash, paint, or simply wrapping it in packing tape to make it significantly more robust. Myself, if it ends up being a long-term project, I’ll usually transfer the cardboard design to 3DP or cut out thin plywood.
I got sidetracked here, though. What I really wanted to say was “thanks!” to everyone who submitted their awesome comments to Al’s article. We’ve had some truly hateful folks filling the comment section with trash lately, and I’d almost given up hope. But then along comes an article like this and restores my faith. Thanks, Hackaday!