If your shop comes complete with a MIG welder, an acetylene torch, and an air hammer, then you have more options than most when it comes to removing broken bolts.
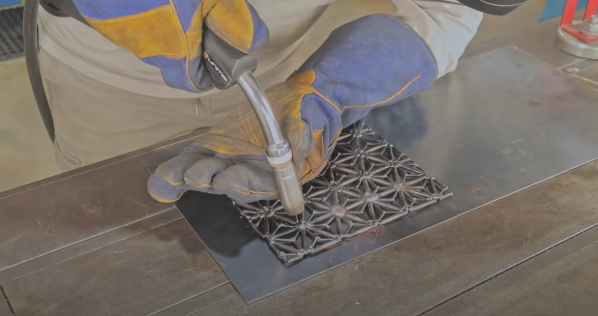
In this short video [Jim’s Automotive Machine Shop, Inc] takes us through the process of removing a broken manifold bolt: use a MIG welder to attach a washer, then attach a suitably sized nut and weld that onto the washer, heat the assembly with the acetylene torch, loosen up any corrosion on the threads by tapping with a hammer, then simply unscrew with your wrench! Everything is easy when you know how!
Of course if your shop doesn’t come complete with a MIG welder and acetylene torch you will have to get by with the old Easy Out screw extractor like the rest of us. And if you are faced with a nasty bolt situation keep in mind that lubrication can help.
Continue reading “Using A MIG Welder, Acetylene Torch, And Air Hammer To Remove A Broken Bolt”