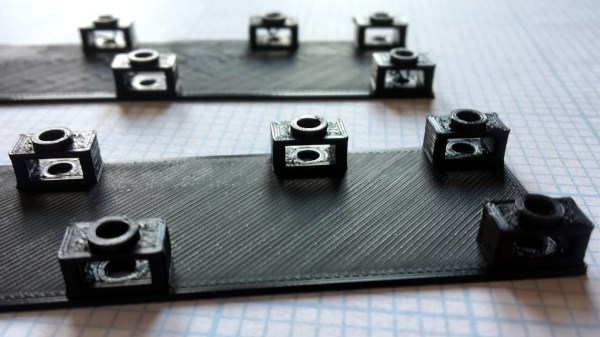
[Tommy] shares a simple 3D printing design tip that will be self-evident to some, but a bit of a revelation to others: the concept of a sacrificial bridge to avoid awkward support structures. In the picture shown, the black 3D print has small bridges and each bridge has a hole. The purpose of these bits is to hold a hex nut captive in the area under the bridge; a bolt goes in through the round hole in the top.
Readers familiar with 3D printing will see right away that printing the bridges might be a problem. When a printer gets to the first layer of the bridge, it will be trying to lay filament in empty space. By itself this is not usually a problem as long as a bridge is short, flat, and featureless. Unfortunately this bridge has a hole in it, and that hole means the printer will be trying to draw circles in mid-air, rather than simply stretching filament point-to-point across a gap. One solution would be to add a small amount of support structure, but that just moves the problem. Removing small supports from enclosed spaces can be a real hassle.
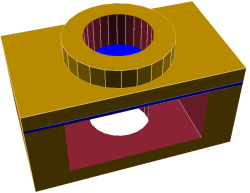 To solve this [Tommy] added what he calls a “sacrificial bridge”, shown as blue in the CAD image. He essentially gives the hole a flat bottom, so that the printer first lays down a thin but solid bridge as a foundation. Then, the portion with the round hole is printed on top of that. With this small design change, the print becomes much more reliable with no support structure required.
There is a bit of post-work involved since each hole needs to be drilled out to punch through the thin sacrificial bridge underneath, but it definitely beats digging out little bits of support structure instead.


