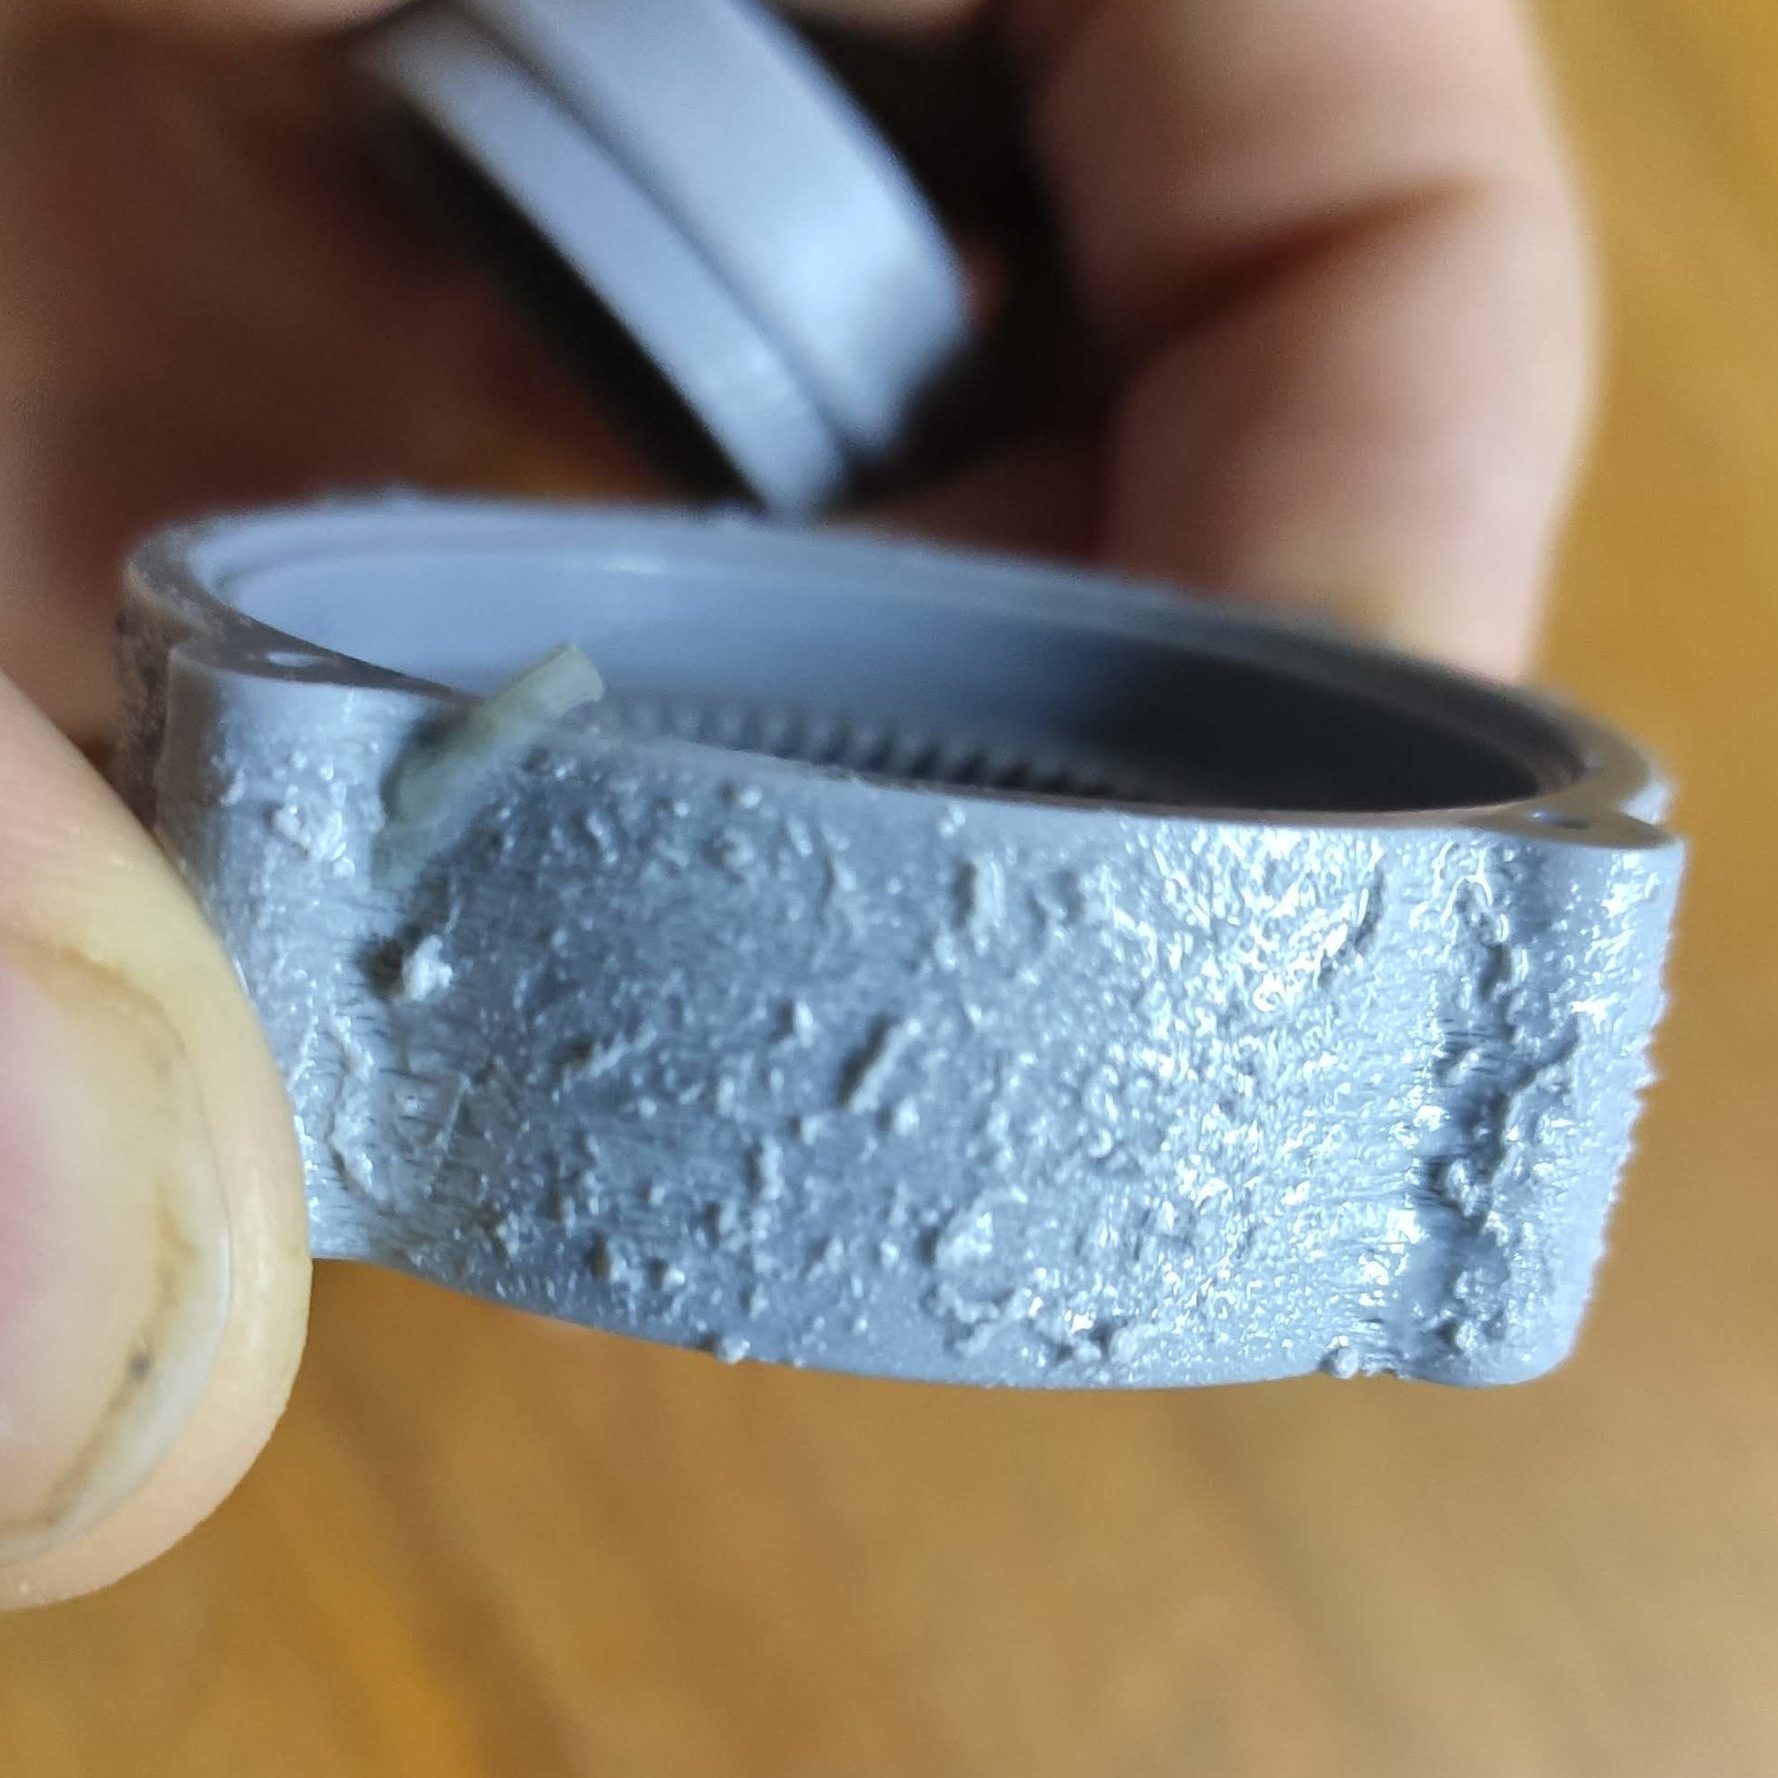
Screws are useful fasteners for 3D prints, but the effectiveness of a screw (not to mention the ease or hassle of insertion) depends on the hole itself. This comprehensive guide on how to design screw holes in 3D printed parts takes guesswork out by providing reference tables as well as useful general tips.
The guide provides handy tables saying exactly how big to design a hole depending on screw type, material (PLA, PETG, or high-flow PETG) and whether the hole is printed in a vertical or horizontal orientation. This takes the guesswork out of screw hole design.
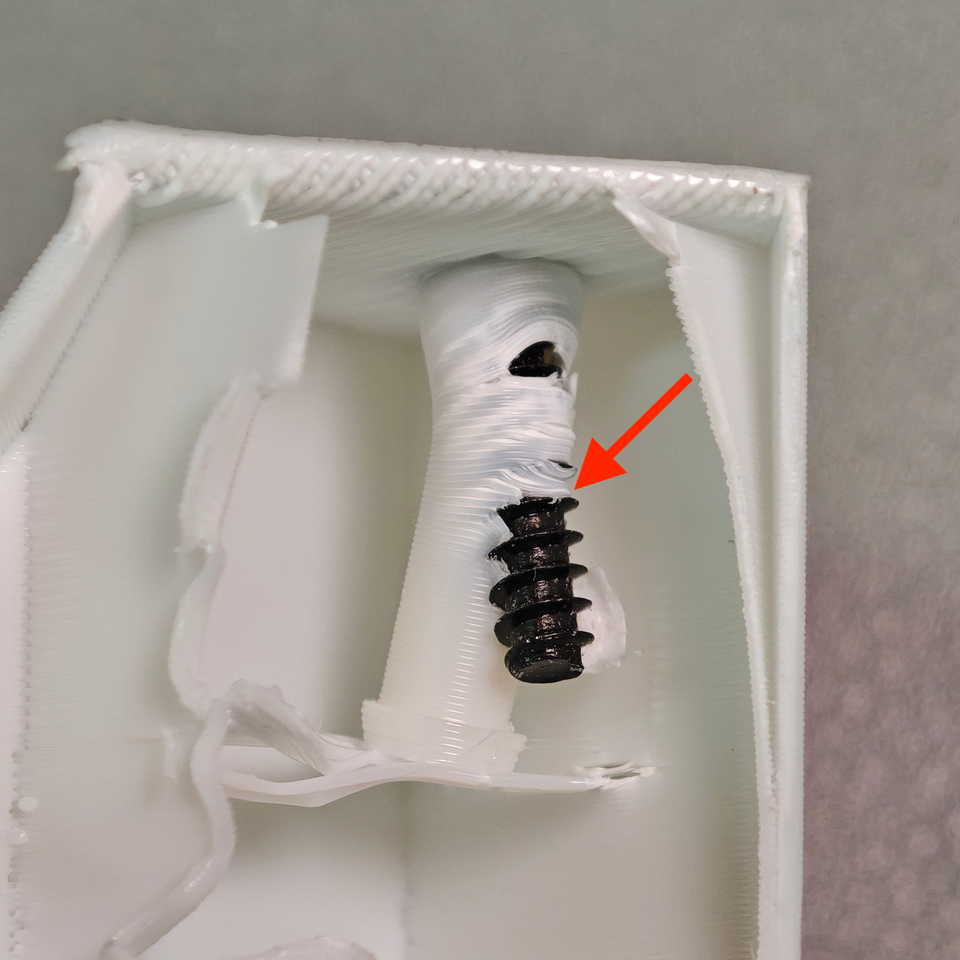
The reason for different numbers is because multiple (but predictable) variables affect a 3D-printed hole’s final dimensions. Shrinkage, filament properties, and printing orientation can all measurably affect small features like screw holes; accounting for these is the difference between a good fit, and cracking or stripping.
In addition to the tables, there are loads of other useful tips. Designing lead-ins makes screws easier to insert and engage, and while increasing walls is an easy way to add strength it’s also possible to use 3D-printed microfeatures which are more resistant to distortion and don’t depend on slicer settings. There’s even suggested torque amounts for different screw and material types.
Sure, the most reliable way to get a hole of a known size is to drill it out yourself. But that’s an extra step, and drill bits aren’t always at hand in the desired sizes. The guide shows that it is entirely possible to print an ideal screw hole by taking a few variables into account.
If your design calls for screws, be sure to check it out and see if there’s anything you can use in your own designs.


![Wearables queen [Becky Stern] with a microcontroller and a speaker. And a skull!](https://hackaday.com/wp-content/uploads/2025/01/becky-stern-800.jpg?w=600&h=450)