[Chris] recently moved a vintage IBM 5150 – the original PC – into his living room. While this might sound odd to people who are not part of the Hackaday readership, it actually makes a lot of sense; this PC is a great distraction-free writing workstation, vintage gaming machine, and looks really, really cool. It sat unused for a while, simply because [Chris] didn’t want to swap out piles of floppies, and he doesn’t have a hard drive or controller card for this machine. After reviewing what other retrocomputer fans have done in this situation, he emulated a hard drive with a Raspberry Pi.
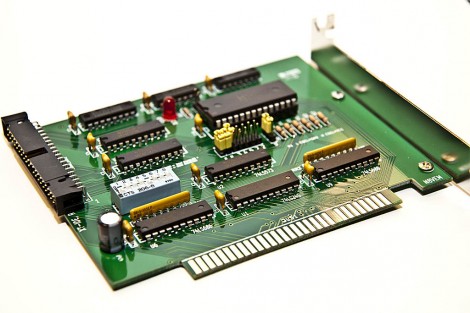
The traditional solution to the ‘old PC without a hard drive’ problem is the XTIDE project. XTIDE is a controller card that translates relatively new IDE cards (or an emulated drive on another computer) as a hard drive on the vintage PC, just like a controller card would. Since a drive can be emulated by another computer, [Chris] grabbed the closest single board computer he had on hand, in this case a Raspberry Pi.
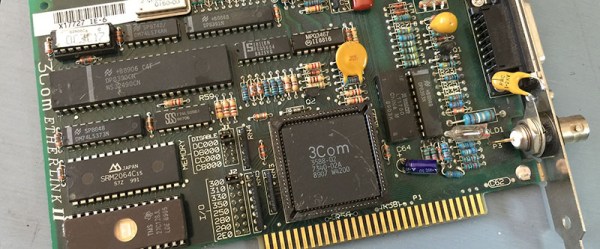
After burning an EPROM with XTIDE to drive an old network card, [Chris] set to work making the XTIDE software function on the Raspberry Pi side of things. The hardware on the modern side of the is just a Pi and a USB to RS232 adapter, set to a very low bitrate. Although the emulated drive is slow, it is relatively huge for computer of this era: 500 Megabytes of free space. It makes your head spin to think of how many vintage games and apps you can fit on that thing!


