In the early 1990s, Don’t Copy That Floppy was an anti-piracy campaign that attempted to connect with computer-savvy youth through the power of hip-hop. While somewhat difficult to imagine given our current draconian Digital Rights Management (DRM) hellscape, warning kids about the potential legal ramifications of duplicating floppy disks containing copyrighted software was seen as necessary since at the time there was usually nothing preventing users from simply copying the contents of one disk to another.
Unfortunately 30+ years down the road, we’re now finding that somebody really should have been backing up some of those disks. Which is why the University of Cambridge of launched the Future Nostalgia project and produced Copy That Floppy! — a phenomenal guide on preserving the contents of floppy disks while we still can.
There’s no telling how much data could potentially be lost to time because its stuck on such an antiquated and fragile storage media, and the situation only gets worse with the passage of time. The problem isn’t just that modern computers don’t have floppy drives. The disks themselves degrade with age, a process which is accelerated if they aren’t stored properly.
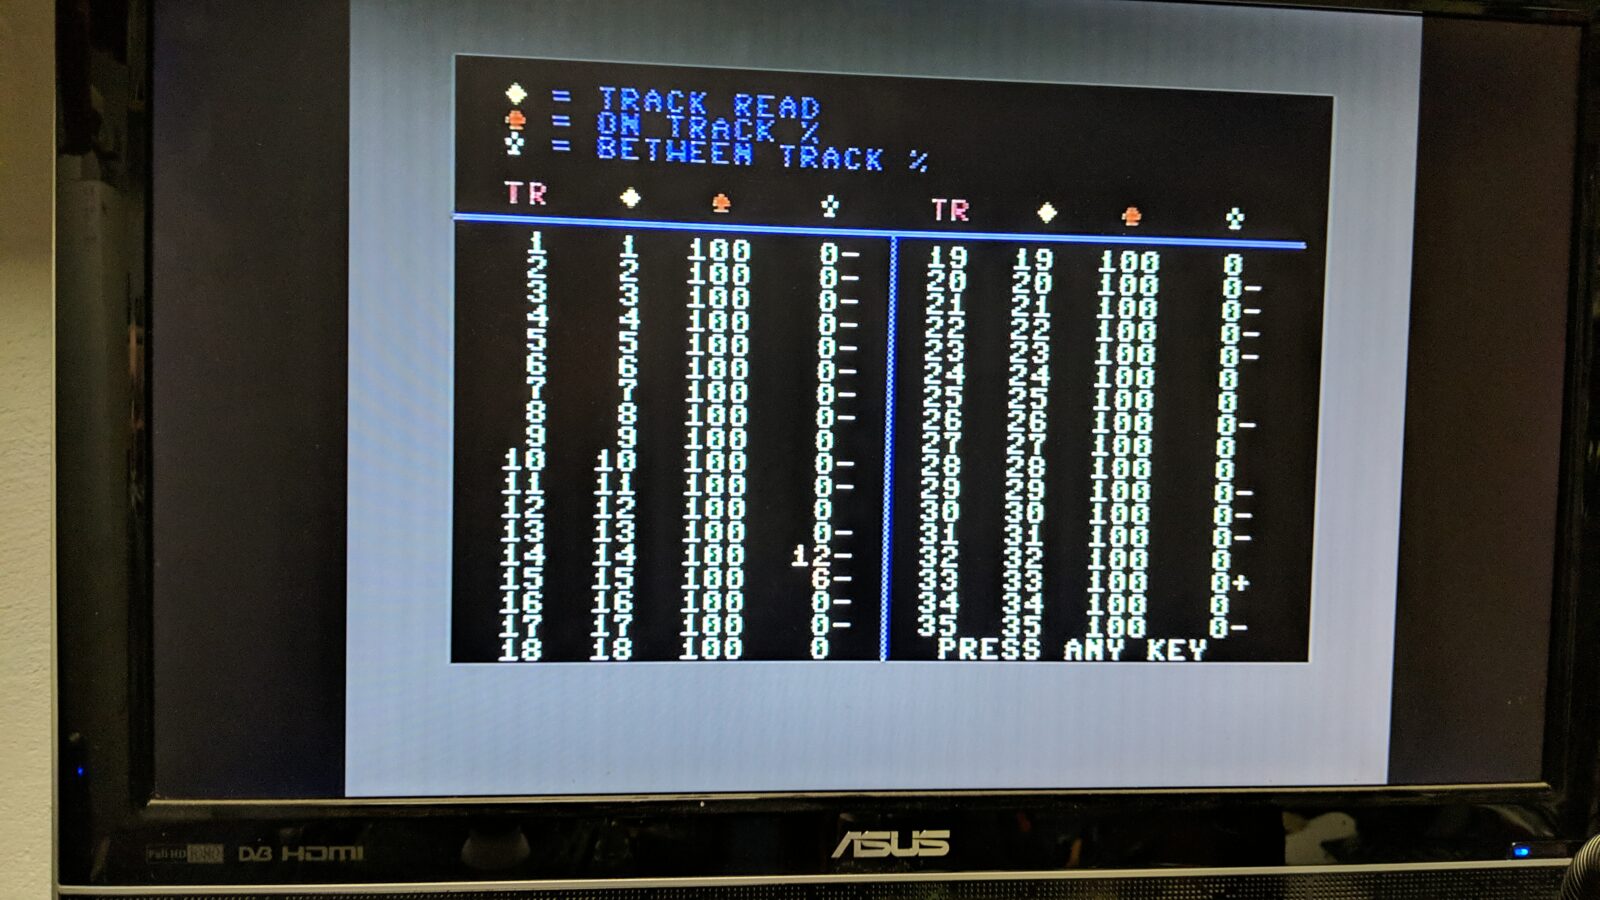
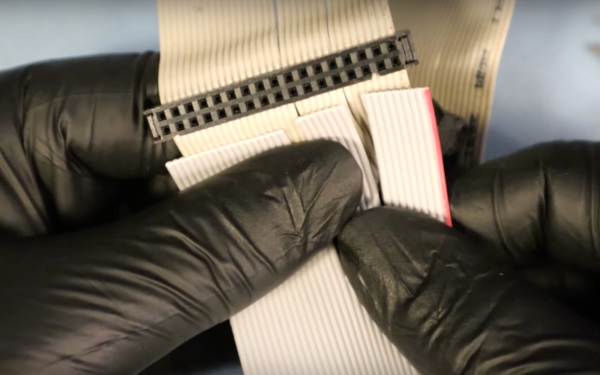
As such, Copy That Floppy! only briefly touches on the most ideal situation — that is, buying a USB floppy drive and making copies of the bog standard 3.5 inch disks you might come across. It then moves right on into more advanced topics, such as interfacing with less common drive types, how to safely clean floppies, and the use of advanced tools such as Greaseweazle to analyze captured disk images.
We’ve seen demonstrations of some of these techniques before, and a few years back Adafruit got interested in floppy preservation with modern hardware. But in-depth guides like these that pull all that information together into one place are valuable resources.


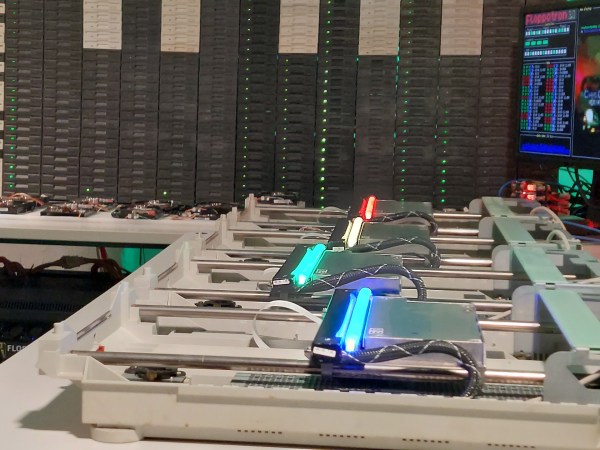
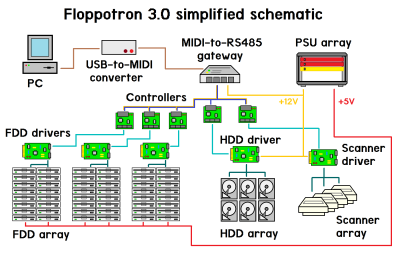 the collection of instrument controllers. These controllers are generic enough to take RS485 input and control a dedicated driver for either an array of floppy drives (up to 192), an array of hard drives or the handful of scanners. The way the floppy drives are grouped is quite neat. Rather than using each drive to generate a specific tone, the software uses the whole column for each note. By varying the number of drives moving simultaneously over time, the sound volume varies, simulating the note envelope and giving a richer sound. Multiple columns driving in parallel give the system a 16-note polyphony. The floppies cover the low notes, with the four flatbed scanners covering the higher notes. MIDI drum sounds are mapped to the hard disks, operating in a, well, percussive manner, with different case shapes giving unique sounds. Even the firmware can be updated over MIDI! So, checkout the demo video after the break for a sweet rendition of the very familiar “Entry of the gladiators” by