Liquid Cooling Keeps This Electronic Load’s MOSFETs From Burning

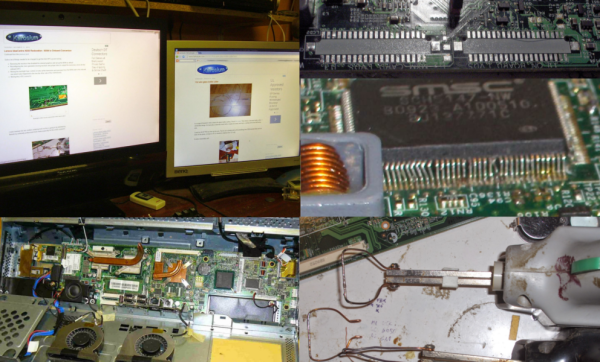
Problem: your electronic load works fine, except for the occasional MOSFET bursting into flames. Solution: do what [tbladykas] did, and build a water-cooled electronic load.

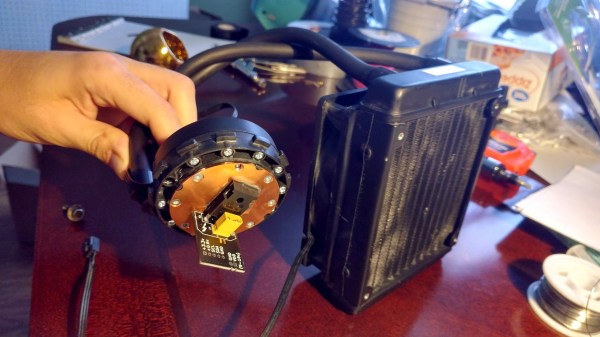
One can quibble that perhaps there are other ways to go about preventing your MOSFETs from burning, including changes to the electrical design. But he decided to take a page from [Kerry Wong]’s design book and go big. [Kerry]’s electronic load was air-cooled and capable of sinking 100 amps; [tbladykas] only needed 60 or 70 amps or so. Since he had an all-in-one liquid CPU cooler on hand, it was only natural to use that for cooling.

The IXYS linear MOSFET dangles off the end of the controller PCB, where the TO-247 device is soldered directly to the copper cold plate of the AiO cooler. This might seem sketchy as the solder could melt if things got out of hand, but then again drilling and tapping the cold plate could lead to leakage of the thermal coupling fluid. It hasn’t had any rigorous testing yet – his guesstimate is 300 Watts dissipation at this point – but as his primary endpoint was to stop the MOSFET fires, the exact details aren’t that important.

We’ve seen a fair number of liquid-cooled Raspberry Pis and Arduinos before, but we can’t find an example of a liquid-cooled electronic load. Perhaps [tbladykas] is onto something with this design.

Extreme Repair Of An All-in-One PC

While browsing a local auction site, [Viktor] found himself bidding on a beat up Lenovo A600 all-in-one PC. He bid around $50 and won. Then came the hard part – actually making the thing work. The front glass was cracked, but the LCD was thankfully unharmed. The heat pipes looked like they had been attacked with monkey wrenches. The superIO chip’s pins were mangled, and worst of all, the MXM video card was dead.

The first order of business was to fix the superIO chip’s pins and a few nearby discrete components which had been knocked off their pads. Once that was done, [Viktor] was actually able to get the computer to boot into Linux from a USB flash drive. The next step was bringing up the display. [Viktor] only needed a coding station, so in addition to being dead, the video accelerator on the MXM wasn’t very useful to him. The Lenovo’s motherboard was designed to support video on an MXM card or internal video. Switching over meant changing some driver settings and moving a few components, including a rather large LVDS connector for the display itself. A difficult task, compounded by the fact that [Viktor’s] soldering tools were a pair of soldering guns that would be better suited to fixing the bodywork on a ’57 Chevy. He was able to fashion a hot wire setup of sorts, and moved the connector over. When he was done, only one tiny solder bridge remained!

The end result is a new coding battle station for [Viktor] and a computer which was a basket case is saved from the landfill. If you like this hack, check out [Viktor’s] low power PSU, or his 1 wire network!