[BPS.space] takes model rocketry seriously, and their rockets tend to get bigger and bigger. If there’s one thing that comes with the territory in DIY rocketry, it’s the constant need to solve new problems.
One such problem is how to coat the inside of a rocket motor tube with a thermal liner, and their solution is a machine they made and called the Limb Remover 6000 on account of its ability to spin an 18 kg metal tube at up to 1,000 rpm which is certainly enough to, well, you know.
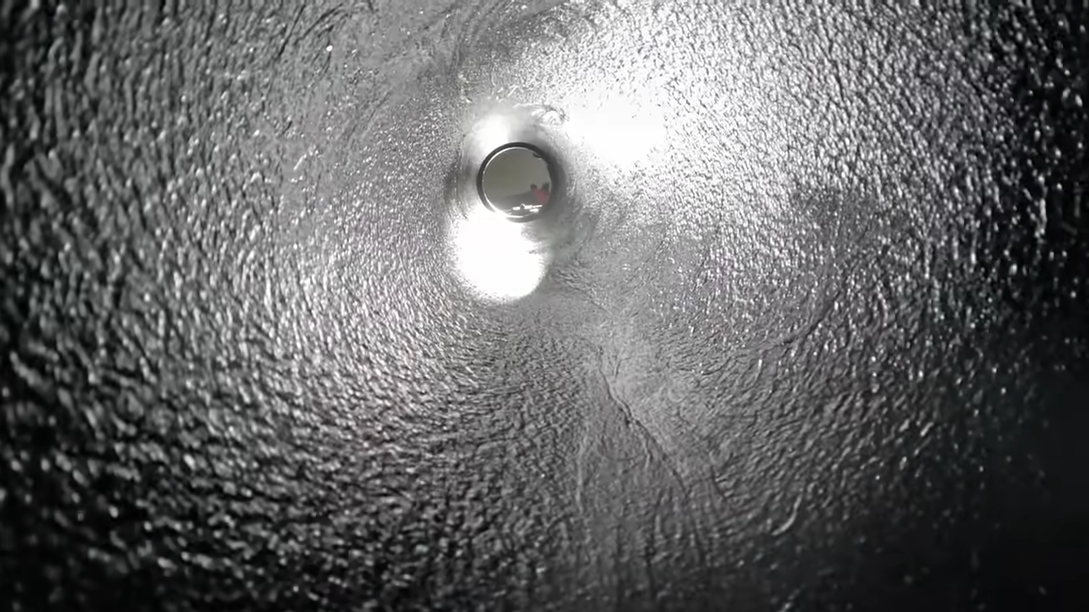
One problem is that the mixture for the thermal liner is extremely thick and goopy, and doesn’t pour very well. To get an even layer inside a tube requires spin-casting, which is a process of putting the goop inside, then spinning the tube at high speed to evenly distribute the goop before it cures. While conceptually straightforward, this particular spin-casting job has a few troublesome difficulties.
For one thing, the uncured thermal liner is so thick and flows so poorly that it can’t simply be poured in to let the spinning do all the work of spreading it out. It needs to be distributed as evenly as possible up front, and [BPS.space] achieves that with what is essentially a giant syringe that is moved the length of the tube while extruding the uncured liner while the clock is ticking. If that sounds like a cumbersome job, that’s because it is.
The first attempt ended up scrapped but helped identify a number of shortcomings. After making various improvements the second went much better and was successfully tested with a 12 second burn that left the tube not only un-melted, but cool enough to briefly touch after a few minutes. There are still improvements to be made, but overall it’s one less problem to solve.
We’re always happy to see progress from [BPS.space], especially milestones like successfully (and propulsively) landing a model rocket, and we look forward to many more.
Continue reading “Applying Thermal Lining To Rocket Tubes Requires A Monstrous DIY Spin-caster”