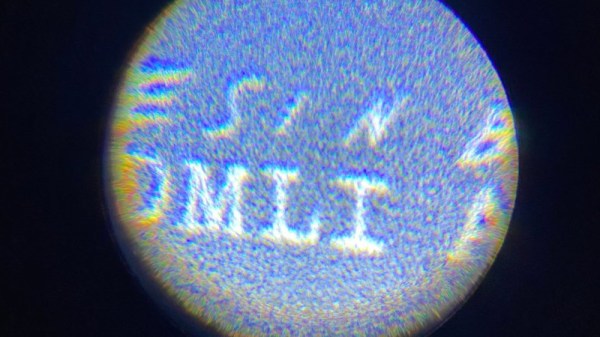
If you spent your youth watching James Bond or similar movies on rainy Saturday afternoons, then you may be familiar with a microdot as a top-secret piece of spy equipment, usually revealed as having been found attached to a seemingly innocuous possession of one of the bad guy’s henchmen, which when blown up on the screen delivers the cryptic yet vital clue to the location of the Evil Lair. Not something you give much thought in 2020 you might think, but that’s reckoning without [Sister HxA], who has worked out how to make them herself and detailed the process in a Twitter thread.
A microdot is a tiny scrap of photographic film, containing the image of some secret document or other, the idea being that it is small enough to conceal on something else. The example she gives is hiding it underneath a postage stamp. Because of their origins in clandestine work there is frustratingly little info on how to produce them, but she found a set of British instructions. Photographing a sheet such that its image occupies a small portion of her negative she makes a postage-stamp-sized one, and with care photographing that she manages to produce another of only a few millimetres in size. The smaller one isn’t very legible, but it’s still a fascinating process.
While we’re shopping at Q branch, how about an air-gun pen worthy of James Bond?


