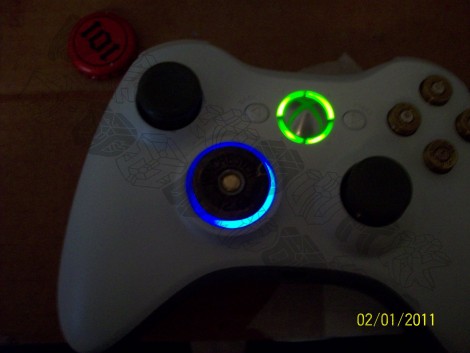
[Jrfhoutx] makes gaming in the dark a bit easier with this backlight shotgun shell d-pad for an Xbox 360 controller. He’s building on another tutorial he posted showing how to use the brass base of a shotgun shell to replace the stock plastic direction pad. That hack uses most of the original plastic part, cutting it down a bit and capping it off with the shell base. But now he’s detailing the process used to add LEDs around the base. He picked surface mount 0603 packages which are first chained together, then held in place using hot glue. While you’re in there, give this rapid-fire mod a try as well.
Day: February 4, 2011
A Briefing On Integrated Circuits
Although technology is constantly racing to faster / smaller / more, so many of the fundamentals of how it is made remains similar, if not the same. This interesting 30 minute video clip [thanks to The Computer History Museum] was made in 1967 by Fairchild Semiconductor as a briefing on integrated circuits, and shows the different steps to produce ICs including:
Design, making the photo masks, manufacturing the silicon ingots, preparing the wafers, building of the circuit and its components (like transistors, resistors, and capacitors), testing, and final packaging. Add in some other cool items of interest such as a 1960’s pick n place machine, wave soldering, an automatic wirewrap machine, and toss in some retro computer action and it’s surely a video worth watching, with something for everyone.
So join us after the break, kick back and enjoy the show!
USB Controller For Multiple Servos
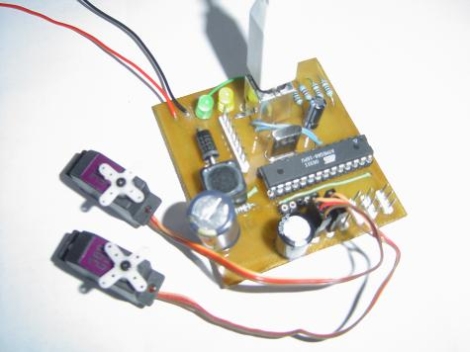
[dunk] constructed an easy to use AVR-based USB controller with the ability to drive up to six R/C hobby servos at once. While the USB-powered Atmega8 he used supplies the necessary PWM signaling for all of the servos, an external power supply rated up to 30v at 3A is necessary to provide the 5v of power each servo requires. His project is an extension of the USB servo controller built by [Ronald Schaten] and includes several significant upgrades. The addition of 5 more servos aside, [dunk] switched to AVRlib routines for multi-servo control and PWM management, as well as added the aforementioned power supply to prevent an excessive current draw on the USB port. His tutorial includes a complete parts list, Eagle PCB schematic, the required USB servo source code, as well as a sampling of commands that can be issued to the servo controller.
Remote Camera Trigger Built From Air Freshener Parts
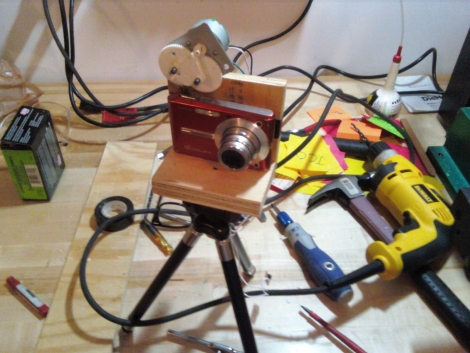
[jcopro] took a look at a Glade automatic air freshener he had sitting around and couldn’t help but open it up to determine how the mechanism worked. After taking it apart, he found that the automated system was comprised of a 3v motor, a series of gears, and a mechanical arm. When actuated, this arm simply pressed the spray nozzle of the air freshener canister contained within the device. After some consideration, he decided that the components would make a great remote trigger for his Casio point and shoot camera. He fabricated a small plywood rig including both the camera and air freshener components, which was able to be mounted on a tripod. [jcporo] also mentions that the air freshener has the ability to be triggered by a built-in timer. Although the presets are locked at 9, 18, and 36 minutes, he suggests that a 555 timer could easily be used to add some custom timing intervals when wired to the manual trigger. Be sure to check out his video of the remote trigger in action.