The 8-bit Web Server

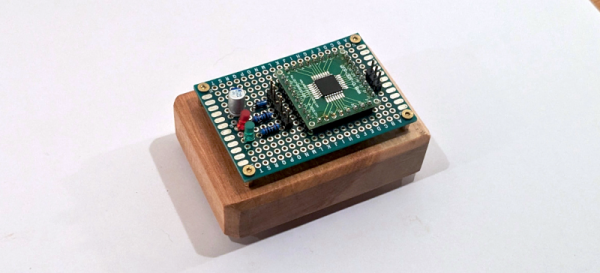
Even [maurycyz] doesn’t think it is a good idea, but it is possible to use an AVR 8-bit CPU to serve web pages. Of course, it is a vastly simplified web server, but it does serve pages — OK, technically just one page — to the public Internet.

Working backward, it is fairly easy to get the microcontroller to note an HTTP request and then simply spit out a prerecorded HTTP response to provide the page. The hard part is connecting the little processor to the network. The server is dead simple, just a CPU and a scant number of components like filter caps and LEDs. The trick is to use SLIP, an ancient protocol used to connect dial-up modem terminals to the network.

Linux supports SLIP, so the MCU connects to a Linux computer via SLIP. Then the Linux computer uses WireGuard to network with the remote web server that serves [maurycyz’s] site. The SLIP implementation assumes that IP packets aren’t fragmented, which is normally true these days. TCP was a bit more complicated since you have to track the connection state and possibly re-transmit lost packets. Still, nothing the AVR with 8 K of RAM and 64 K of flash can’t handle.

Practical? No. Cool? Sort of. Funny that a disposable vape has more CPU power. Of course, something like an ESP32 is an obvious choice.

Salvaged VFDs In Nixie-Like Clock

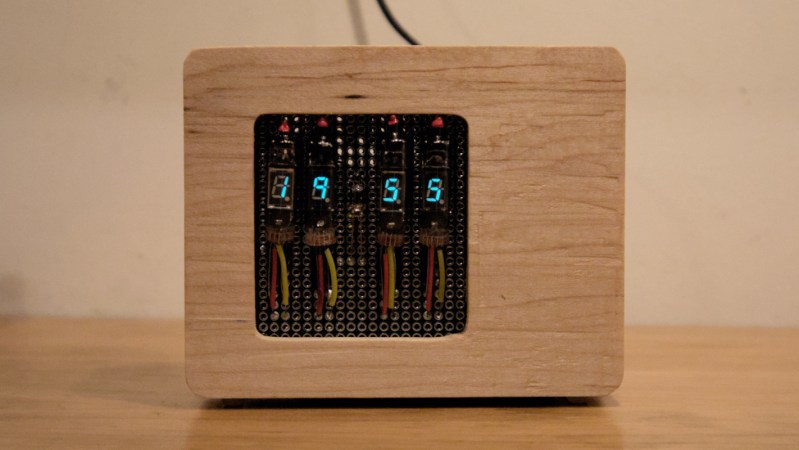
In between the Nixie tube era of the 50s and 60s and the advent of multi-digit vacuum fluorescent displays (VFDs) common in 80s and 90s consumer technology, there was a brief time in the early 70s where single-digit VFDs were commonplace. Superficially these devices look like Nixie tubes, but have a number of advantages to them including lower voltage, lower power requirements, and lower cost. [maurycyz] recently found a number of these salvaged from old calculators and used them to build a retro-themed clock.

[maurycyz] was not able to find datasheets for this display, but was able to reverse-engineer each of the digits. Similar to vacuum tubes there is a heater which has a few ohms of resistance, and from there each of the segments of the digit can be deduced by probing the 13 signal wires. These are analog devices in some respects, so a lot of experimentation had to go into driving the displays to find their optimal conditions. A quartz crystal was used for timekeeping with an AVR128DA28 microcontroller chosen to provide control for the digits, using seven pins as segment drivers and four as grid drivers. Each digit uses around 0.14 watts, so with all four digits on it can consume a little over half a watt. A simple wood enclosure rounds out the build.

As Nixie supply wears thin, VFDs like this can be an excellent stopgap or replacement while still building retro-themed displays like this clock or this calculator which uses similar VFDs for each digit.

Analog Video From An 8-Bit Microcontroller

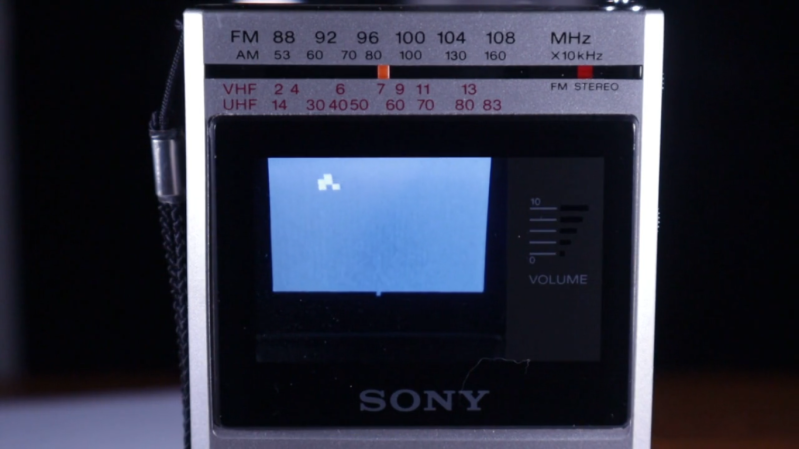
Although the CRT has largely disappeared from our everyday lives, there was a decades-long timeframe when this was effectively the only display available. It’s an analog display for an analog world, and now that almost everything electronic is digital, these amazing pieces of technology are largely relegated to retro gaming and a few other niche uses. [Maurycy] has a unique CRT that’s small enough to fit in a handheld television, but since there aren’t analog TV stations anymore, he decided to build his own with nothing but an 8-bit microcontroller and a few other small parts.

Continue reading “Analog Video From An 8-Bit Microcontroller”

Comprehensive Power Management For The Raspberry Pi

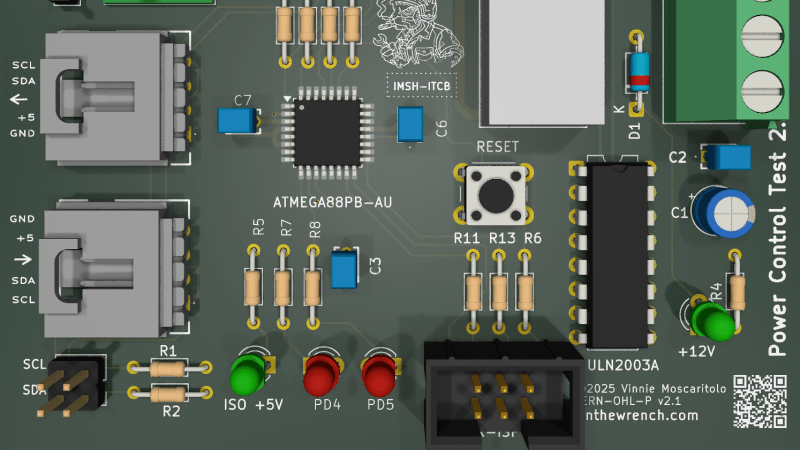
The Raspberry Pi has been a revolutionary computer in the maker space, providing a full Linux environment, GUI, and tons of GPIO and other interfacing protocols at a considerably low price. This wasn’t its original intended goal, though. Back in the early 2010s it was supposed to be an educational tool for students first, not necessarily a go-to for every electronics project imaginable. As such there are a few issues with the platform when being used this way, and [Vin] addresses his problems with its power management in his latest project.

[Vin]’s main issue is that, unlike a microcontroller, the Raspberry Pi doesn’t have a deep sleep function. That means that even when the operating system is shut down the computer is still drawing an appreciable amount of current, which will quickly drain some batteries. We’ve covered [Vin]’s farm and his use case for the Raspberry Pi in the past, but a quick summary is that these boards are being used in a very rugged environment where utility power isn’t as reliable as he would like.

In [Vin]’s post he not only outlines his design for the board but goes through his design process, starting by using discrete logic components and then trying out various microcontrollers until settling on an ATmega88. The microcontroller communicates with the Raspberry Pi over I2C where the Pi can request a power-down as well as a time for future power-on. A latching relay controlled by the microcontroller ensures the Pi doesn’t drain any battery while the ATmega can put itself into actual sleep in the meantime.

The build for this project goes into an impressive amount of detail, and not only are the designs and code available on the project’s GitHub page but [Vin] also wrote another blog post which uses this project to go over his design philosophy more broadly.

Homebrew Phosphorescence Detector Looks For The Glow In Everyday Objects

Spoiler alert: almond butter isn’t phosphorescent. But powdered milk is, at least to the limit of detection of this homebrew phosphorescence detector.

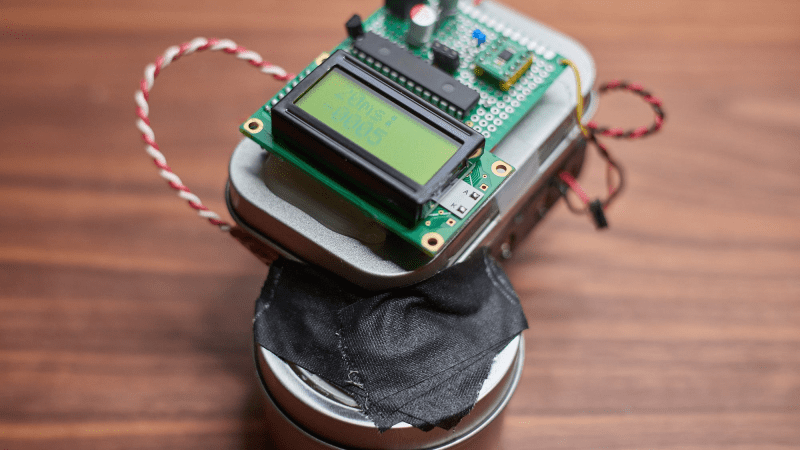
Why spend a bunch of time and money on such a thing? The obvious answer is “Why not?”, but more specifically, when [lcamtuf]’s son took a shine (lol) to making phosphorescent compounds, it just seemed natural for dad to tag along in his own way. The basic concept of the detector is to build a light-tight test chamber that can be periodically and briefly flooded with UV light, charging up the putatively phosphorescent compounds within. A high-speed photodiode is then used to detect the afterglow, which can be quantified and displayed.

The analog end of the circuit was the far fussier end of the design, with a high-speed transimpedance amplifier to provide the needed current gain. Another scaling amp and a low-pass filter boosts and cleans up the signal for a 14-bit ADC. [lcamtuf] went to great lengths to make the front end as low-noise as possible, including ferrite beads and short leads to prevent picking up RF interference. The digital side has an AVR microcontroller that talks to the ADC and runs an LCD panel, plus switches the 340 nm LEDs on and off rapidly via a low gate capacitance MOSFET.

Unfortunately, not many things found randomly around the average home are all that phosphorescent. We’re not sure what [lcamtuf] tried other than the aforementioned foodstuffs, but we’d have thought something like table salt would do the trick, at least the iodized stuff. But no matter, the lessons learned along the way were worth the trip.

You Can Program AVRs From The Commodore 64

These days, most of our microcontroller boards come with bootloaders so you can squirt hex into them straight over USB. However, you don’t need to do things this way. If you’re more old school, you can program your AVRs right from a Commodore 64. [Linus Akesson] shows us how.

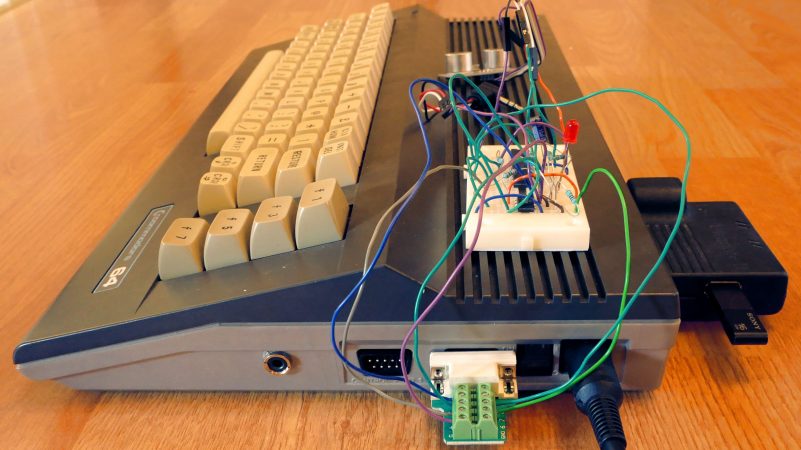
Programming an AVR isn’t that hard. By holding the chip in reset, it’s possible to flash code via a serial protocol using just three wires. However, that’s pretty impractical to do with modern PCs — they don’t come with addressable IO pins anymore. Normally, you’d use a dedicated programmer to do the job, but [Linus] found his had died on a Friday night. So he set about turning his C64 into one instead.

He decided to use the pins of the C64’s Joystick Port 2, with pins 1, 2, 3, and 4 hooked up to SCK, MOSI, Reset, and MISO on the AVR, respectively. 5 V and Ground were also provided courtesy of the C64’s port. He then whipped up a simple bit of assembly code to read a bit of AVR hex and spit it out over the Joystick port following the in-circuit programming protocol. With a 1541 Ultimate to load files on to the C64 in hand, it was easy to pull his compiled AVR program off his modern PC, chuck it on the C64, and then get the old Commodore to program the AVR in turn.

It’s not the first time [Linus] has wowed us with a C64 in hand. If you’ve got your own fresh projects for the best-selling computer of all time, don’t hesitate to let us know!

Pushing Crates In 8-bit Color

Moore’s law isn’t strictly holding anymore, but it is still true that most computing systems are at least trending towards lower cost over time, if not also slightly smaller size. This means wider access to less expensive hardware, even if that hardware is still an 8-bit microcontroller. While some move on to more powerful platforms as a result of this trend, there are others still fighting to push these platforms to the edge. [lcamtuf] has been working to this end, stretching a small AVR microcontroller to not only play a classic video game, but to display it on a color display. Continue reading “Pushing Crates In 8-bit Color”