Embed With Elliot: Keeping It Integral

If there’s one thing that a lot of small microcontrollers hate (and that includes the AVR-based Arduini), it’s floating-point numbers. And if there’s another thing they hate it’s division. For instance, dividing 72.3 by 12.9 on an Arduino UNO takes around 32 microseconds and 500 bytes, while dividing 72 by 13 takes 14 microseconds and 86 bytes. Multiplying 72 by 12 takes a bit under 2.2 microseconds. So roughly speaking, dividing floats is twice as slow as dividing (16-bit) integers, and dividing at all is five to seven times slower than multiplying.

There’s a whole lot of the time that you just don’t care about speed. For instance, if you’re doing a calculation that only runs infrequently, it doesn’t matter if you’re using floats or slow division routines. But if you ever find yourself in a tight loop that’s using floating-point math and/or doing division, and you need to get a bit more speed, I’ve got some tips for you.

Some of these tips (in particular the integer division tricks at the end) are arcane wizardry — only to be used when the situation really calls for it. But if you’re doing the same calculations repeatedly, you can often gain a lot just by giving the microcontroller numbers in the format it natively understands. Have a little sympathy for the poor little silicon beasties trapped inside!

Continue reading “Embed With Elliot: Keeping It Integral”

Modifying A Raspberry Pi 2 To Fit In Small Places

Still can’t get your hands on a Pi Zero? We know. Why not de-solder a few headers from a Raspberry Pi 2 to fit in your next project instead? Using a pair of 2.5″ HDD enclosures, [nodenet] made a mini linux laptop using the Raspberry Pi 2 — It even has a touch screen, and features a 1000mAh battery!

All in all it cost him about $120 for all the components, but before you JrECiM0rush out to make your own, you will need pretty good skills with a soldering iron to successfully downsize your Raspberry Pi 2. The modifications require removing both USB ports, the Ethernet plug, the GPIO pins, the HDMI port, the A/V jack and the camera connectors.

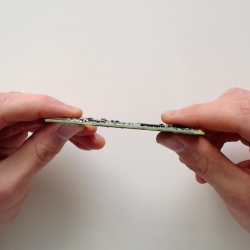
He used a combination of a mini hacksaw, and a soldering iron to remove all the components — what you’re left with his a business card sized computer — but the real fun part is re-attaching all the components with leads.

Continue reading “Modifying A Raspberry Pi 2 To Fit In Small Places”

IntelliServo

Servos are extremely versatile actuators used in a large number of applications which need controlled mechanical movement. The usual way of driving them is by using a PWM output from a micro-controller. But if you’re building a robot or a drone which requires a large number of servos, then it makes sense to add smarts directly to the servo.

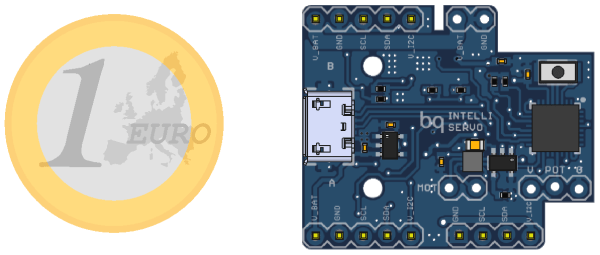
[Alvaro Ferrán Cifuentes] did just that by building IntelliServo – an add on board which makes regular servos smart by giving them enhanced capabilities as found in high-end versions. His approach is different compared to other takes on this theme. The IntelliServo is designed to replace the electronics in any regular servo and is not limited to any particular make or type. Once upgraded, it’s possible to read the servos position, temperature and current consumption. This allows interesting uses, such as controlling one servo by moving another one, or detecting collision or stalling by monitoring the servo current. Multiple servos can be daisy-chained and controlled over I²C from a micro-controller, or over USB directly from a computer. Each board features an LPC11U24 32-bit Cortex-M0 micro-controller, a DRV8837 motor driver, a TMP36 temperature sensor and a PCA9508 I²C repeater.

The project is open source and the Github repository contains the board design, Arduino library and examples, servo firmware and mechanical parts as well as use instructions. It’s a modular design which allows using either an external controller or running it directly via the on-board micro-USB socket. Check out the videos after the break to see the IntelliServo in action.

Continue reading “IntelliServo”