Thanks to the holiday gifting cycle, many homes are newly adorned with 3D printers. Some noobs are clearly in the “plug and play” camp, looking for a user experience no more complicated than installing a new 2D printer. But most of us quickly learn that adding a dimension increases the level of difficulty substantially, and tinkering ensues.
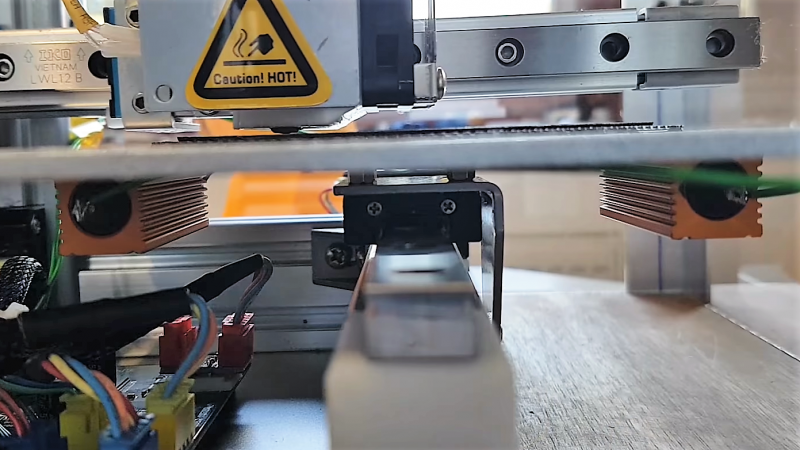
 One such tinkerer, [Marco Reps], has been taking his new Cetus 3D printer to new places, and his latest video offers a trio of tips to enhance the user experience of this bare-bones but capable printer. First tip: adding a heated bed. While the company offers a heated aluminum bed for ABS and PETG printing at a very reasonable price, [Marco] rolled his own. He bolted some power resistors to the aluminum platen, built a simple controller, and used the oversized stock power supply to run everything.
To contain the heat, tip two is an enclosure for the printer. Nothing revolutionary here — [Marco] just built a quick cover from aluminum profiles and acrylic.
But the clear case allows for tip number three, the gem of this video: synchronized time-lapse photography. Unhappy with the jerky time-lapse sequences that are standard fare, he wrote a Python program that uses OpenCV to compare webcam frames and save those that are similar to the last saved frame. This results in super smooth time-lapse sequences that make it look like the print is being extruded as a unit. Pretty neat stuff.
Did you find a 3D printer under your Festivus Pole, and now you’re wondering what’s next? Check out [Tom Nardi]’s guide for 3D newbies for more tips.
Thanks to [smerrett79] for the tip.


Another option for taking smooth-looking timelapses is to use the “layer change script” feature in your slicer (Simplify3D calls it “Layer change script”, slic3r has “Before layer change G-code” and “After layer change G-code”) and the Marlin gcode http://marlinfw.org/docs/gcode/M240.html – move to an absolute or relative position, Wait, trigger camera, Wait again if needed, then either move back or resume. That’s a very rough version – details will depend on your camera and printer, where you want the bed and hotend to be in the picture (you can set very shallow depth of field and focus on a very specific area, then make sure the front section of the most recent layer is perfectly in focus, for instance), how long it takes for your camera to take the picture, etc. etc.
Last time I played with this it took some tweaking to the M240 code to get it to trigger my Canon T3i reliably – it would sometimes trigger an immediate picture, sometimes trigger the “wait x seconds and take picture” mode, and sometimes not trigger at all; it looks like the code has been made more reliable though.
It would also be easy to implement this in OctoPrint, if it’s not an option already (haven’t checked Timelapse settings recently…).
There is an alternate method which is modifying your slicer to insert a GCode command at the position in the layer closest to where ot was inserted in the previous layer. You get results that look like this: https://m.youtube.com/watch?v=T3j5oXpqWCk
I have an ancient plugin for this for Skeinforge: https://github.com/nrpatel/Sprinter/blob/master/photograph.py
You can also simply trigger a GPIO pin on every level change (with Marlin firmware at least). That triggers IR remote or the shutter button directly. This doesn’t move the print head out of the way, so it kinda jerks around in the image, but if the layer-ups are in “seam” mode, it works pretty well. The main effect is just one exposure per layer.
Doing essentially the same with image processing is pretty darn sweet, though.
Pretty sure those 2 resistors will heat the bed unevenly and cause a nasty bend in it, especially with that super thin bed they are using on the cetus.
I can do it in one, let the other half do the shopping. She always brings back those stupid scented candles. At least this is useful until your house burns down. ;) :-D
he used a thermal switch iirc
Must be classified as “Really dangerous toy”
I want to try OpenCV for those nice time-lapse videos.
What I really liked about this video was the image analysis-based time lapse. Yes, triggering on the G-code makes sense for printers and CNC machines, but the Open CV approach opens up the possibility of smooth time lapse sequences on other non-CNC processes.