Thanks to the holiday gifting cycle, many homes are newly adorned with 3D printers. Some noobs are clearly in the “plug and play” camp, looking for a user experience no more complicated than installing a new 2D printer. But most of us quickly learn that adding a dimension increases the level of difficulty substantially, and tinkering ensues.
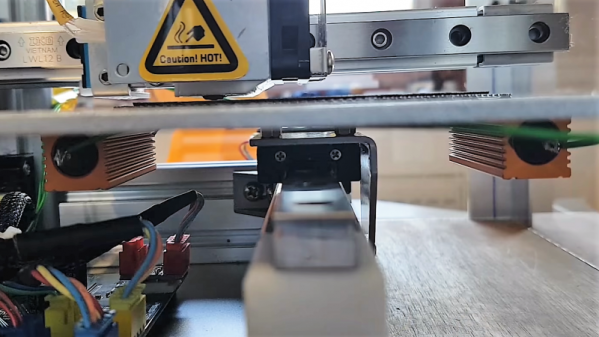
 One such tinkerer, [Marco Reps], has been taking his new Cetus 3D printer to new places, and his latest video offers a trio of tips to enhance the user experience of this bare-bones but capable printer. First tip: adding a heated bed. While the company offers a heated aluminum bed for ABS and PETG printing at a very reasonable price, [Marco] rolled his own. He bolted some power resistors to the aluminum platen, built a simple controller, and used the oversized stock power supply to run everything.
To contain the heat, tip two is an enclosure for the printer. Nothing revolutionary here — [Marco] just built a quick cover from aluminum profiles and acrylic.
But the clear case allows for tip number three, the gem of this video: synchronized time-lapse photography. Unhappy with the jerky time-lapse sequences that are standard fare, he wrote a Python program that uses OpenCV to compare webcam frames and save those that are similar to the last saved frame. This results in super smooth time-lapse sequences that make it look like the print is being extruded as a unit. Pretty neat stuff.
Did you find a 3D printer under your Festivus Pole, and now you’re wondering what’s next? Check out [Tom Nardi]’s guide for 3D newbies for more tips.


