We’re big fans of the impractical around here at Hackaday. Sure there’s a certain appeal to coming up with the most efficient method to accomplish your goal, the method that does exactly what it needs to do without any superfluous elements. But it’s just not as much fun. If at least one person doesn’t ask “But why?”, then you probably left something on the table, design wise.
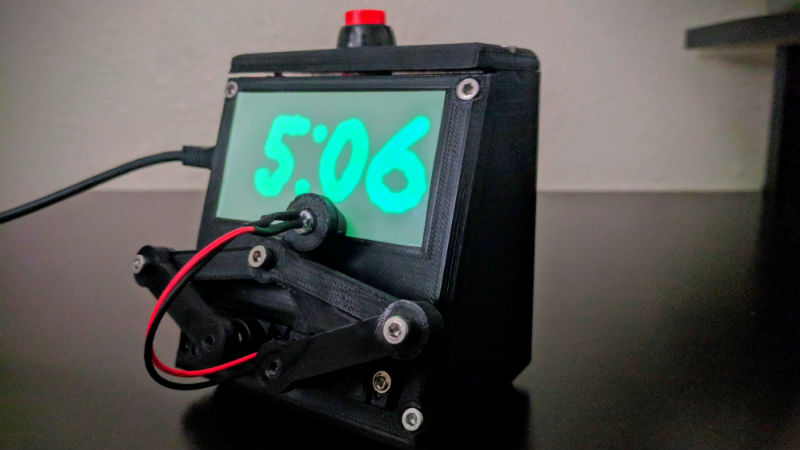
 So when we saw this delightfully complex clock designed by [Tucker Shannon], we instantly fell in love. Powered by an Arduino, the clock uses an articulated arm with a UV LED to write out the current time on a piece of glow-in-the-dark material. The time doesn’t stay up for long depending on the lighting in the room, but at least it only takes a second or two to write out once you press the button.
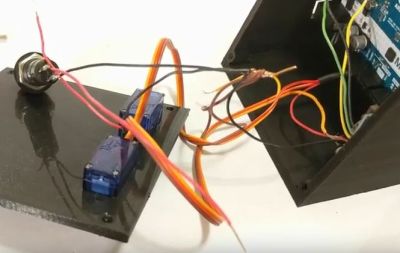
Things are pretty straightforward inside the 3D printed case. There’s an Arduino coupled with an RTC module to keep the time, which is connected to the two standard hobby servos mounted in the front panel. A UV LED and simple push button round out the rest of the Bill of Materials. The source code is provided, so you won’t have to figure out the kinematics involved in getting the two servos to play nicely together if you want to try this one at home.
We’ve seen many clocks powered by Arduinos over the years, occasionally they even have hands. But few can boast their own robotic arm.


“We’re big fans of the impractical around here at Hackaday.”
A clock that shocks the time to you in Morse code. Now remove your shoes, stand the in puddle over here, and hold this.
If you build it, I’ll write it up.
Brilliant!
Gathering the Arduino Uno, Relay and Mains Cord….
funny you’d say that. Although not a clock, the basics are the same. I made this as a toy for my kids a few years ago:
http://home.kpn.nl/bderogee1980/projects/morse/morse.html
https://www.youtube.com/watch?v=Ixex5L5qusw
At this moment I’m working on a more interesting version based on an ESP8266. It will be a clock that uses a 50cm wide tube surrounded by glow-in-the-dark tape and uses 96 UV LED’s and a stepper motor to print the time/text. I hope to have it finished within a few weeks. I plan to make a video for it and hopefully hackaday will post it (I’ll send them a tip when the time is right).
Bonus Point: Spooling up Cat-5 wires for easy dispensing and re-use.
we should be exact and clearer about this. 22-gauge copper is typically found in Cat5e whereas Cat5 wire is typically 24-gauge.. “22-gauge copper wires are 59% larger than the 24-gauge copper.” (both are useful, however Cat5e has greater strength and was designed for the PoE power efficiency.)