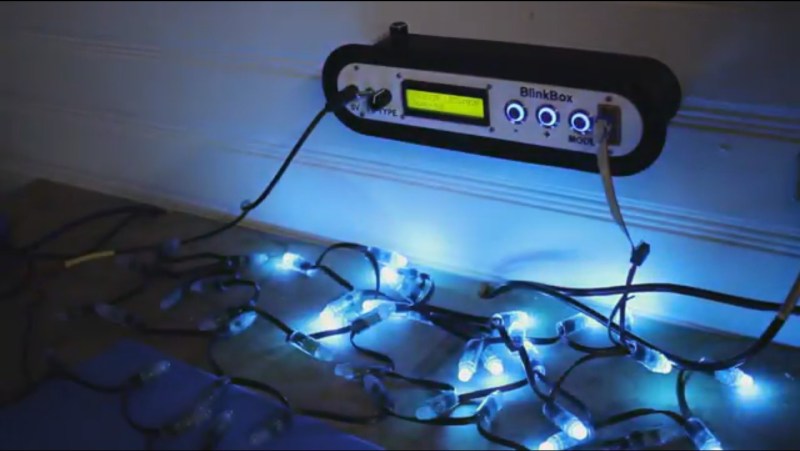
How often do you find yourself having to pause a project to make a test circuit or write some test code to find the source of a problem? Do enough variations of the same test and you’ll eventually make a dedicated test tool. That’s just what [Devon Bray] found himself doing.
[Devon] does a lot of work with addressable LEDs of different types and after much experience, created the BlinkBox, a dedicated test tool for addressable LEDs. It supports multiple LED chipsets, you can give it a count of the LEDs you want to light up, and you can choose a test animation. It even writes your settings to an EEPROM so you that don’t have to repeat yourself when you next turn it on.
He’s also done a very nice job packaging it all up, creating a 3D printed case, using backlit buttons for working in the dark, and even added a contrast knob for the LCD screen. Kudos to him for all the effort he’s put making this polished. Everything you need to duplicate it is available on his webpage, along with the schematic for the curious. Watch it in action, or just admire his handiwork in the video below.
We couldn’t find any similar hacks here on Hackaday, but here’s a nifty LED tester that’ll also tell you which resistor value to use.


I keep meaning to make one that measures current to within 1mA, so you can step through the LEDs one by one and detect exactly which color on which LED has failed.
uhhm, isn’t that instantly visible if you cycle the whole string through the three primary colors?
Sometimes people have a lot of strips to test, and visual testing is slower and unreliable when you have to make sure 30,000 LEDs all work perfectly (like I am, for an installation in two weeks)
Getting one of those cheap Chinese logic-analyzer clones (mine was advertised as “saleae compatible”) and using it with sigrok/pulseview has made my debugging sessions much more enjoyable. Considering it costing <10€ it is definitely worth it. And if you ever get it killed by accident it's cheap to replace.