Over my many years of many side-projects, getting mechanical parts has always been a creative misadventure. Sure, I’d shop for them. But I’d also turn them up from dumpsters, turn them down from aluminum, cut them with lasers, or ooze them out of plastic. My adventures making parts first took root when I jumped into college. Back-in-the-day, I wanted to learn how to build robots. I quickly learned that “robot building” meant learning how to make their constituent parts.
Today I want to take you on a personal journey in my own mechanical “partmaking.” It’s a story told in schools, machine shops, and garages of a young adulthood spent making parts. It’s a story of learning how to run by crawling through e-waste dumps. Throughout my journey, my venues would change, and so would the tools at-hand. But that hunger to make projects and, by extension, parts, was always there.
Dear partmakers, this is my love letter to you.
Learning the Language of the Nuts and Bolts
Have you ever disentangled an odd-looking screw from a busted electronics heap and thought: “this is exactly what I needed — but what the heck is this thing called?” Back in early college, that was me: the part hoarder. I’d make trips down to the e-waste piles and fish out screws, motors, shafts–you name it. Sometimes I’d even get completely working devices like fully functional RC transmitters. (Thanks, Prof Dodds!) But most of the time, it was just parts. “Don’t mind the mess, folks. I’m hoarding these parts because someday they might be useful.”
But I was also hoarding them because I had no idea how any of these parts actually worked. Having no mechanical background before college, these were dinglehoppers to me, novelties. Without a name, they were precious, artifacts of some language that I couldn’t speak.
But at night I’d read through the pages of Hackaday and see people making projects with parts just like mine! I remember thinking: that could be me! If only I could figure out the utility of all these nameless parts!
So I did what any other curious person with a PC and an internet connection might do: I jumped onto the web looking for answers. With a Jack Skellington “What’s This; What’s THIS,” I was fixated on learning the names of these parts and materials so I could start making stuff. I drooled over people’s RC plane builds; I pored over their build logs like scripture. As soon as I figured out which school computers had a CAD license, I started designing. And as soon as I had a couple drawings ready, I was ready to enter the shop.
Welcome to the Machine Shop
When I first stumbled into our college’s machine shop, I found tools that blew my mind. Milling machines that could chew through metal like nobody’s business? Lathes that could spin down chunks of stock with hairline precision? Sign me up! Once I had the required class and safety training under my belt, I made the machine shop my second home.
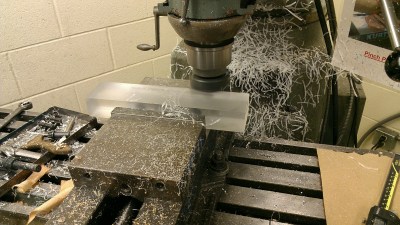
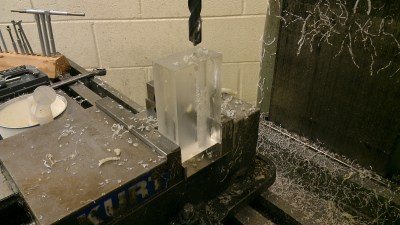
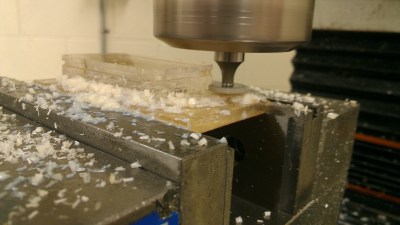
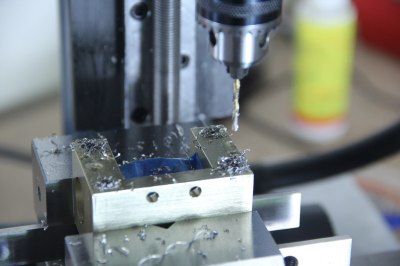
When I started, I made just about everything from scratch. In our shop, chunky scraps of Aluminum were free if I asked nicely. Going from scraps to finished parts took time, but I was all for it. I simply loved the feeling of passing the endmill over a piece of stock, making chips. On a good day, the shop would leave my hands infused with the smell of cutting fluid, but I didn’t mind. It was the smell of progress.
Was starting from scratch a waste of time? In the early days, nah. In participating in the ritual of machining; I was learning a vocabulary of tooling.
Luckily, the shop was full of people who knew more than I did about project-making. Picking up knowledge was a matter of bravely leaning over someone else’s shoulder and asking: “what tool is that? What are you making?” Getting on people’s nerves was a matter of abusing the tools, but genuine curiosity was A-ok. In fact, most folks were thrilled to discuss their workpieces.
My best introduction to fasteners and off-the-shelf-parts came from the fellow folks in the shop who were happy to fill me in on the names of their go-to parts. As soon as I stopped relying on just scraps, my projects took a step up. Parts weren’t just something to make. They were something to buy too!
Why wasn’t I using these stock parts beforehand? Quite honestly, I didn’t know the names of many of them, and I had no idea that so many others even existed! Even then, once I did, I didn’t understand their utility, where they would fit in. It was the fellow folks in the shop who showed me the role of stock parts in a project. I saw their utility by staring at how other people used them in their projects. Whereas I’d machine one part, they’d have an assembly of two or three, joined by fasteners. For them, this mental vocabulary of parts was a design resource. It was a way to add complexity to projects quickly.
Inspired by this, I thought: I must to go explore for myself. And I did. I fell into the depths of the marvelous online catalog that is McMaster-Carr (I even wrote a guide to their legendary catalog). I discovered Misumi, SDP/SI, Hobbyking, Pololu, ServoCity, and OnlineMetals, and later Banggood, DealeXtreme, and AliExpress. Suddenly all those parts that I’d been hoarding in my dorm had names. They were bearings, bushings, shoulder screws. And even better: most of them weren’t special. In fact, many were dirt cheap. Armed with this new vocabulary I started experimenting.
Exploring was a matter of finding a project and then finding the right mix of machined and stock-parts to get the job done. As time progressed, I just found more-and-more excuses to make “stuff,” from small RC quadcopters to class projects to gifts for my college secret crushes (which, *ahem*, I do not recommend unless you are prepared to accept heartbreak just as easily as broken tooling).
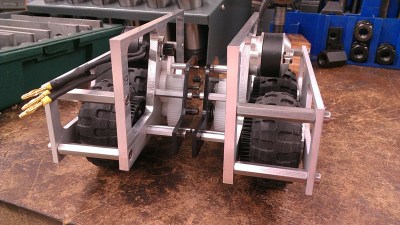
I think my college machine-shop days hit a high note in my senior year when I put together my RC Gamecube-Robot. As my first (and only) project that Hackaday featured through the tips line, I was simply jazzed. It was a testament to mixing a rich grammar of nuts and bolts with a few intricate machined parts. Finally, I could piece together this part grammar to make sentences — to say something original.
New Spells and Combos
After this project, my mindset began changing. Manually machining parts takes hours of focused effort, and a single mistake could mean several more hours of focused effort. Why spend all that time making chips, when I could leverage stock parts to spend more time making projects? I shifted gears to find parts that would help me spend the least time possible actually operating the machines.
About the same time, I discovered the laser cutter. With a simple incantation (almost as simple as CTRL-P), I could carve a 2D contour onto a variety of flat woods and plastics like witchcraft. Whereas the same flat part might take an hour or two on the mill after all the programming, the laser would make me something comparable in a matter of minutes. Bingo. I’d need to make use of this machine.
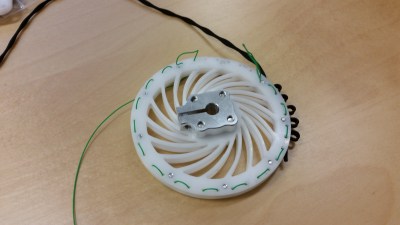
The final piece of this puzzle was a magic material known as Delrin. Over the years, I’ve come up with many, many, many good recipes for it, and I’m still discovering new ways to harness its material properties. Delrin is special because it can be laser-cut with a buttery-smooth surface finish like Acrylic. Unlike Acrylic, however, Delrin is far less brittle, making it more suitable for functional nonsense like quadcopter frames but also flexible widgets like living hinges. With Delrin, I was trading both the rigidity and precision of machined aluminum for the speed of laser-cut plastic.
By combining my new part vocabulary with Delrin laser-cut parts, my part-making style changed entirely. Suddenly, I could realize a complete project in a matter of a couple weekends, not months. In slowly leaving the world of machining, I was entering the world of rapid prototyping — and not a moment too soon. My next mission wouldn’t have quite the extravagant setup of tools, but I was ready to handle it.
The Mayfield Garage
When I graduated, I landed my first job at a robot startup making mobile sensor platforms. I hit the ground ready to make parts, but they didn’t have the mills and lathes of my heyday. Fear not, though. I challenged myself to make do with what they did have. In this case, our tools would be a laser cutter, a drill press, chop saw, Dremel tool, and an arbor press. Appropriately, we called it: “the garage.” It might not sound like much, but the requirements for this mission weren’t too extravagant in the machined part world. Here, we just needed a variety of wheeled platforms that would eventually lug around small PCs autonomously.
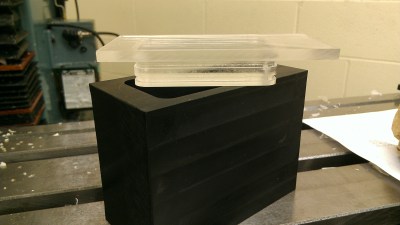
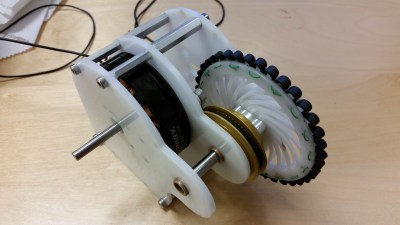
Under these circumstances, I needed just enough precision for moving wheels and gears, but not much more. It was time to remix some of my old “combos” from the past. By combining the laser cutter with the arbor press and drill press, I had a solution. For starters, laser-cutting would be my “rough-machining” process. Most of my features would be laser cut from Delrin except for the few dimensions that required tight geometry clearances. For those tight tolerances, I’d undersize laser-cut holes and finish them off with a drill bit on the drill press. (If these were metal, I’d use a reamer, but Delrin is a fairly forgiving plastic.) With the arbor press, I’d comfortably squeeze parts like bushings and bearings into place–no glue required! Laser cutters are also notorious for only being able to do flat parts. Again, fear not! To bump things into the third-dimension, I came up with a new recipe that I called the standoff multi-sandwich. Here, laser-cut plates form the base shape where other parts can attach.
For everything else, I turned to ingredients I could find off-the-shelf. We’ve come a long way in the last few years when it comes to commodity robot parts. Here, Pololu and ServoCity fit the bill, giving me the last few precision parts like wheel hubs, parts that I previously machined myself in college. Finally, Hobbyking became my source of BLDC motors, motor controllers, and LiPo batteries.
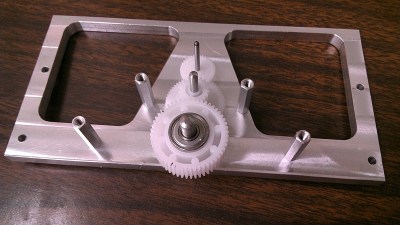
The standoff multi-sandwich became a powerful recipe for scaffolding functional platforms that I still use to this day. In fact, if you want to give this technique a try for yourself, have a go at cooking yourself up my RC Gamecube Instructable made with this technique.
Bootstrapping the Garage Fab
Pushing out functional platforms with just a laser and some stock parts got me thinking: for a capable hobbyist workshop making basic robots, I don’t need that many fancy tools.
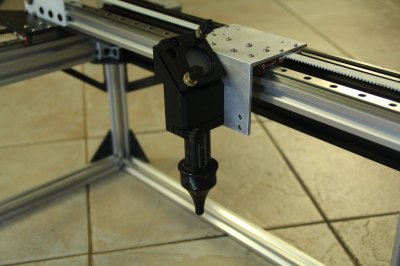
After departing Mayfield for my next job, I decided that the time had come to summon my own shop into existence. Sure, I might be able to sneak into my next office for after-hours projecting, but I couldn’t rely on them to stock my favorite tools. For my personal tastes, I needed my own personal cutlery. While co-renting a house in the bay area with a few friends, I began my garage fab adventure. Of course I wasn’t about to buy all the tools in my lab. I had to build the machines that I couldn’t afford! Here, that meant a homebrew laser cutter, a tale I’ve lightly touched before.
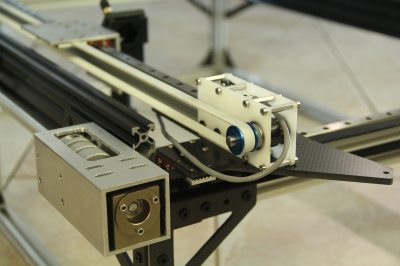
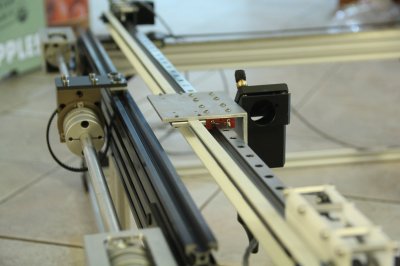
Unlike hobbyist RC robots, machine-building is a totally different breed of mechanism with different precision requirements in different places. I knew I wouldn’t be able to bootstrap this machine from sand à la Gingery, so I did what I knew best: the combo meal. I mixed and matched off-the-shelf and machined parts to get things started. Here, my stock parts were of the Openbuilds variety with some aluminum channels and tubing, and my machining would come from a Taig Micro Mill.
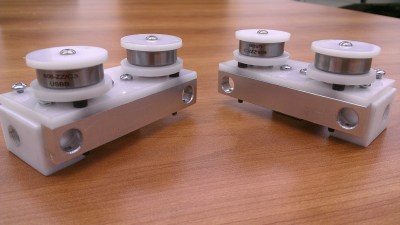
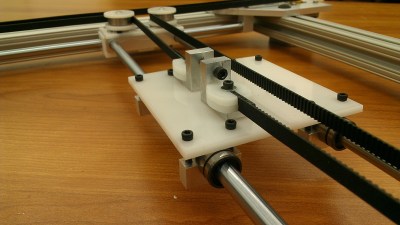
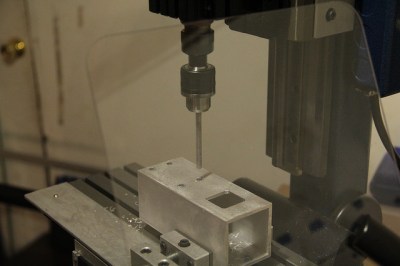
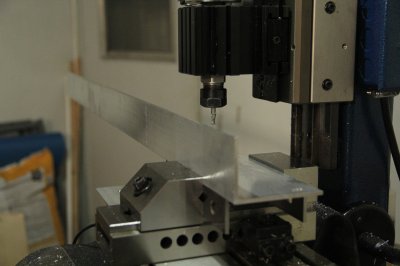
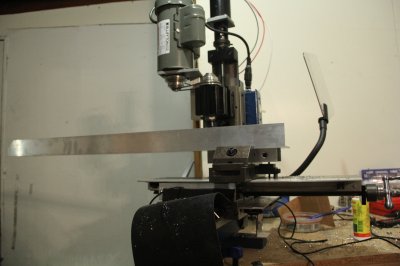
The Taig Micro Mill became my way of chopping down the extrusion dimensions and poking out a few holes and slots. The Taig Mill is exceptionally precise for the price, but the laughably-adorable size meant that parts simply took longer to make when compared to a full size counterpart. (In fact, most extrusions were much longer than the machine!) Just like I had learned in the past, though, I opted to minimize my machine time by maximizing the utility of shapes that I could buy. In this case, Openbuilds extrusion formed most of my frame, and square aluminum tubing held most of my pulleys. I’m not the only one to rely heavily on square tubing in machine-building either. Mark Rehorst actually relies on this technique quite a bit, too. Remarkably, I actually found a vendor that sold pulleys pre-mounted in blocks, saving me even more time. In the end, I did get a few flat parts machined externally from Nick over at CNCMadness, but the convenience saved me hours of machine time, and the price was just over $100.
The laser cutter became my labor of love for months each night after work. After six months of monkeying with my Taig, I had a moving gantry and a firing beam. About two years of tuning and re-machining later, I had a laser cutter that was on-par with a 60-watt Universal Laser. For anyone who wants to take the leap into machine building, I have only words of encouragement. Go get out there! Make something move. Break it. Remake it. And leave a paper trail of pictures to document your misadventures–perhaps even an ingredient list too! The effort is massive, but the feeling of relying on a machine made with your own hands is like no other.
At times, I think creating my own adventure is the only way I can survive. I pieced this machine together at a point when my day-job hours were filled with factory-floor servicing and routine maintenance. My laser cutter was a way of telling myself that, in my garage, I was something more fantastic: a metal chef, a part wizard. A machine designer.
The Feeling in your Hands
In the eight years I’ve been partmaking, I’ve notice something in myself, something about my feelings for self-made parts. If I forget about the pride, the learnings, the hard work, what do I have left? For me, it’s affection. It’s this feeling of disbelief (“I made that?”) coupled with endearment (“Why, it’s so adorable, and teeny, and it screws into place right here!”). I wonder if new pet owners and parents feel the same way when they see their new family member for the first time. Perhaps they see a reflection of themselves in the beauty of who they get to bring home and share their life with. When I look at the parts that come out of my laser cutter, my printer, my mill, I see hours of solitude pursuing this odd fetishism for precision. But I also see parts that fit. I see buttery-smooth surface finishes. I see me. And I think, hey, I’m ok. We’re ok. We’re just partmakers.
I think what I love most about my story is that it isn’t unique. When I share it at hacker meetups, I realize that others have stories just like mine. Perhaps you have a drawer stashed full of McMaster-Carr baggies or a box of to-be-composted PLA prints? We might be far away from each other, but we’re participating in one narrative: the story of the after-hours engineer, the hacker. And these files, pictures, and conversations that we share online are moments of shared insight into our story, the story of who-we-are-through-what-we-make. So keep cranking out those parts; keep making our story a grand one.








Your very well told story is the heart of DiY hacking. Seeing things differently, learning, and making. Thanks for sharing!
I love this story
I think this list of specialty fasteners belongs here…..
http://i.imgur.com/XpD1cQ1.jpg
Where were theses when I needed them…
I feel this so hard. I get it. Every part.
And I also have a Taig mill. And Lathe. I bootstrapped myself upto an Ames lathe, andthen a Schaublin 102 lathe that I both need to restore.
The Taig mill is damn good when you set it up carefully. Having a 12″ Starrett master square to true the Z axis column makes it a bit quicker to set up. Accordian chip covers didnt exist for it, so I designed and built my own.
One thing I’ll add- If you are a maker, and you don’t know the glory of your local Fastenal store, you are deprived.
I learned of Mcmaster-carr the first year I was out of college from my mechanical engineer counterpart. Even if it’s often too expensive for personal projects, the wealth of knowledge they have keeps it on my bookmark bar. Half the battle to finding a part is discovering it’s magical “true name”, after which google opens up all the places you can acquire that part thought you’d thought your only hope was scavenging it from something else.
I*t’s a pity McMaster Carr don’t like selling to foreigners. I wistfully look at their marvellous website always with the knowledge that their beautiful and myriad offerings are forever out of reach.
As an industrial repairman/jigger/machine fabricator, mcmastercarr and Grainger save our company from falling over the ever encroaching edge of down time. This story is the story of my life, and if ever I picked myself a job title, it would be industrial hacker. From custom milling replacements to on the spot designed weldments, I never know what my job is going to throw next. Just last year, I had to resurrect a eighteen year old welding robot to steal its old programming to remake a set of prints for a part we hadn’t made in twenty five years.
I’ve learned so much from hackaday and it’s contributors, and I would just like to say that I am eternally grateful to you all, and never could I have done so well as I have without you.