Over my many years of many side-projects, getting mechanical parts has always been a creative misadventure. Sure, I’d shop for them. But I’d also turn them up from dumpsters, turn them down from aluminum, cut them with lasers, or ooze them out of plastic. My adventures making parts first took root when I jumped into college. Back-in-the-day, I wanted to learn how to build robots. I quickly learned that “robot building” meant learning how to make their constituent parts.
Today I want to take you on a personal journey in my own mechanical “partmaking.” It’s a story told in schools, machine shops, and garages of a young adulthood spent making parts. It’s a story of learning how to run by crawling through e-waste dumps. Throughout my journey, my venues would change, and so would the tools at-hand. But that hunger to make projects and, by extension, parts, was always there.
I was always a sucker for art classes in my early days. There was something special about getting personal instruction while having those raw materials in your hands at the same time. Maybe it was the patient voice of the teacher or the taste of the crayons that finally got to my head. Either way, I started thinking: “I want to do this; I want to teach this stuff.”
Last year at Hackaday Superconference I got my chance. Hardware workshops with real hardware were so rare; I just had to bring one to the table! What follows is my tale of joys and woes bringing together a crew to take their first few steps into the world of cable-driven animatronics. If you’re thinking about getting your feet wet with teaching your own hardware workshop, read on. I’ve packed this story with as much of my own learnings as I could to set you on a path to success.
The good news is that Supercon returns every year. I you want to take part in some epic workshops like this one, grab a ticket for this year’s conference now. If you want to host a hardware workshop, the Call for Proposals is still open! Okay, let’s dive in.
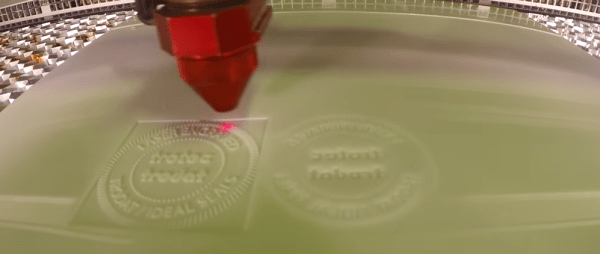
Parchment might be a thing of the past, but for those of us who still use paper an embossed seal can give everything from your official documents to your love letters a bold new feeling of authenticity. As far as getting your own seals made, plenty of folks will settle for having a 3rd party make them a seal, but not us. [Jason] shows us just how simple it is to raster our own seals with a laser cutter.
As far as the process goes, there are no tricks outside the typical workflow for raster engraving. Here, [Jason] simply creates a positive and (mirrored) negative seal pattern for each side of the seal embosser. The pattern is set for raster engraving, and the notched outline will be vector cut. From here, he simply exports the design, and the laser handles the rest.
This hack turned out so cleanly it almost seems like it could got into professional use–and it already is! Some extra Google-fu told us that it’s actually a fairly standard technique across the embossing industry for making embossing seals. Nevertheless, we couldn’t share our excitement for just how accessible this technique can be to anyone within reach of some time on a laser cutter.
[Jason] is using Delrin as his material to capture the design, which cuts cleanly and nicely handles the stress of being squished against your legal documents a couple hundred times. We’ve had our fair share of love on these pages for this engineering plastic. If you’re looking to get a closer look at this material, have a go at our materials-to-know debrief and then get yourself equipped with some design principles so that you’re ready to throw dozens of designs at it.
It’s not the first time the crafting and hacking communities intermingle and start sharing tools. In fact, if you’ve got yourself a vinyl cutter kicking around, why not have a go at churning out a few pcb stencils?
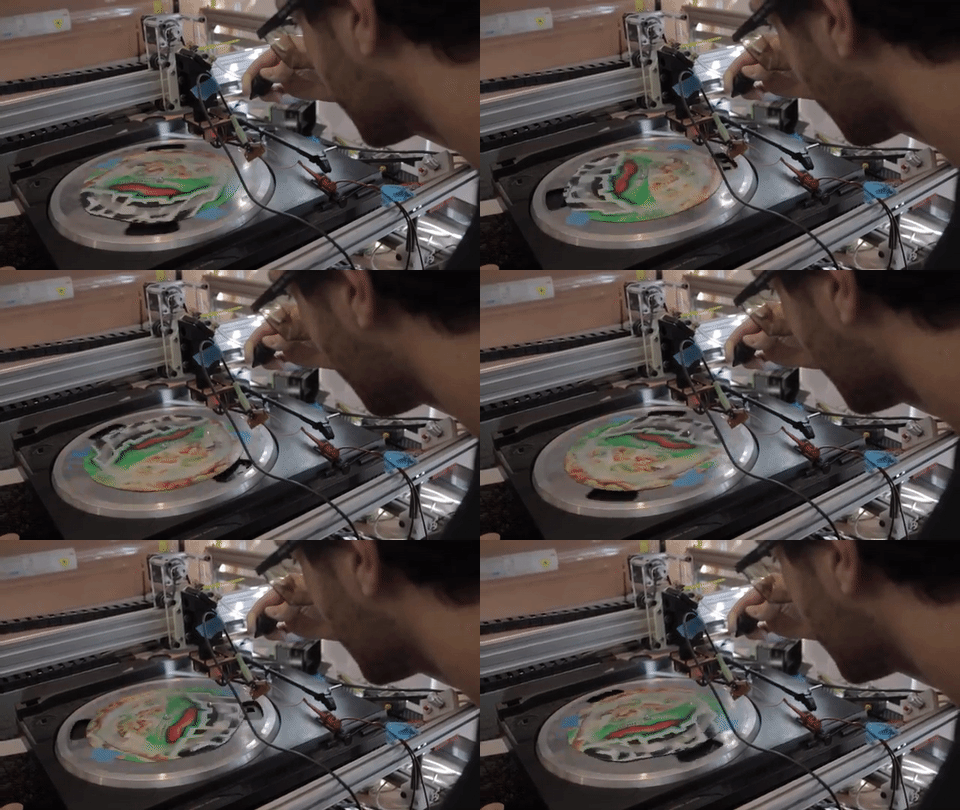
If at first you don’t succeed, try, try, and try again. This is especially true when your efforts involve a salvaged record player, a laser cutter, and He-Man. Taking that advice to heart, maniac maker extraordinaire [William Osman] managed to literally burn music onto a CD.
Considering the viability of laser-cut records is dubious — especially when jerry-built — it took a couple frustrating tests to finally see results, all the while risking his laser’s lens. Eventually, [Osman]’s perseverance paid off. The lens is loosely held by a piece of delrin, which is itself touching a speaker blaring music. The vibrations of the speaker cause the lens to oscillate the focal point of the laser into a wavelength that is able to be played on a record player. You don’t get much of the high-end on the audio and the static almost drowns out the music, but it is most definitely a really shoddy record of a song!
Vinyl aficionados are certainly pulling their hair out at this point. For the rest of us, if you read [Jenny’s] primer on record players you’ll recognize that a preamplifier (the ‘phono’ input on your amp) is what’s missing from this setup and would surely yield more audible results.
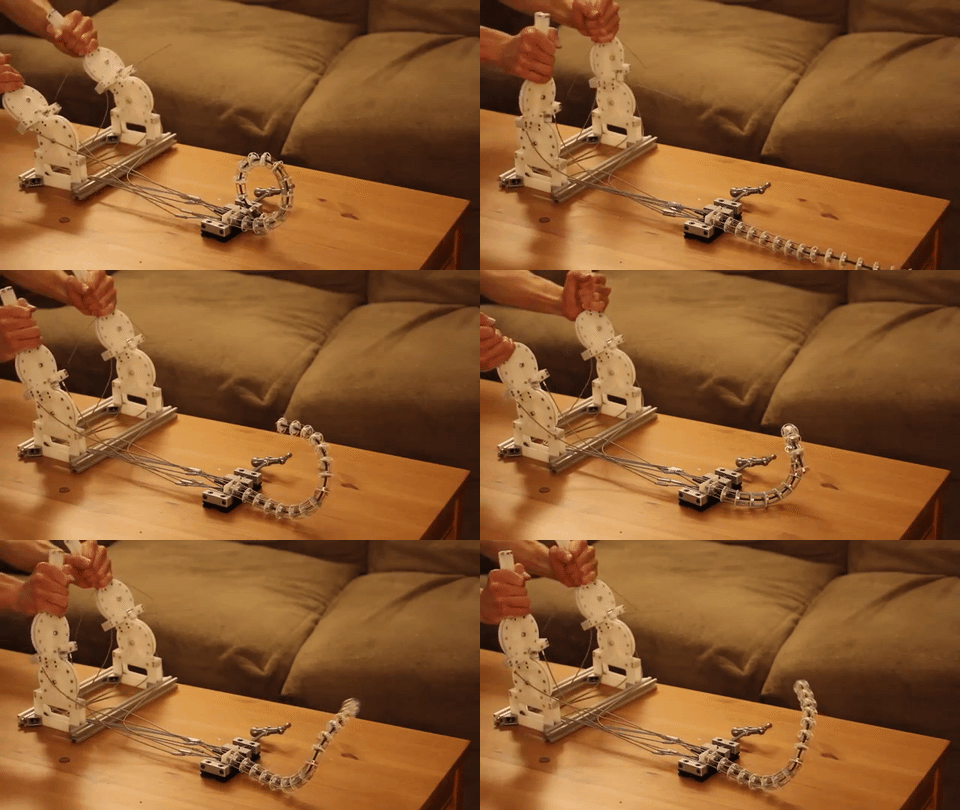
Welcome back to the final chapter in our journey exploring two-stage tentacle mechanisms. This is where we arm you with the tools and techniques to get one of these cretins alive-and-kicking in your livingroom. In this last installment, I’ll guide us through the steps of building our very own tentacle and controller identical to one we’ve been discussing in the last few weeks. As promised, this post comes with a few bonuses:
Depending on your situation, some design files may be more important than others. If you just want to get parts made, odds are good that you can simply cut the pre-offset DXFs from the right plate thicknesses and get rolling. Of course, if you need to tune the files for a laser with a slightly different beam diameter, I’ve included the original DXFs for good measure. For the heavy-hitters, I’ve also included the original files if there’s something about this design that just deserves a tweak or two. Have at it! (And, of course, let us know how you improve it!)
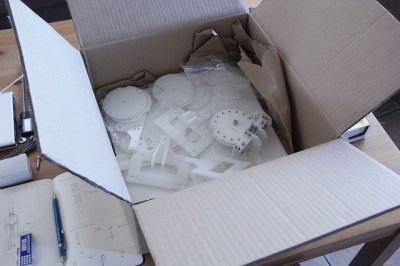
Ok, now that we’ve got the parts on-hand in a pile of pieces,let’s walk through the last-mile tweaks to making this puppet work: assembly and tuning. At this point, we’ve got a collection of parts, some laser-cut, some off the shelf. Now it’s time to string them together.
A few weeks back, we got a taste for two-stage tentacle mechanisms. It’s a look at how to make a seemily complicated mechanism a lot less mysterious. This week, we’ll take a close look at one (of many) methods for puppeteering these beasts by hand. Best of all, it’s a method you can assemble at home!
Without a control scheme, our homebrew tentacle can only “squirm around” about as much as an overcooked noodle. It’s pretty useless without some sort of control mechanism to keep all the cables in check at proper tension. Since the tentacle’s motion is driven by nothing more than four cable pairs, it’s not too difficult to start imagining a few hobby servos and pulleys doing the job. To get us started, though, I’ve opted for hand controllers just like the puppeteers of the film industry.
Enter Manual Control
Hand controllers? Of all the possibilities offered by electronics, why select such an electronics-devoid caveman approach? Fear not. Hand controllers offer us a unique set of opportunities that aren’t easy to achieve with most alternatives.
What’s not to love about animatronics? Just peel back any puppet’s silicone skin to uncover a cluster of mechatronic wizardry that gives it a life on the big screen. I’ve been hunting online for a good intro to these beasts, but I’ve only turned up one detailed resource–albeit a pretty good one–from the Stan Winston Tutorials series. Only 30 seconds into the intro video, I could feel those tentacles waking up my lowest and most gutteral urge to create physical things. Like it or not, I was hooked; I just had to build one… or a few. This is how you built a very real animatronic tentacle.
I built this. And you can too!
If you’re getting started in this realm, I’ll be honest: the Stan Winston Tutorial is actually a great place to start. In about two hours, instructor Richard Landon covers the mindset, the set of go-to components, and the techniques for fabricating a tentacle mechanism with a set of garage tools–not to mention giving us tons of real-film examples along the way [1].
We also get a sneak peek into how we might build more complicated devices from the same basic techniques. I’d like to pick up exactly where he left off: 4-way two-stage tentacles. And, of course, if you’ve picked up on just how much I like a certain laser-cuttable plastic at this point, I’m going to put a modern twist on Landon’s design. These design tweaks should enable you to build your own tentacle and controller with nothing more but a few off-the-shelf parts, some Delrin, and a laser cutter… Ok, fine, a couple 3D printed parts managed to creep their way in too.
In a good-ol’ engineers-for-engineers fashion, I’m doing something a little different for this post: I’m finishing off this series with a set of assembly videos, a BOM, and the original CAD files to make that beast on the front page come to life. As for why, I figured: why not? Even though these mechanisms have lived in the robotics community and film industry for years, they’re still lacking the treatment of a solid, open design. This is my first shot at closing that gap. Get yourself a cup of coffee. I’m about to give you every bleeding detail on the-how-and-why behind these beasts.