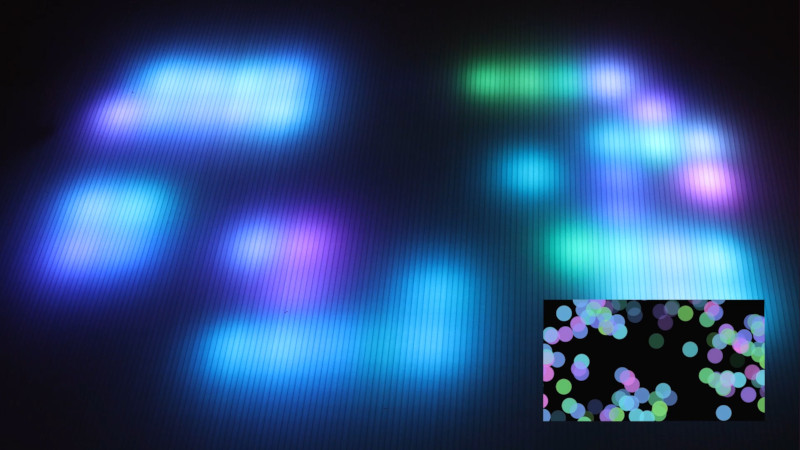
The internet is awash with millions of stunning LED projects, and for that, we are all very thankful. For those outside the hacker/maker matrix, it can be difficult to know how to approach such a build. Never fear, for [Amy Goodchild] has put together a beginner’s guide to building pretty glowables, using Fadecandy and Processing.
Fadecandy is a platform specifically designed to drive WS2812B LEDs for artistic purposes. This allows users to focus on the visual side of things without getting bogged down with the hassle of selecting the right microcontroller and choosing the applicable libraries. It works great in combination with Processing, a piece of software designed for coders experimenting with visual arts. Through a USB link, any graphics drawn by processing can be mapped to the LEDs attached to the Fadecandy controller.
[Amy] does a great job of explaining how to do everything required, from purchasing the right equipment, through wiring everything up, and then getting it all humming along with the correct software. If you’ve ever wanted to build a big flashy project with a ton of LEDs, this would be a great place to start.
We’ve seen Fadecandy put to good use before, too. Video after the break.


No Fuses…
https://hackaday.com/2018/01/29/the-engineering-case-for-fusing-your-led-strips/
I’ve followed Amy’s work for a while. Her LED dome is a masterpiece.
Really not a fan of the power drill on the power supply. Big chance of problems there.
What problems?
I’m currently tethered and haven’t watched the video (conserving my data plan…), but I just wanted to give those orange connectors a huge shout-out. I recently discovered Wago connectors at my local electronics store, and they really are amazing. Super firm grip on the wires, and really easy to undo when you’re reconfiguring things.