Small hobby aircraft and light plastic parts go hand in hand, and a 3D printing pen makes lightweight plastic things without the overhead of CAD work and running a 3D printer. So could a 3D pen create useful plastic bits for small quadcopters? [Michael Niggel] decided to find out by building his drone parts with a 3D pen loaded with ABS plastic. He mostly discovered that the created objects could politely be said to look like they were sketched by a toddler, but that’s not all he learned.
He found that in general creating an object was harder than the marketing materials implied. As soon as the filament exits the pen’s nozzle, the thin little molten line of plastic cools rapidly and does two things: it has a tendency to curl, and loses its desire to stick to things. [Michael] found the whole affair worked much less like ‘drawing in thin air’ and rather more like piping frosting, or caulking.
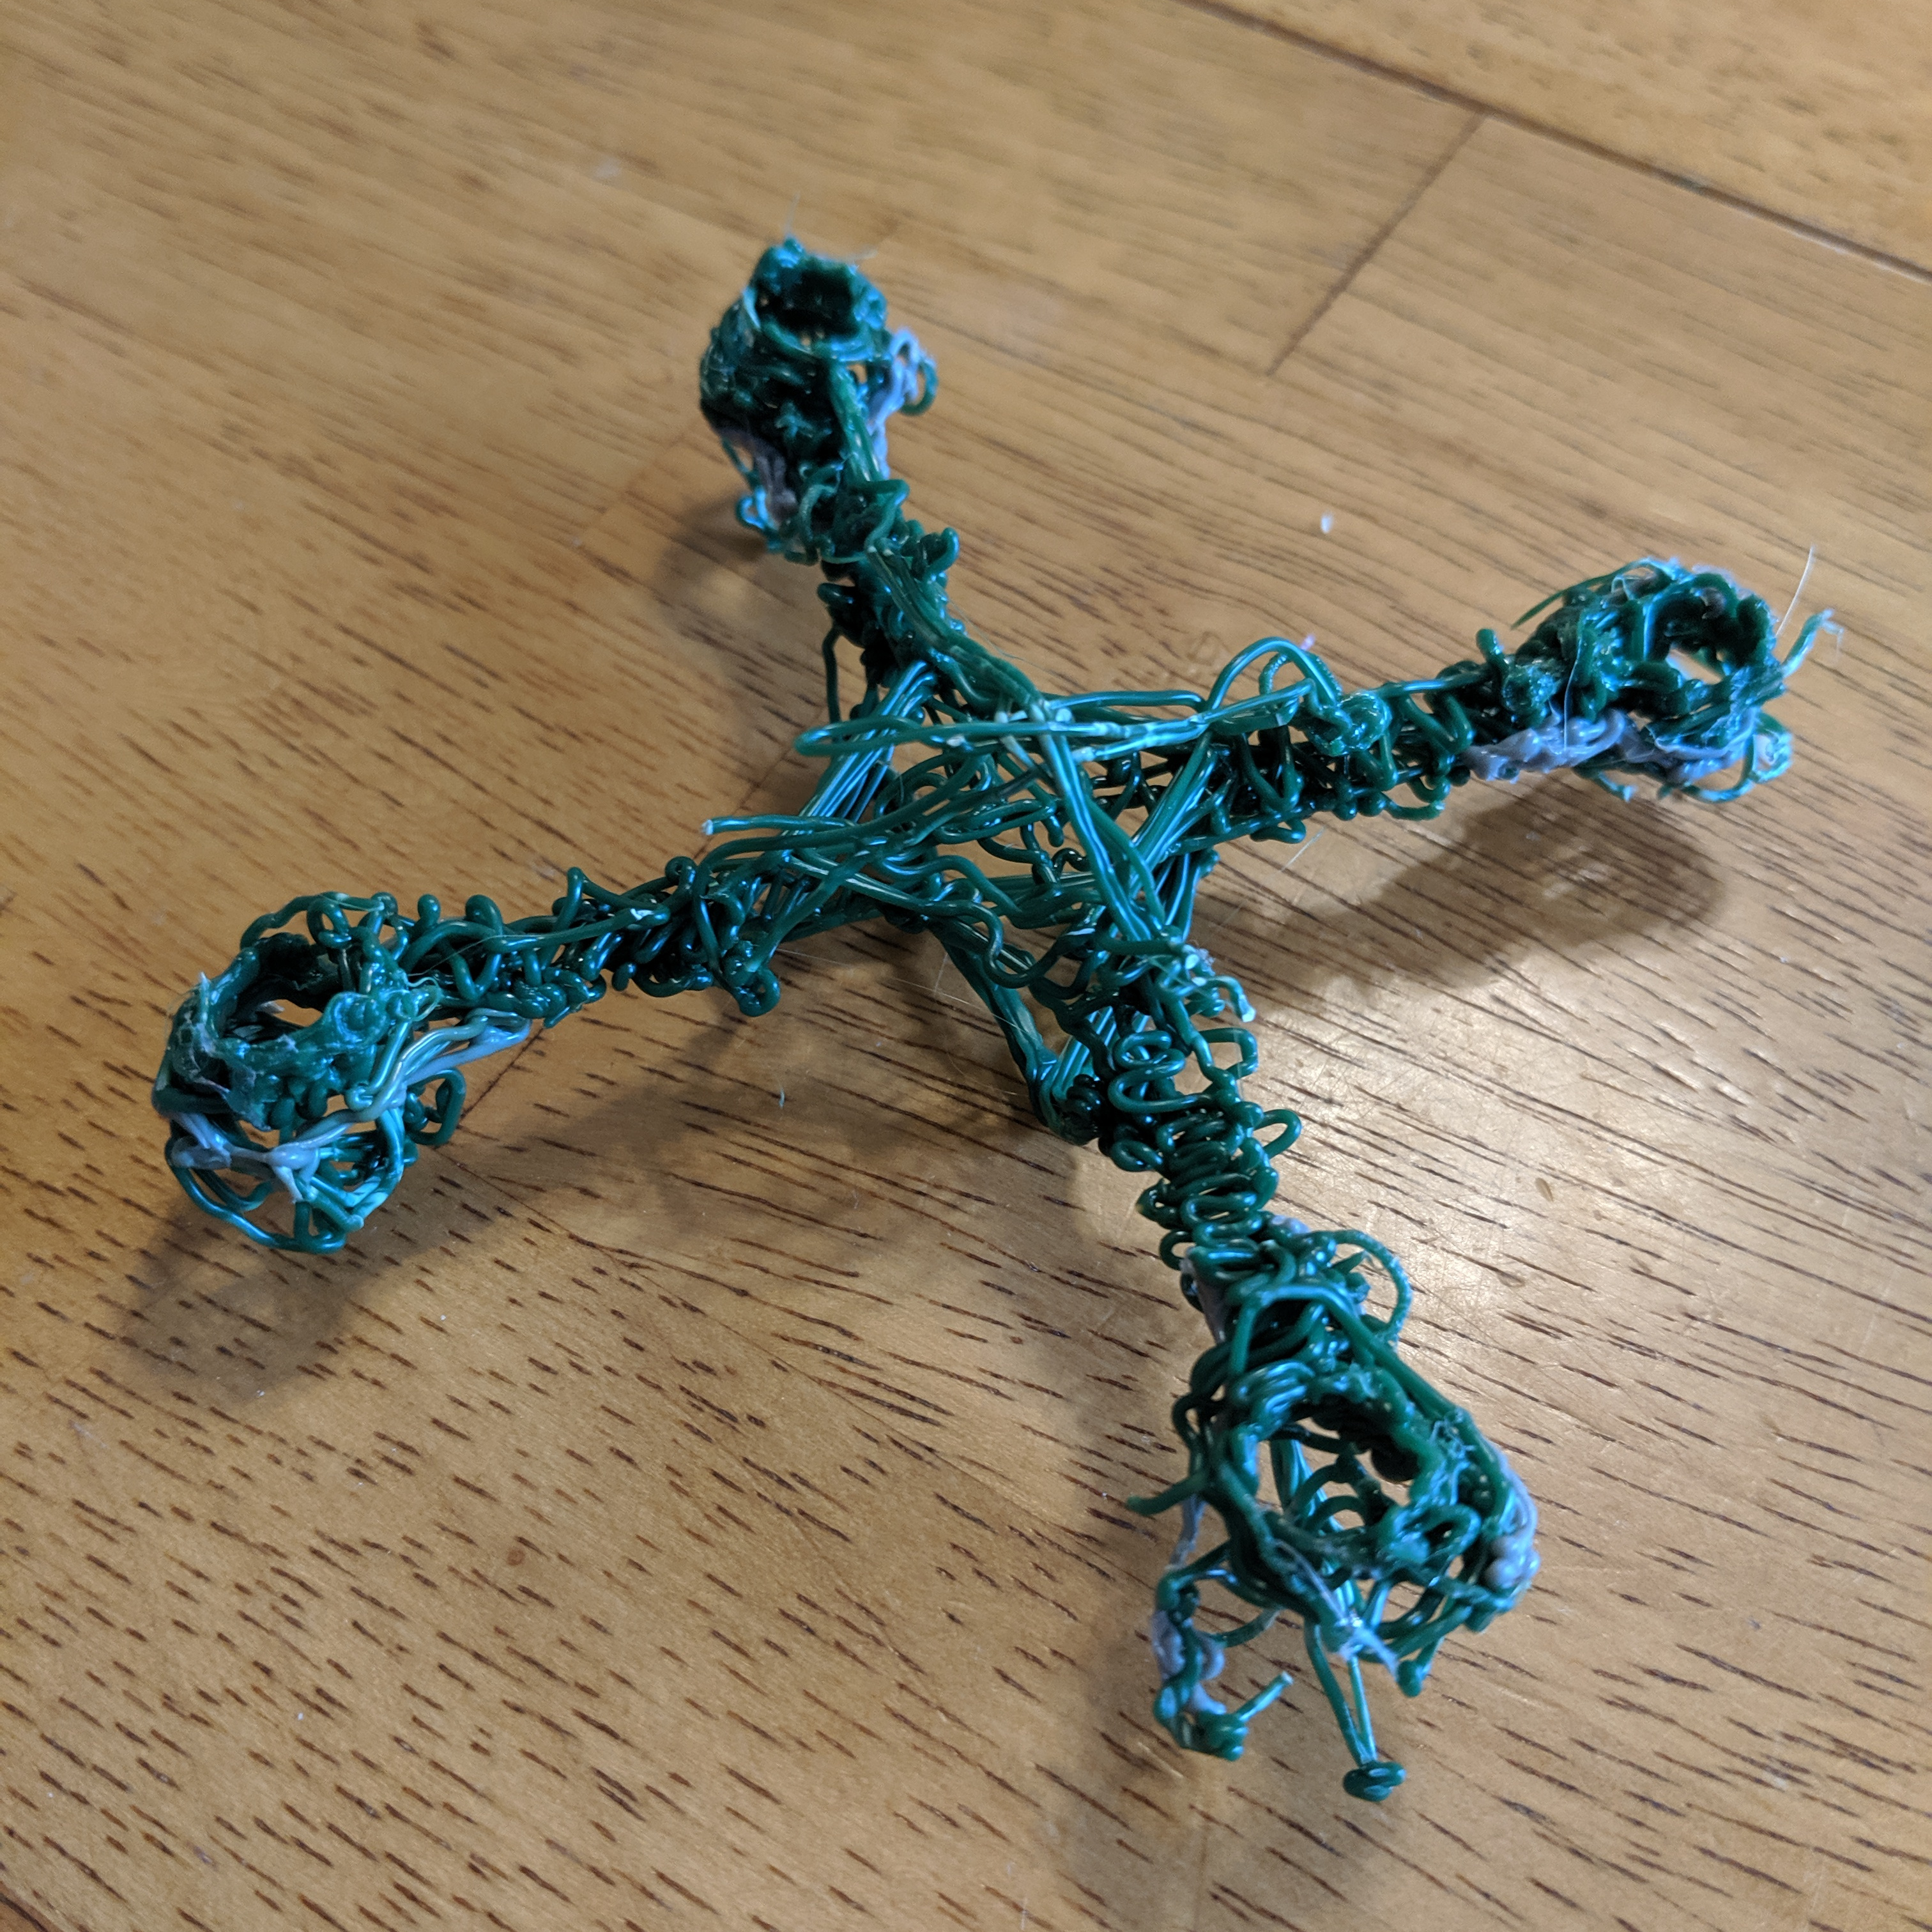
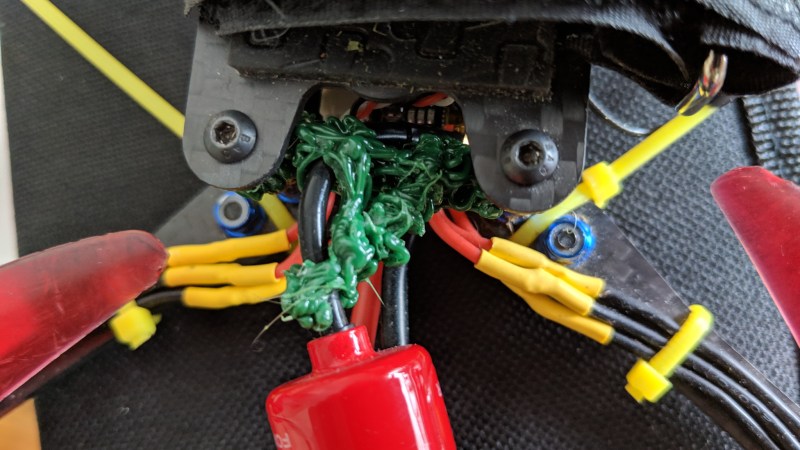
Nevertheless, [Michael] sought to discover whether a 3D pen could be used to make quick and dirty parts of any use. He created two antenna brackets and one micro quad frame. All three are chaotic messes, but one antenna bracket was perfectly serviceable. The 3D pen was indeed able to create a strangely-shaped part that would have been a nightmare to CAD up. The other antenna part worked, but didn’t do anything a zip tie wouldn’t have done better. The rapid cooling of the plastic from the 3D pen has an advantage: extrusions don’t “droop” like a glob of hot glue does before it hardens.
By now, [Michael] agreed that the best way to create a plastic part of any complexity whatsoever seemed to be to draw sections flat, build them up in layers, then use the pen to weld the pieces together and add bulk. The micro quad frame he made in this way doesn’t look any nicer than the other attempts, but it did hold the parts correctly. Sadly, it would not fly. Once the motors powered up, the arms would twist and the flight controller was unable to compensate for motors that wouldn’t stay straight. This could probably be overcome, but while the end result was dirty it certainly wasn’t quick. The 3D pen’s niche seems restricted to simple, unstressed parts that aren’t permitted to gaze up themselves in a mirror.
If you have a 3D pen, we’d like to remind you of this mini spool design whose parts are welded together with the pen itself. For bigger jobs, a high-temperature hot glue gun can be used to dispense PLA instead.


I think I would have started with a couple popsickle sticks.
Or disposable chopsticks
Oh, and I thought this was generative design ;P
It is, if you consider the (human) 3D printer that’s connected to the (hand-held) extruder. The printer even has local neural network intelligence.
Yup, that’s why I bought a 3D pen–to weld together and patch defects in pieces printed from my 3D printer, and it works really well for that. No doubt free-handing prints are doable with a lot of practice, but the novelty wears off very, very quickly.
Fun fact, that’s why the 3Doodler was originally created. The inventor wanted a way to patch defects in his 3D printed parts. He started with a spare extruder and motor and found it worked great for the intended use but could also be used for 3D drawing with melted plastic. So he productized it and marketed it as such.
At least this is what he told me over drinks at CES several years ago.
Yeah to me a 3D printing pen is basically a glue gun.
Makes me wonder how it would cope if mounted to a plotter or the end effector of a robot arm.
I’ve never tried to use one. The adverts always show tidy models but in reality every time I’ve seen anyone use these the things they make look incredibly rough and stringy.
Guess the best way to do this would be be draw on a tube and then remove the tube. You’d get something organic looking like a bird skeleton. Light weight due to all the holes but relatively strong. [ in theory at least ]
What I have found myself with these 3D pens is that 90% of using them is being clever in how one makes the pieces.
Trying to manually work like a 3D printer is practically hopeless.
Pulling things vertically is in most cases too. Not always though.
Building up layers kinda works, but not all that ideal.
Though, with adequate patience there really isn’t much that can’t be done:
[youtube https://www.youtube.com/watch?v=aAfythfDmTw&w=1663&h=770%5D
this guy is amazing!! but you don’t only need patience you need to be a pretty good artist to start with it seems.
That is indeed some help.
Especially have a sense of thinking in 3 dimensions and knowing how to make the right 2D shapes for it to patch together into something useful. Not to mention order of operations.
But at the same time, similar things can be said about laser cutting, or machining in general.
Here’s a guy who makes it a little more approachable (and fun):
https://www.youtube.com/watch?v=HcZt3oYIgf4
Once you’ve got your mesh though, it seems it would be more efficient to use a bigger hot knife and a melting pot of plastic to cover it with. It’s very similar to methods of working with papier mache or plaster with wire and chicken wire armatures.
The problem is that even he could have got it to fly, it’d fly like crap. There’s a reason why the FPV drone community have moved to carbon fibre parts. That stiffness is important.
Then they would be using aluminum. It’s far stiffer overall. Carbon fiber will always flex more in certain axis.
Weight/strength/cost. And yes, you do get flex on one axis, the frame manufacturers account for this. My frame actually has parts of titanium and aluminium also.
Is it really that hard to make some disposable molds?
Is it really that hard to make molds?
Lay out a flat X frame then make flat panels to weld onto the X frame to make triangular tubes on the arms and box in the middle. Just randomly gooping plastic into blobby sticks is not going to work for anything.
Why is this even on the front page. It’s a big mess of fail and bad ideas, not everyone gets a trophy.
Maybe starting with a form would help?
Is that .. PROTOMOLECULE??
Should have made flat truss sections and then welded them together into a triangle for the arms.