Quadcopters tend to have very poor efficency because of their high disk loading. High disk loading– that is, how much weight each square meter of area swept by the propellers must carry–is almost unavoidable with conventinal quadcopters, which are controlled by throttling the four props. Make the propellers too big, and their inertia slows down that control loop, leading to stability problems. [rctestflight] had an idea to solve this, by borrowing a technology from the world of fixed-wing aviation: variable-pitch propellers.
In aircraft use, they are not new, dating back to the end of the first world war. They’re made for everything from the largest turboprops to the 75 kW(100 HP) Rotax 912. By varying the propeller pitch, you can keep the engine turning in its ideal RPM range but still vary thrust by taking a larger or shallower ‘bite’ out of the air with each sweep of the prop. You can probably see how this applies to the quadcopter: a well-designed pitch-change mechanism is going to be much quicker than throttling a big prop with lots of rotational inertia. That’s the theory.
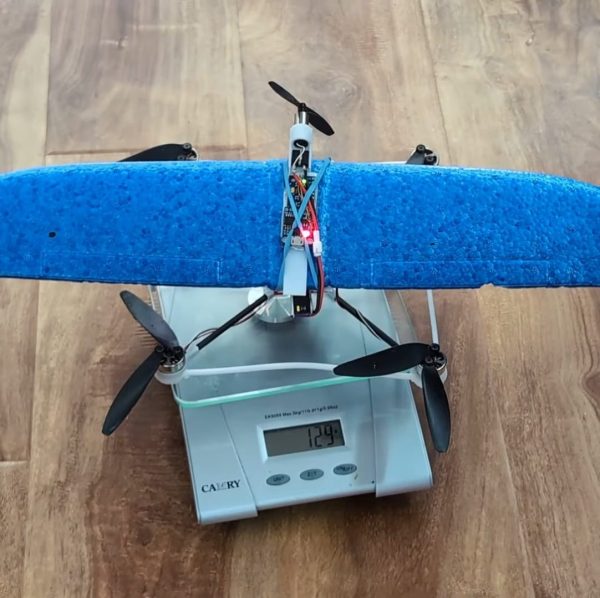
To test it, [rctestflight] builds some large 3D-printed variable pitch props, hooks them up to regular drone motors via a belt drive, before going on–you guessed it–an RC test flight. To make that work, he’s got the pitch servo being driven from what should be the flight controller’s thrust output to each motor. Aside from the vibrations from imperfect balance on the 3D-printed props, it flies quite well– and much better with pitch control than trying to vary the RPMs of those heavy props. He’s even able to reverse the propeller pitch, making this perhaps the first quadcopter capable of autorotation. Well, almost, given that it lost control and came apart when he cut the throttle.
Continue reading “Variable-Pitch Propellers For More Efficient Quadcopter”