3D Printed RC Kart Actually Made Entirely By Hand

If we told you somebody built a 3D printed go-kart, you’d expect to see a certain sequence of events. A bit of work in CAD, a printer montage, then some assembly. That’s not the case here. [3D Sanago] is an artist that works with 3D printing pens, creating 3D objects entirely by hand. It’s an impressive skill, all the more so when it’s used to build something functional like this gorgeous little go-kart.

Just filling in the front wing of this build took approximately four hours. Thus, [3D Sanago] used foam boards to cover much of the chassis.
The build recreates the kart from the KartRider Rush+ game. The first step was to purchase a basic RC car frame to serve as the basis for the kart. [3D Sanago] then set about building a kart skeleton over the unpainted body of the basic RC car. It starts with a wireframe and individual flat panels that are eventually fused together into 3D trusses using the 3D pen.

The trusses are then mounted to the RC car chassis underneath with some wood plates serving as a supporting structure. [3D Sanago] has been known to surface his creations by tediously filling in the wireframes with the 3D pen, but not so this time. He took the easy way out of affixing sections of foam board to create the outer skin of the kart. He also demonstrates neat techniques like forming over a pen to create long plastic pipes and other tubular features. His acrylic-and-mousepad wheel and tire package is also pretty neat.

It’s as much craft as anything else, but it’s amazing to see what can be done when a human takes on the role of a 3D printer.  We’ve featured other great builds from [3D Sanago] before, like this awesome Pokemon-themed humidifier.

Continue reading “3D Printed RC Kart Actually Made Entirely By Hand”

Blastoise Humidifier Shows Us You Don’t Need A 3D Printer If You’re This Good With A 3D Pen

[3D SANAGO] is a bit of a master when it comes to using a 3D-printing pen. Their latest work involved fixing a broken humidifier and giving it a Pokemon-themed makeover. It’s an education in just what can be achieved with a tool many of us write off as a simple novelty.

The basic idea of the build was to create a Blastoise figurine that serves as a humidifier. Work starts with marking out a basic outline on a round stone. The 3D pen is then used to create a tortoise shell with the appropriate concave shape, directly on the rock. [3D SANAGO] also demonstrates how a simple plastic framework can be heated with a blowtorch and shaped around the rock as needed to generate gentle curves. Meanwhile, a simple marker pen serves as a form for creating the gun barrels on Blastoise’s back. The legs are built with a similar technique, but with expert manipulation with a blowtorch to turn them into stubby muscular forms.

The full figurine is built up in stages, with individual wireframe components assembled into a complete body. The gaps in the frame are then filled in by hand, which takes a long time; [3D SANAGO] calls it “the most boring for sure.” Plenty of post-processing is then done with various sanding tools and a bladed tip on a soldering iron. The latter is used as the melting action allows the creation of a smooth final surface. In contrast, subtractive methods like sanding would leave holes and divots that need to be filled in before painting. There’s plenty of sealing to be done before paint, too, to ensure the interior of Blastoise can hold water without leaking. Then, the internal componets are installed and the body finished to its final cartoon form. In case you’re wondering, [3D SANAGO] says that sanding took 2-3 days to get such a great result.

If you really dig it, it’s on display at [3D SANAGO’s] cafe in Daejeon. Overall, it’s amazing to see such craftsmanship with a 3D pen. A resin printer could obviously print a wonderful Blastoise of similar quality, but there’s something about watching the level of human skill in this that’s just compelling. Video after the break.

Continue reading “Blastoise Humidifier Shows Us You Don’t Need A 3D Printer If You’re This Good With A 3D Pen”

3D Pens Can Make Ugly Drone Parts That Almost Work

Small hobby aircraft and light plastic parts go hand in hand, and a 3D printing pen makes lightweight plastic things without the overhead of CAD work and running a 3D printer. So could a 3D pen create useful plastic bits for small quadcopters? [Michael Niggel] decided to find out by building his drone parts with a 3D pen loaded with ABS plastic. He mostly discovered that the created objects could politely be said to look like they were sketched by a toddler, but that’s not all he learned.

He found that in general creating an object was harder than the marketing materials implied. As soon as the filament exits the pen’s nozzle, the thin little molten line of plastic cools rapidly and does two things: it has a tendency to curl, and loses its desire to stick to things. [Michael] found the whole affair worked much less like ‘drawing in thin air’ and rather more like piping frosting, or caulking.

An almost functional micro quad frame. The arms aren’t rigid enough to hold the motors vertical when under power.

Nevertheless, [Michael] sought to discover whether a 3D pen could be used to make quick and dirty parts of any use. He created two antenna brackets and one micro quad frame. All three are chaotic messes, but one antenna bracket was perfectly serviceable. The 3D pen was indeed able to create a strangely-shaped part that would have been a nightmare to CAD up. The other antenna part worked, but didn’t do anything a zip tie wouldn’t have done better. The rapid cooling of the plastic from the 3D pen has an advantage: extrusions don’t “droop” like a glob of hot glue does before it hardens.

By now, [Michael] agreed that the best way to create a plastic part of any complexity whatsoever seemed to be to draw sections flat, build them up in layers, then use the pen to weld the pieces together and add bulk. The micro quad frame he made in this way doesn’t look any nicer than the other attempts, but it did hold the parts correctly. Sadly, it would not fly. Once the motors powered up, the arms would twist and the flight controller was unable to compensate for motors that wouldn’t stay straight. This could probably be overcome, but while the end result was dirty it certainly wasn’t quick. The 3D pen’s niche seems restricted to simple, unstressed parts that aren’t permitted to gaze up themselves in a mirror.

If you have a 3D pen, we’d like to remind you of this mini spool design whose parts are welded together with the pen itself. For bigger jobs, a high-temperature hot glue gun can be used to dispense PLA instead.

Mini Spool System For 3D Printing Pen Tidies Things Up

3D printing pens may be toys to some, but they can be genuinely useful tools to repair 3D prints, rescue a support structure, or weld together different pieces. However, [BManx2000] found that the way the filament simply sticks out of the back of a 3D printing pen like a bizarre tailfeather was troublesome.

The solution? A Mini Spool System for 3D Printing Pens, with which you can use your 3D printing pen to weld together the parts after printing them. The unit holds 1.75mm filament coiled under its own tension in a tidy package that doesn’t interfere with feeding. Since different 3D pens are shaped differently, the interface to the pen is a separate piece that can be modified or changed as needed without affecting the rest of the design.

We’ve seen some interesting innovations with filament holders before, like this entirely 3D printed filament holder, but a mini spool for a 3D pen is definitely a new one.

Hackaday Links Column Banner

Hackaday Links: May 28, 2017

Boeing and DARPA are building a spaceplane. Right now it’s only a press release and a few concept images, but it looks like this is an air-launched system kind of like a Tristar/Pegasus, only much higher and completely unmanned. It’s a ton and a half to low earth orbit, with a goal of 10 flights in 10 days.

Up in Albany? There’s a new hacker con happening in a few weeks. Anycon is a hacking, infosec, and cyber security conference happening June 16 & 17th in Albany, NY. The organizers of this con ([Chris], and his company Leet Cybersecurity) are loosely modeling this con after Derbycon. [Dave Kennedy] of TrustedSec will be attending as the keynote speaker.

GOOD NEWS! [Casey Neistat] is under investigation by the FAA. [Casey Neistat] is the YouTuber that flies drones right in the middle of the Hudson River corridor, and is a menace to general aviation around NYC.

This is neat. The Supplyframe Design Lab is the Hackaday Mothership right in the middle of Pasadena where we host our designers in residence, host a few meetups, and slowly fill every cubic inch of space with either dust or tools. The Design Lab just won a design award. You can check out the ‘design’ part of the Design Lab here, but keep in mind it will never be that clean ever again.

Here’s an interesting Twitter to follow. Alitronik is a curator of the weird and wonderful cheap crap that can be found on AliExpress. Need an Altera Cyclone dev board? Here you go. A desk-mountable OLED inspection microscope? Done. A seven dollar Tesla coil? Dude, you can totally fit this inside a hat.

[Drygol] had a nice old Commodore C16 with a broken TED chip. A shame, really. He did what anyone would do: put a C64 motherboard in the case for a fancy stealth upgrade.

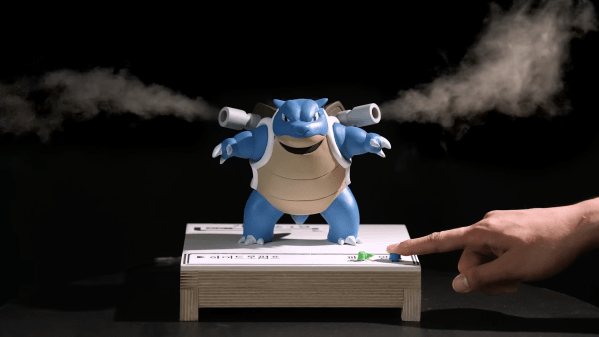
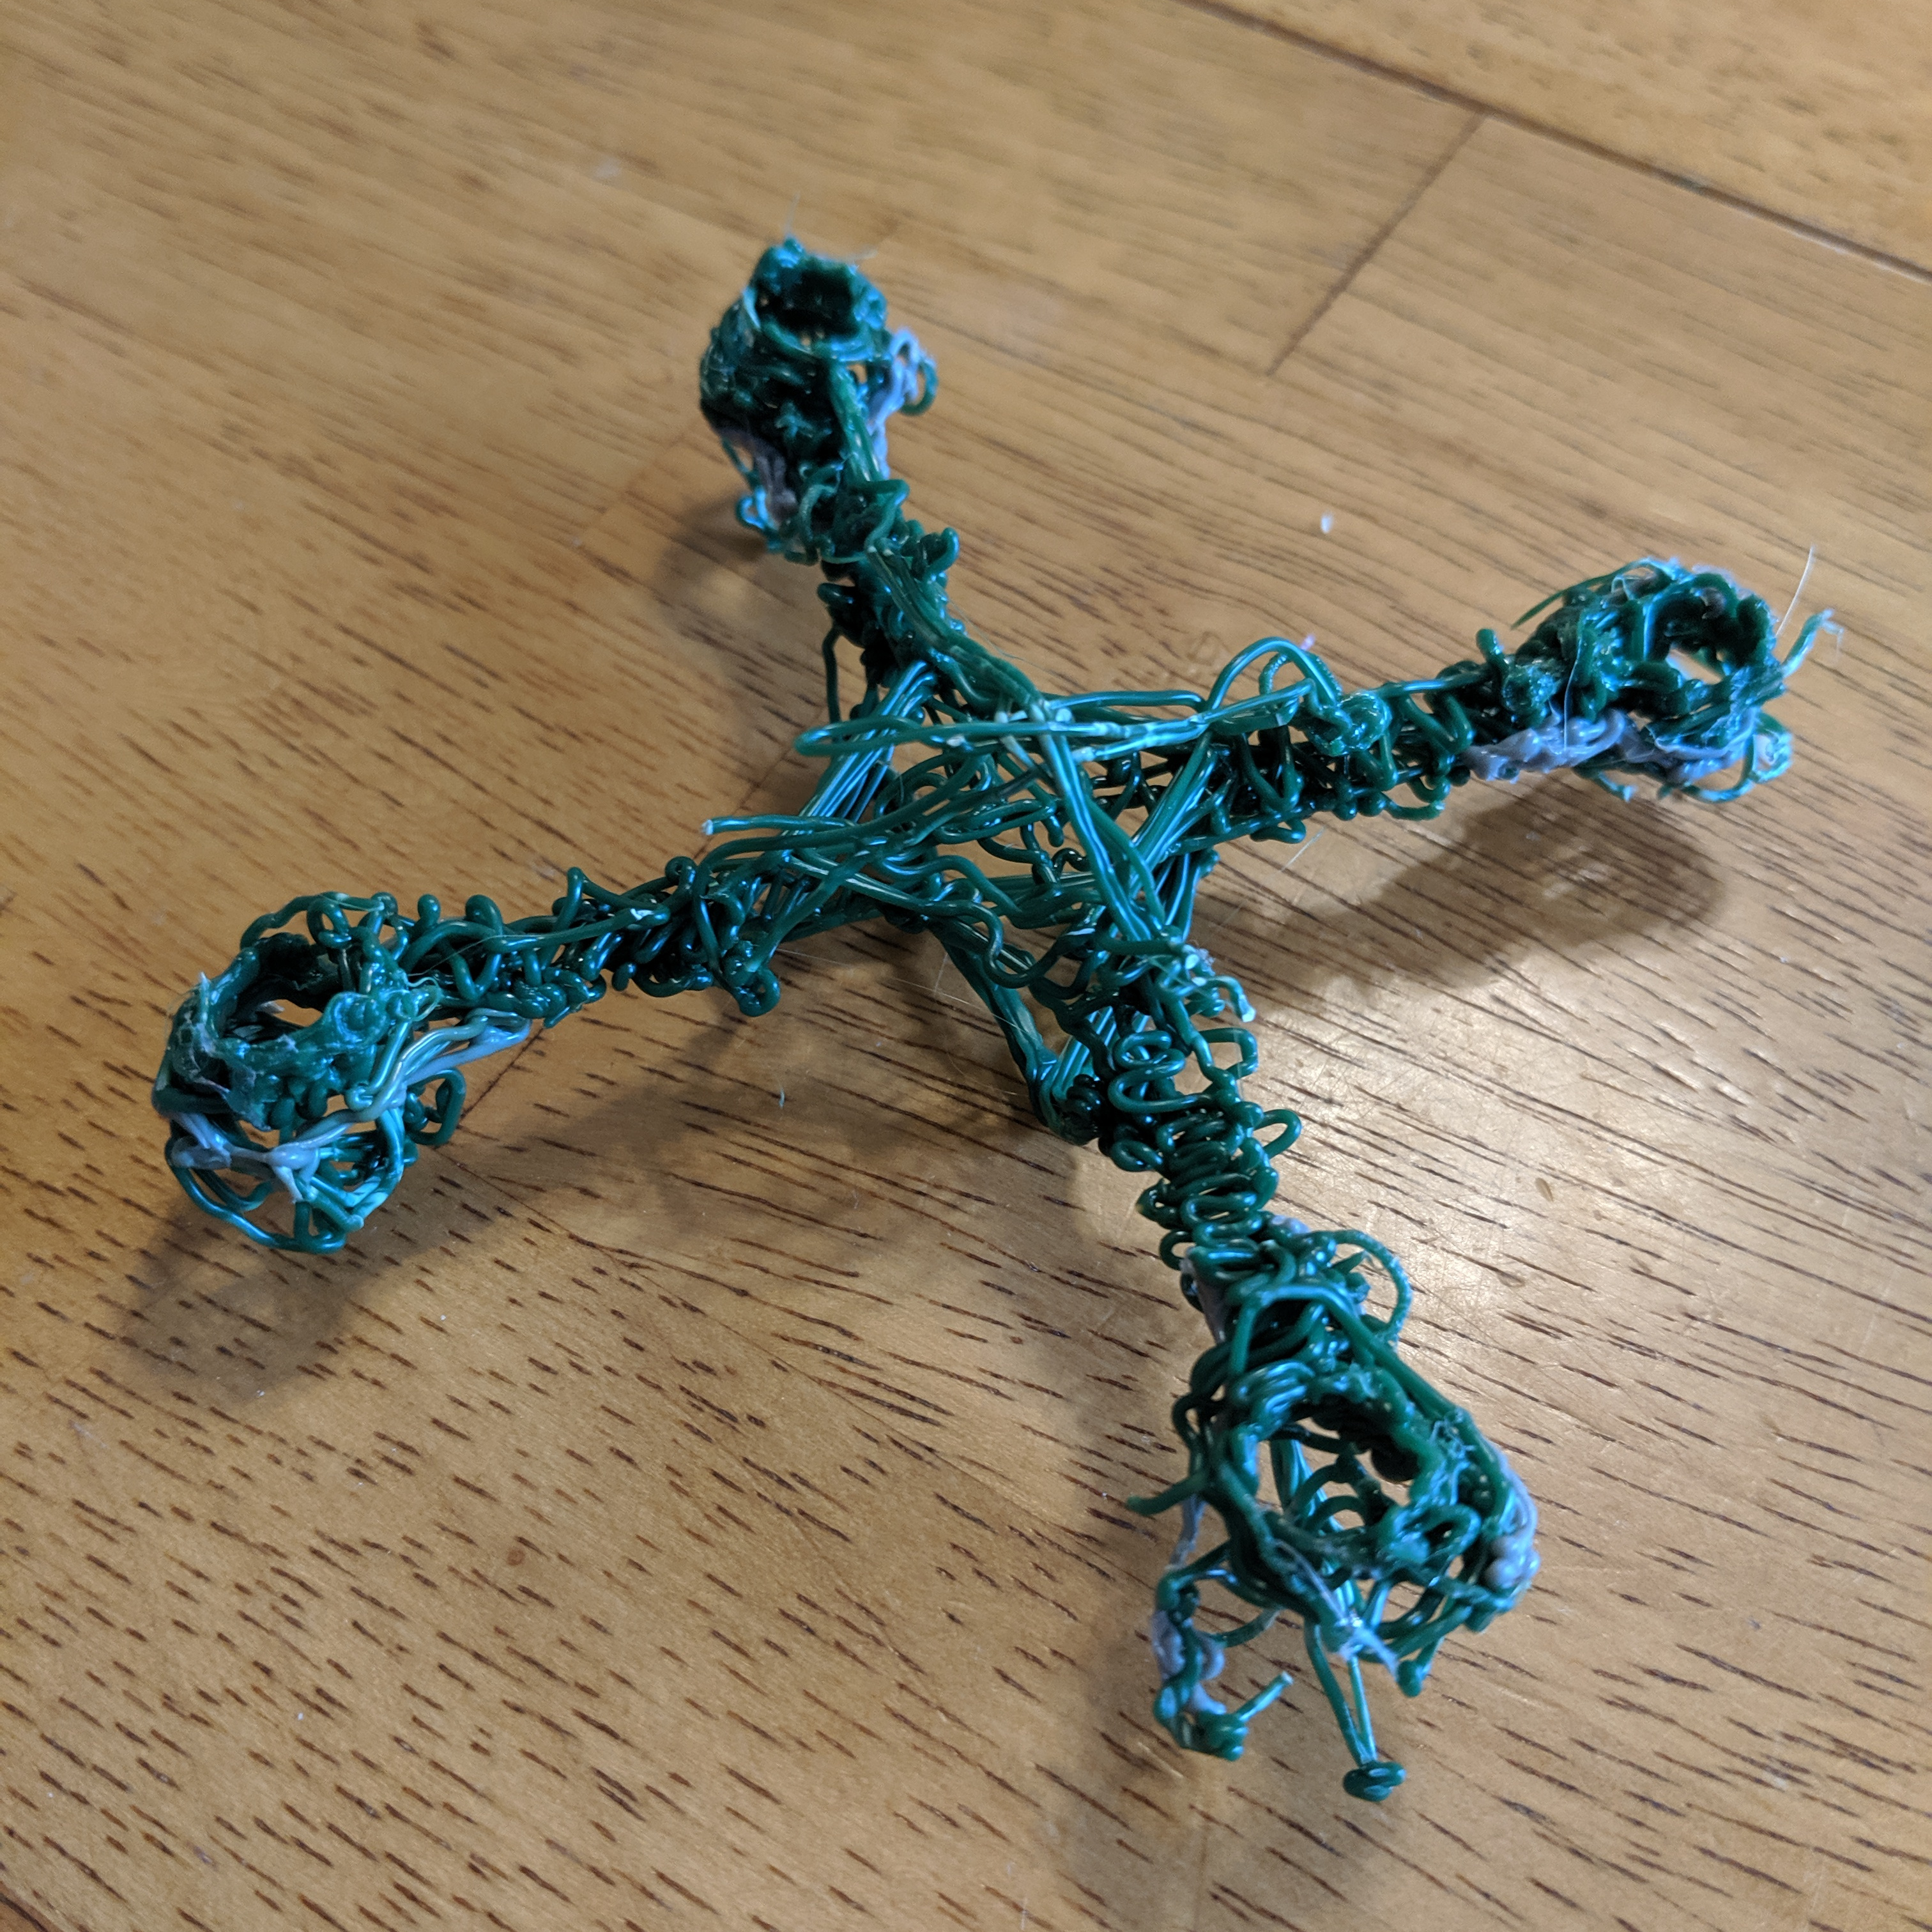
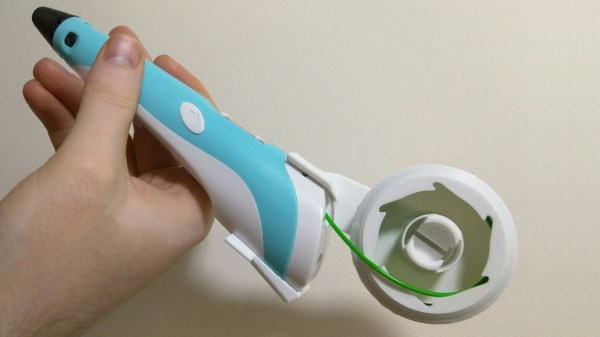
Is the great crowdfunded 3D printer boom over? Some would say that ship sailed after dozens of 3D printer crowdfunding projects failed to deliver, or delivered very low-quality machines. These people were wrong. This Polaroid-branded 3D printing pen might not get funding. A year ago, this project would have been funded on day one. There would have been writeups in The Verge on how Polaroid is turning the corner after decades of wasted opportunities. Now, the Crowdfunded 3D printer boom is finally over.

The Hackaday crew was at the Bay Area Maker Faire last weekend and holy crap did we have a blast. Everyone came to the meetup on Saturday except for the fire marshall. The secret OSHPark bringahack on Sunday was even more impressive. We also saw a Donkey Car capable of driving around a track autonomously, but the team behind it didn’t have their work up on the Internet at the time.

Tubular Tape Gun “Sketches” Furniture You Can Never Sit On

Sometimes you just need a life-sized model. When you do, reach for your (highly modified) tape gun and get drawing.

As the Protopiper team describes it, the “gun” is a computer-aided hand held fabrication device for imagining layouts of large objects — the main example they give is furniture. Want to make sure that couch will fit? Why not spend 10 minutes building a tape model of it?

Sound crazy? Kind of, but the device itself is rather ingenious. It takes normal tape, measures it, and rolls it into tube form, which results in a surprisingly strong structure allowing you to build 3D shapes quite easily. From a design point of view it’s quite brilliant.

From the mechanism that rolls the tape into a structural tube to the winged end-connectors that allow you to easily attach to another tube or structure, the whole thing must have gone through many design iterations to get right. We’re impressed.

Alternatively for printing extremely large shapes, why not build a building sized delta-bot?

Continue reading “Tubular Tape Gun “Sketches” Furniture You Can Never Sit On”

Centrifuge Spins Samples Up To 400g

We were curious to see when someone would use a 3D printing pen for something other than art. It might not look very pretty, but [Techmeology] “drew” this centrifuge mount for a motor in order to spin some test tube samples.

It’s kind of hard to see in the picture, but the test tube holder “arms” are detachable, and when the motor spins up it opens like an umbrella. Pretty much all the parts are recycled, and the motor came from an old appliance, making the cost of this project negligible — a good use case for any remote location that might require custom parts or repairs.

As for actually fabricating functional items with the 3D printing pen, [Techmeology] offers some useful tips for drawing brackets on his site. For instance, wrap the parts for which you need mounting brackets in paper. This provides a barrier while drawing your design in molten plastic.

There are a few other tricks that can be performed by 3D printing pens, like using them to “weld” parts back together. If you don’t already have one you could just use a soldering iron for this purpose — or make your own 3D printing pen using LEGO and a hot glue gun.