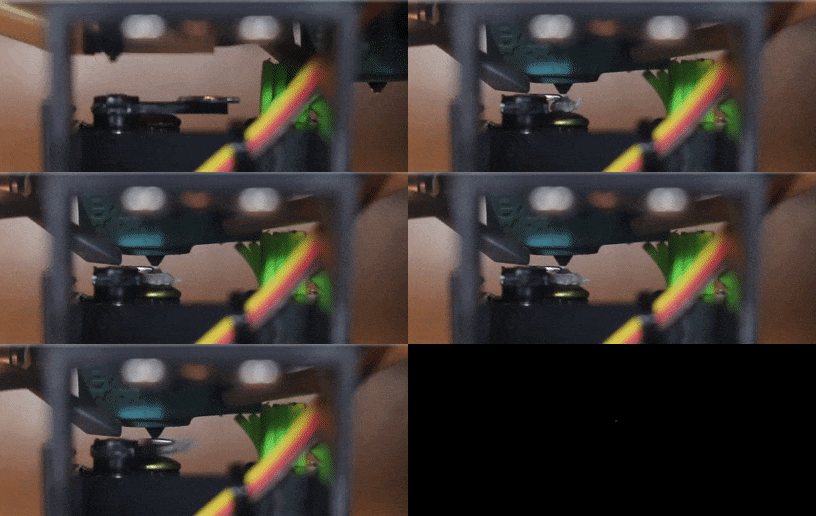
When it comes to toolchanging 3D printers, idle nozzles tend to drool. Cleaning out that nozzle goo, though, is critical before switching them into use. And since switching nozzles can happen hundreds of times per print, having a rock-solid cleaning solution is key to making crisp clean parts. [Kevin Mardirossian] wasn’t too thrilled with the existing solutions for cleaning, so he developed the Pebble Wiper, a production worthy nozzle wicking widget that’s wicked away nozzles thousands of times flawlessly.
With a little inspiration from [BigBrain3D’s] retractable purge mechanism, [Kevin] is first purging tools onto a brass brad. Rather than have filament extrude into free space, it collects into a small bloblike “pebble” that cools quickly into a controlled shape. From here, after one quick flick with a servo arm and a small wipe with a silicone basting brush, the nozzle is ready to use. The setup might sound simple, but it’s the result of thousands and thousands of tests with the goal of letting no residual ooze attach itself to the actual part being printed. And that’s after [Kevin] put the time into scratch-building his own toolchanging 3D printer to test it on first. Finally, he’s kindly made the files available online on Github for other hackers’ tinkering and mischief.
So how well does it work? Judging by the results he’s shared, we think spectacularly. Since adopting it, he’s dropped any sacrificial printing artefacts on the bed entirely and been able to consistently pull off stunning multimaterial prints flawlessly with no signs of residual nozzle drool. While toolchanging systems have been great platforms for hacking and exploration, [Kevin’s] Pebble Wiper takes these machines one step closer at hitting “production-level” of reliability that minimizes waste. And who knows? Maybe all those pebbles can be sized to be ground up, remade into filament, and respooled back into usable filament?


Awesome work! I love that 3d printers run on GCODE so they’re so easy to extend and modify. Imagine if the most popular 3d printers were made by google and used some proprietary closed source system for slicing and printing??
2021 may suck, but at least the 3D printers are awesome.
just use paint and one color filament, lot less work, also looks nicer.
But it can add a milling spindle, a laser, a measurement probe, etc. with this setup…
not to forget differend nozzle sizes for infill and support material. like printing outer parts and small stuff in 0,2mm nozzle and infill in 0,8mm with 4x the layer height while using the cheapest pla for supports (which dont stick to petg i heard)
Hey! I actually came here to say that the nozzle sizes doesn’t work whatsoever. because every tool change takes like 10 seconds and the amount of time you save is barely anything.
however I wanna try using an subtractive tool with a pellet extruder, print inaccurately in bulk with cheap pellets and shave it accurate!
it’d be so amazing but I don’t have the money left :(
but yeah lets not forget different materials. also there’s so much I wanna try
resin injector tools are one, it’d MASSIVELY increase z strength with barely any printing time added if not reduced. and also i wanna try a carbon fiber laying tool.
While I do agree for many folks that would give a better result looks are not the only reason to print in multiple filaments, and IMO the least important if most advertised one. Also not sure I’d call it less work, painting takes time and effort on each and every print, creating a reliable tool change/multifilament printing system lets you just fire and forget for every repeat – so much less effort overall if you make enough parts.
Being able to on the fly print in varied density or stiffness creates so many opportunities for effective print in place mechanisms though, and is for me the real gain of mastering this problem. Also being able to subtractive machining with a laser/mill to make those areas that really need to be geometrically more perfect than hot plastic ooze can be is nice – might be for mechanical reasons, or just legibility – text on the case of your project is nice, and as part of the 3d print its durable, but printed its never that legible unless its also rather large..
Scratches. Scratches show up a lot less when the plastic underneath is the same color as the outside.
I even paint things that are going outdoors for UV protection but still use similar colored plastic and paint so the scratches won’t show so bad.
OTOH, I’m thinking of parts that get handled and used. For a model that’s going to sit untouched on a shelf as a decoration paint might be a good option.