
One of the great things about 3D printers is their ability to make a single part all at once. Separating a part into multiple pieces is usually done to split up objects that are too big to fit on the 3D printer’s print bed. But [Peter] at Markforged (manufacturers of high-end 3D printers) has a video explaining another reason: multi-part prints can benefit from improved strength.
The idea is this: filament-based 3D printers generally create parts that are strongest along their X-Y axis (relative to their manufacture) and weakest in the Z direction. [Peter] proposes splitting a part into pieces with this in mind. Not because the part is inconveniently large or has tricky geometry, but so the individual pieces can be printed in orientations that provide the best mechanical strength.
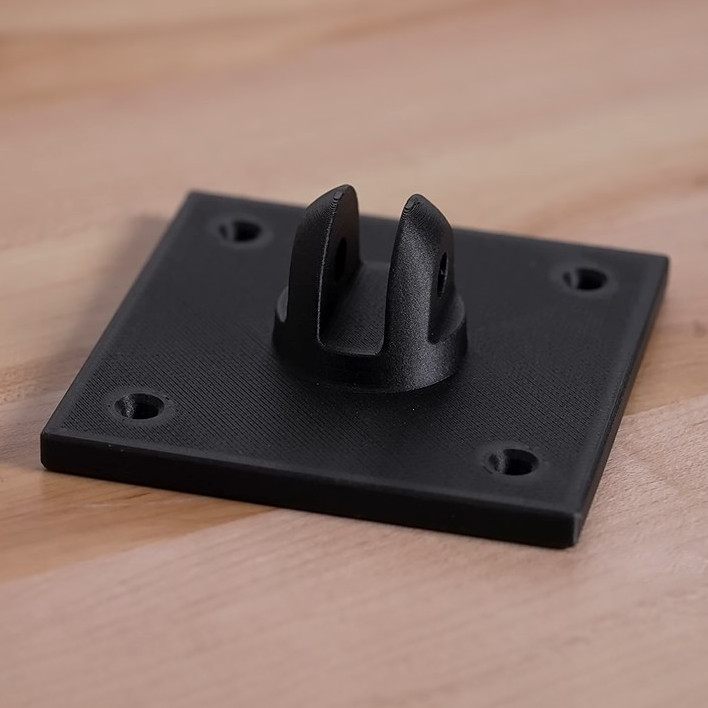
This is demonstrated with the simple part shown here. The usual way to print this part would be flat on a print bed, but by splitting the parts into two and printing each in their optimal orientation, the combined part withstands nearly twice as much force before failing.
[Peter]’s examples use Markforged’s own filaments, but gives advice on more common polymers as well and the same principles apply. This idea is one worth keeping in mind the next time one is seeking to optimize strength. because of how simple it is.
We’ve seen a variety of methods to toughen up or ruggedize prints in the past, but they’re usually more complex (or at least messier.) Examples include embedding braided steel cable, embedding fiberglass mesh, applying electroplating to a printed structure, and plain old embedding some bolts and washers to buffer load-bearing areas.


I’ve done some messing around with pseudo-isotropic 3d printing by printing a shape that’s definitely bad, like a tall thin cylinder, and gently pressing a core in that has been printed flat so it has continuous fiber to reinforce the weak interlayer bonding. It was about 2.5x as strong as the same print printed in the standard way. It still cracks because the strain expresses first in the weak outer layer, but it doesn’t immediately fail.
I keep wondering what happened to interlocking extrusion, if that ever was a thing.
I could swear I’ve seen someone print parts with infill that left vertical channels that would every 1-4mm be filled by extruding/injecting into them to strengthen the z direction.
I made some knobs for an antique car by designing thin shells printed in PLA. I put T shaped ribs on the inner surface and printed jigs to hold the knob shells with a smooth metal rod suspended in the center. The rods were to form starter holes for drilling out for mounting.
With the knobs and rods in the jigs I filled the shells with hard urethane resin and cured them under pressure, then in a convection heater.
The final part was custom formed 3D printed vise jigs which went to the client. It was up to them to figure out how to smooth and finish the exteriors of the knobs, so I sent along a few extras for their experimentation.
The knobs went onto a restored classic car which went on the Councours d’Elegance show tour.
I turned that job around in a few days where conventional methods of making a throwaway mold off the bad original knobs, making castings, fixing them up, making more molds off those, then casting the final knobs would have taken much longer and cost more. Designing and 3D printing a set of masters then smoothing them myself to make molds to make castings also would have taken longer and cost more, and left me with some useless molds from the one-off job.
very good design video, I am retired now, electronics support & design jobs mostly, like in real life every where, we become a mixture multiple technologies. One of my last tasks was design a 3 point probe for an automated test system. First design was made with nylon material, pressed in electrodes. Very cluggy design but it did work, was a monster to assemble. I discovered 3d printing about that time, Discovered our Tool room had a high end machine, and we had a machinist that was very skilled applying it. I converted the design to 3D print discovering as in the video above, points out differences material strengths of a design with 3d materials. I go back to our education system we do not touch on “material sciences” enough in our technical educations. I know my 40+ years working learning limits of materials and proper applications was a big part of my O.J.T. Very good video, thank you for sharing, will give many opportunity to improve designs.
Interesting work around but I think using a print to make a mold is a better idea if you want something that is strong.