
We started with figuring out HID descriptors a week ago, and I’ve shown you how to send raw HID packets using a MicroPython fork. We do still have the task in front of us – making a touchscreen device. For that, let’s give you the tools to capture an existing descriptor from a touchscreen, then show you how to tweak it and how it turns out in the end.
Packing For The Heist
When it comes to this kind of adventure, we can’t go without tools and weapons – it could be dangerous! Without them, you could even abandon your project halfway! Here’s enough high-precision tools and ammunition to last you through whatever obstacles you might encounter. Except for the web-based tools, these tools are for Linux, but please remember that you can always use a virtual machine or a Raspberry Pi. Nobody would use Windows for a heist anyway, what’s with all the telemetry and such.
The first tool is for reading descriptors – we need one to learn from, it’s just like a keycard you can flash to a security guard and scan at the vault entry. Of course, with RFID, you want to have enough examples, compare bits between a few cards and all. For now, HID descriptors don’t have authenticity checks, but it looks like that might just change in the future. Leave it to Apple and Microsoft to add them, as usual. On Linux, seeing descriptors is simple – as root, go into /sys/bus/usb/devices/, find your device by its lsusb device tree path, then follow the directory with the VID/PID in it. That directory will contain a report_descriptor file – hexdump it. The entire command could look like this:
sudo hexdump -v -e '/1 "%02X "' /sys/bus/usb/devices/3-6.2/3-6.2\:1.1/0003\:0C40\:8000.0022/report_descriptor
Again, you might need root to even find this path, so use sudo -i if you must. The format string in the hexdump command gives you parser-friendly output. Specifically, for parsing, I use this webpage – it’s wonderful, even adding tabs that delineate different sections of the descriptor, making its output all that more readable! You can also save this webpage locally, it’s a very neat tool. Other than that, you can try other local tools like this one!
Now, you got a descriptor for a device whose behaviour you want to imitate, and you can parse it to see what makes it tick. Wonderful! But not something you can understand at a glance, not just yet? The descriptor alone doesn’t lend itself to building a mental map, it might contain multiple report IDs, and some descriptors will be generic enough to be confusing. For instance, many devices have descriptors that are actually endpoints for firmware updates instead, so you might be spending time figuring when the descriptor is actually never used. Let’s take a look at what our device actually sends when we interact with it, which report ID we should learn from – and most importantly, how a Linux OS interprets it.
 For that, we only need VID and PID. As root yet again, go to
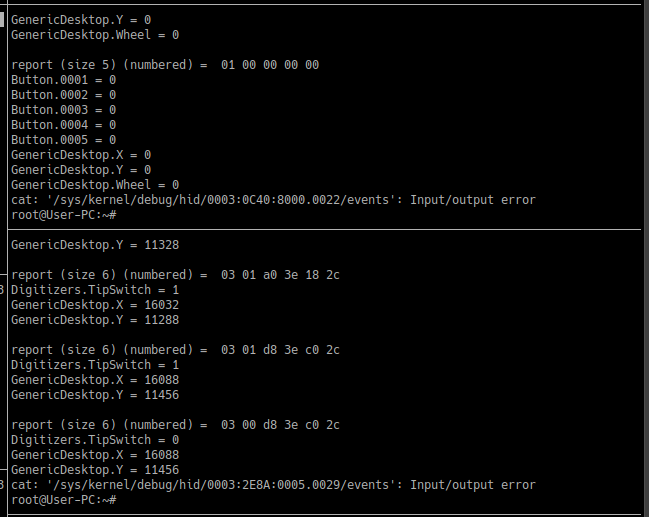
 /sys/kernel/debug/hid/, find a directory with your VID and PID, then cat its events file. In there, you will find a pretty-printed human readable description of every event you get from your device, as soon as it appears. Sometimes the printing process glitches out and stops mid-event – it might be something with the way it’s being cat‘ed, but it’s usually no big loss. This is a wonderful way to see what actually happens when your HID device has activity. The first byte is the report ID, then the packet is printed in the way it’s received, and after that, we see the parsing results from the OS. It’s simply an amazing tool to have! Here’s an example commandline:
sudo cat /sys/kernel/debug/hid/0003\:2E8A\:0005.0029/events
Last but not least, you’ll want a way to see events as your OS’s input layers actually interpret them. Yes, that’s different – if a packet arrives, it’s not necessarily converted to an OS-level input event, sometimes it’s discarded because it doesn’t fulfill a certain condition. For instance, at some point, my touchscreen packets were being discarded because I was only sending coordinates, and omitted a crucial bit telling the OS that a touchscreen is currently conveying a valid touch event as opposed to a spurious touch. That bit is front and center in the Microsoft’s ‘appnotes’ on digitizer building, and seeing that my OS didn’t ‘take in’ my constructed events was the push I needed to peek into the appnote and check what my packet might be missing.
For this, I have my own little Python script that prints out events as they are received by the input library layers, and this script has served me for like a decade now. Simply download it and run it – you will need to install the Python `evdev` library, but it’s available from both Debian/Ubuntu repositories and `pip` alike. You also need to run this one as root, but that happens when you run it as `./listen_keys.py` automatically.
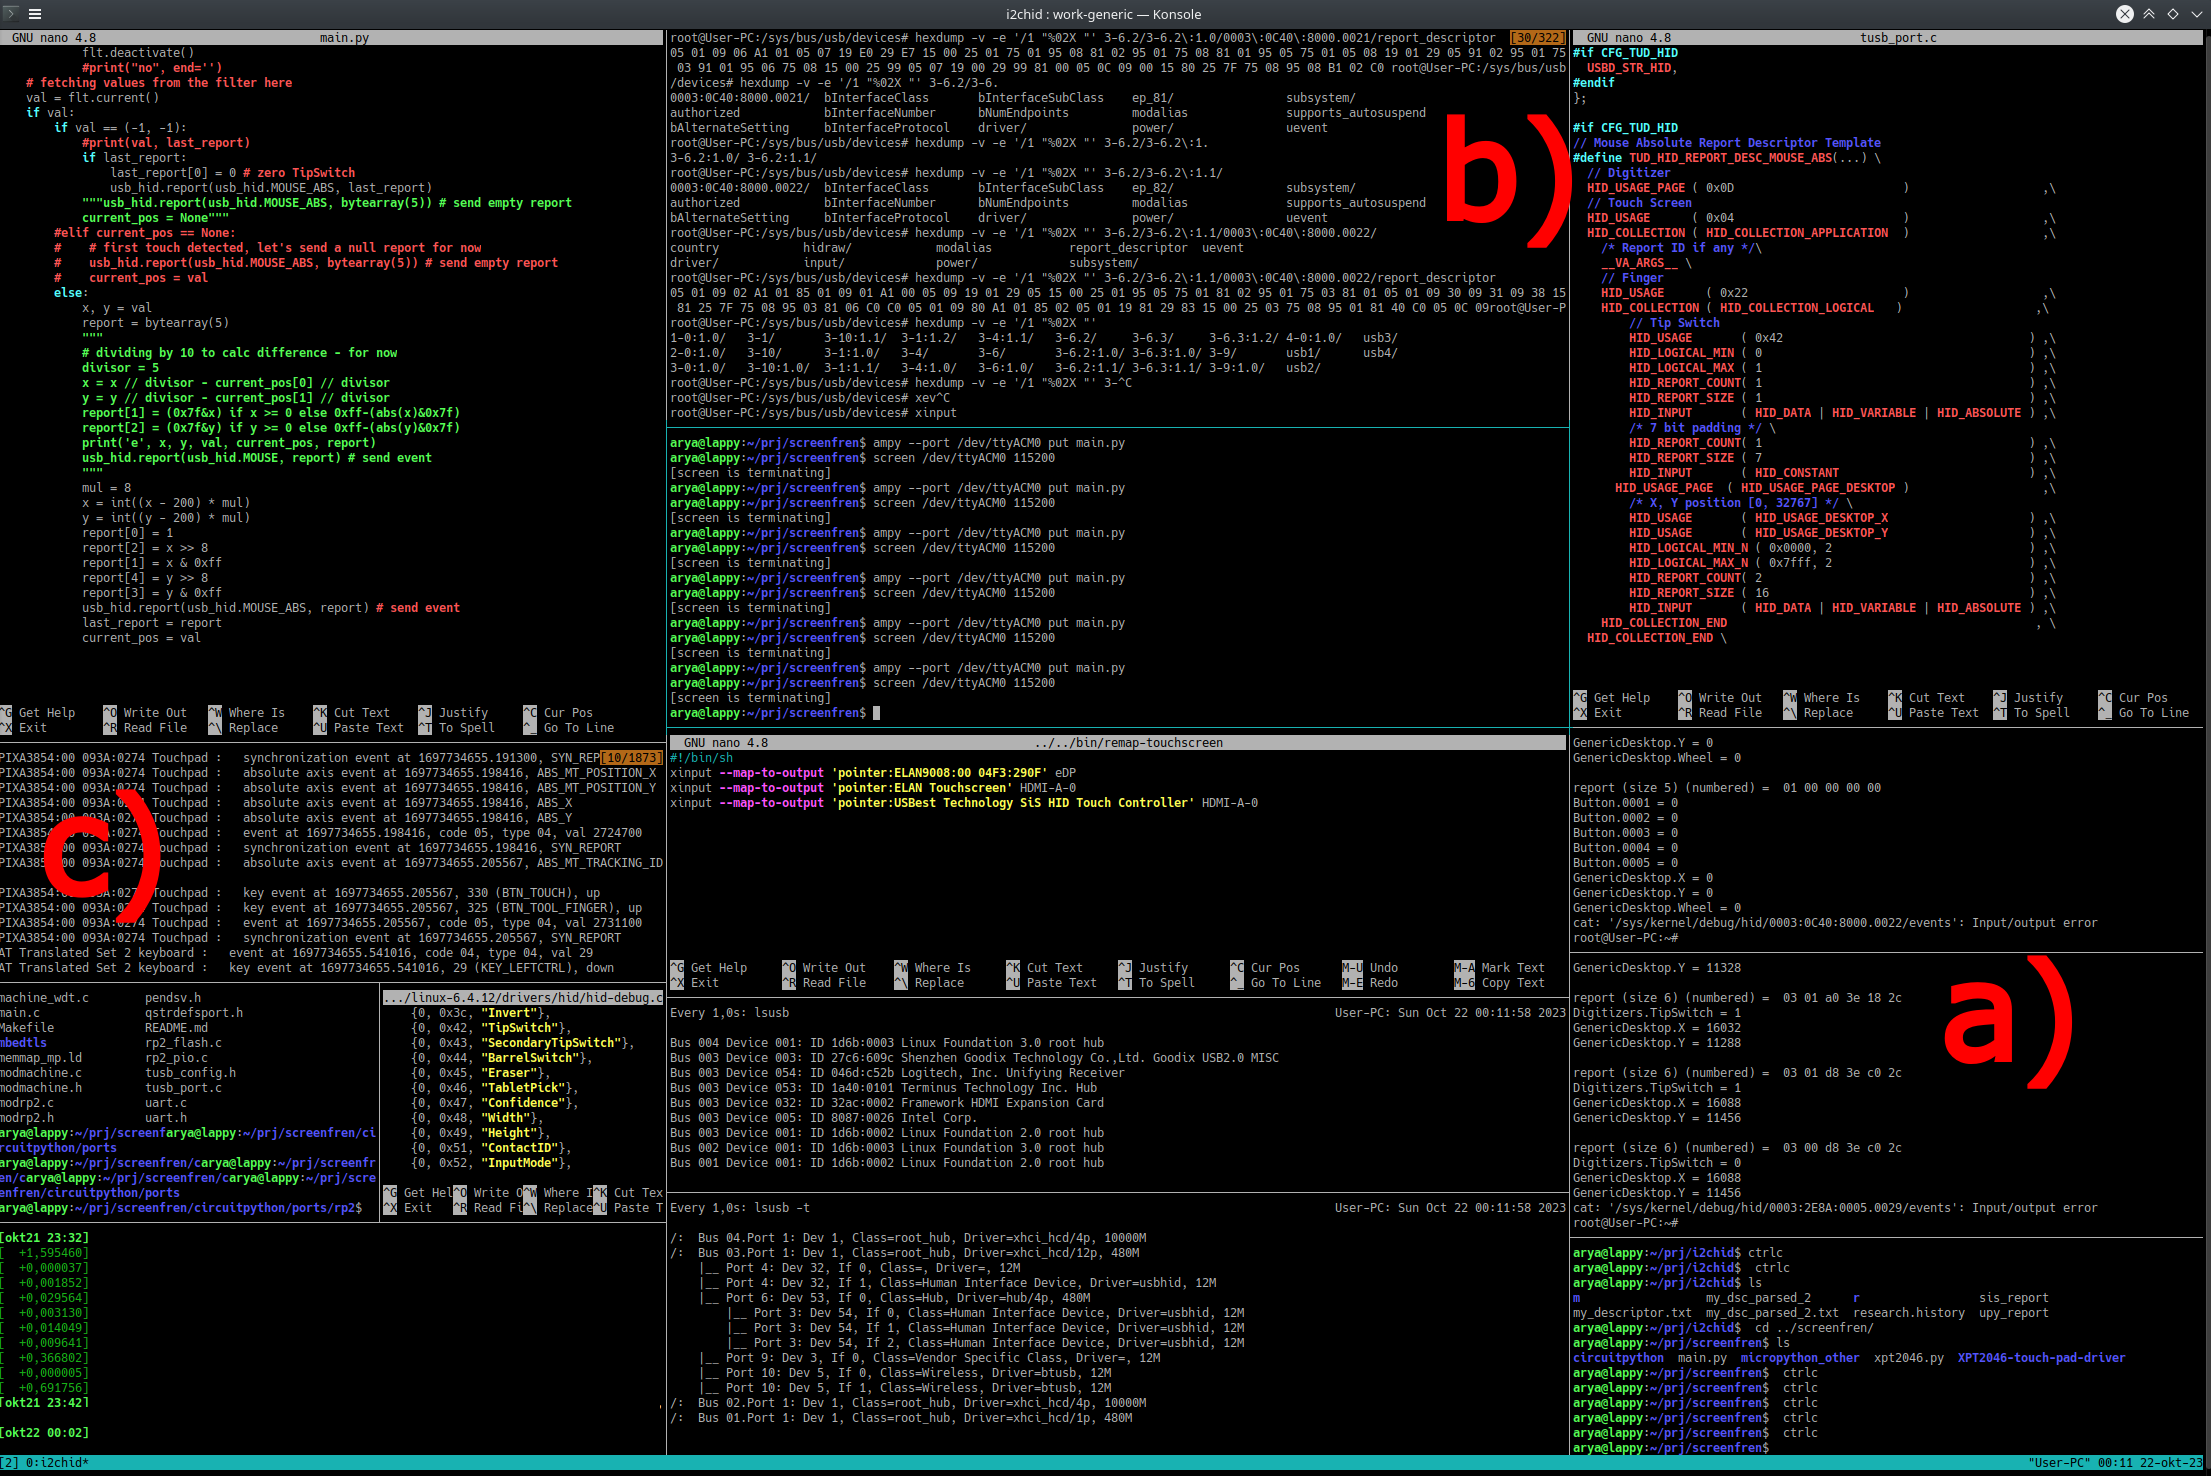
I prefer running all those different commands in tmux, different small panes for different ongoing tasks – here’s my workspace when I was developing and debugging the touchscreen code, where a) shows raw HID event printing, b) shows HID descriptor printing, and c) shows the input event display code.
A Perfect Disguise
With these tools, building a touchscreen was an evening’s work. I had coordinates from the XPT2046 library I was using, so all I had to do was to build a descriptor. Initially, I thought to reuse the “absolute position mouse” descriptor helpfully provided by [] with the code, but the input event printing script has shown me that even the mouse button presses from that script weren’t picked up by UI – and while MOUSE_ABS events did show up, they did not affect my desktop in any way.
Debugging the mouse descriptor work didn’t sound fun, especially given I don’t even have a working absolute mouse to learn from! Instead, I decided to rebuild the absolute mouse descriptor into a digitizer descriptor, since I have both digitizer descriptor and packets! The absolute mouse descriptor was helpfully exposed in the MicroPython sources separately, and ripe for tweaking, too! Changing the USAGE and USAGE_PAGE categories alone to those of USB touchscreen’s descriptor made my OS recognize my RP2040 board as a digitizer.
The actual changes were not tricky – the XPT2046 library provided two integer coordinates, so I copied a structure from a descriptor that described one X and one Y value, each 16 bits long and therefore split into two bytes each, just like my USB touchscreen. With help of the HID packet debug print mechanism, I could quickly notice when my upper and lower byte were swapped, because my OS was not interpreting the coordinates correctly. Having fixed that, my packets would get parsed correctly but weren’t appearing among the input events, and comparing the factory-made USB touchscreen packets to the hand-constructed packets of my DIY touchscreen, I could notice that a “valid touch” bit was missing. Adding that made the device behave like a touchscreen for all intents and purposes!
Now, I have a DIY USB-connected touchscreen, and all it took was stealing a HID descriptor from a different touchscreen, then imitating it closely enough. Plus, whenever I want, I can switch my touchscreen into touchpad mode by having it send packets with a different report ID that corresponds to the mouse descriptor of the firmware – it only lacks two mouse buttons to be a complete laptop touchpad! Given that I’m using this to prototype a wearable display, it will be immensely helpful.
In And Out, We Secured The Goods
As-is, the newly christened USB touchscreen needs some filtering and calibration, but those are tiny fixes – could probably steal some filtering algorithms from Linux XPT2046 drivers, too! It’s plug&play, it’s easy to use, and it’s hackable – no longer the SPI touchscreen it was meant to be. Most of all, it’s a great example that, if you want to build a slightly wacky HID device, it’s nowhere near hard to do so, and Linux offers you a powerful toolkit that helps you notice any HID problems no matter how far you want to go.
There’s tons of things you can do if you understand HID. For instance, you can build a Braille display that’s cross-compatible, without struggling with USB-UART serial numbers. Over on Hackaday Discord, [mupf] has been hacking on an XBox Adaptive Controller-compatible device that uses a magnetometer and gyro to send the OS, with the HID descriptor heavily informed by a dumped descriptor of an original Xbox Adaptive Controller. The HID specification describes a large number of things, even USB-connected character displays, and things like – you can send quaternions with help of HID, of all things!
Supporting HID makes your input device friendly and helps it better interact within the software world. HID is, at its core, a language understood by all of the mainstay operating systems, and giving your device a HID interface lets you avoid adding a layer of proprietary language between your device and any sort of software you wish to interact with. And, of course, HID is a great hacker tool – this smartphone automation tool alone will testify!
Next time, I’d like to show you more about I2C HID – sending HID packets and descriptors over I2C, without requiring a USB port at all and only using a I2C connection, which by now is pretty ubiquitous! In that context, I will show you how to reuse a Framework laptop touchpad, which uses I2C-HID for its communications. I’m hoping to modify QMK so that we can practice adding I2C touchpads to any QMK-controlled keyboards, but we might just settle on modding KMK, which is QMK’s equivalent but in CircuitPython. I will also show you how you can quickly connect an I2C-HID device to a Linux SBC of yours – it’s easier than you might imagine! And, if stars align and I2C peripheral mode support in RP2040 MicroPython turns out to be stable enough, we could even build our own RP2040-powered I2C HID peripheral as a dessert.


Great article, thanks!!!!
Was there supposed to be a link?
this smartphone automation tool alone will testify!
What smartphone automation tool?
[Arya Voronova]
When are you going to get a bio on the Staff page?
Space aliens are getting left out, please consider them in interface devices, also the Mice.
Where is the vim?!?!