Some hacks are implemented well enough that they can imitate involved and bespoke parts with barely any tools. [CodeName X]’s Thinkpad X1 Tablet Keyboard to USB adapter is one such hack – it let’s one reuse, with nothing more than a 3D printed part and a spare USB cable, a keyboard intended for the Thinkpad X1 Tablet (2016 or 2017).
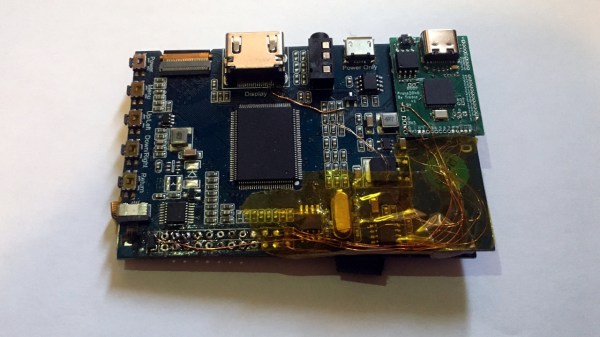
The issue is, this keyboard connects through pogo pins and holds onto the tablet by magnets, so naturally, you’d expect reusing it to involve a custom PCB. Do not fret – our hacker’s take on this only needs aluminum foil and two small circular magnets, pressing the foil into the pins with the help of the printed part, having the USB cable pins make contact with the foil pads thanks to nicely laid out wire channels in the adapter. If you want to learn more, just watch the video embedded below.
Of course, this kind of adapter will apply to other similar keyboards too — there’s no shortage of tablets from last decade that had snap-on magnetic keyboards. But watch out; some will need 3.3V, and quite a few of them will use I2C-HID, which would require a MCU-equipped adapter like this wonderful Wacom rebuild did. Not to worry, as we’ve shown you the ropes of I2C-HID hacking.
Continue reading “Use Your Thinkpad X1 Tablet’s Keyboard Standalone”