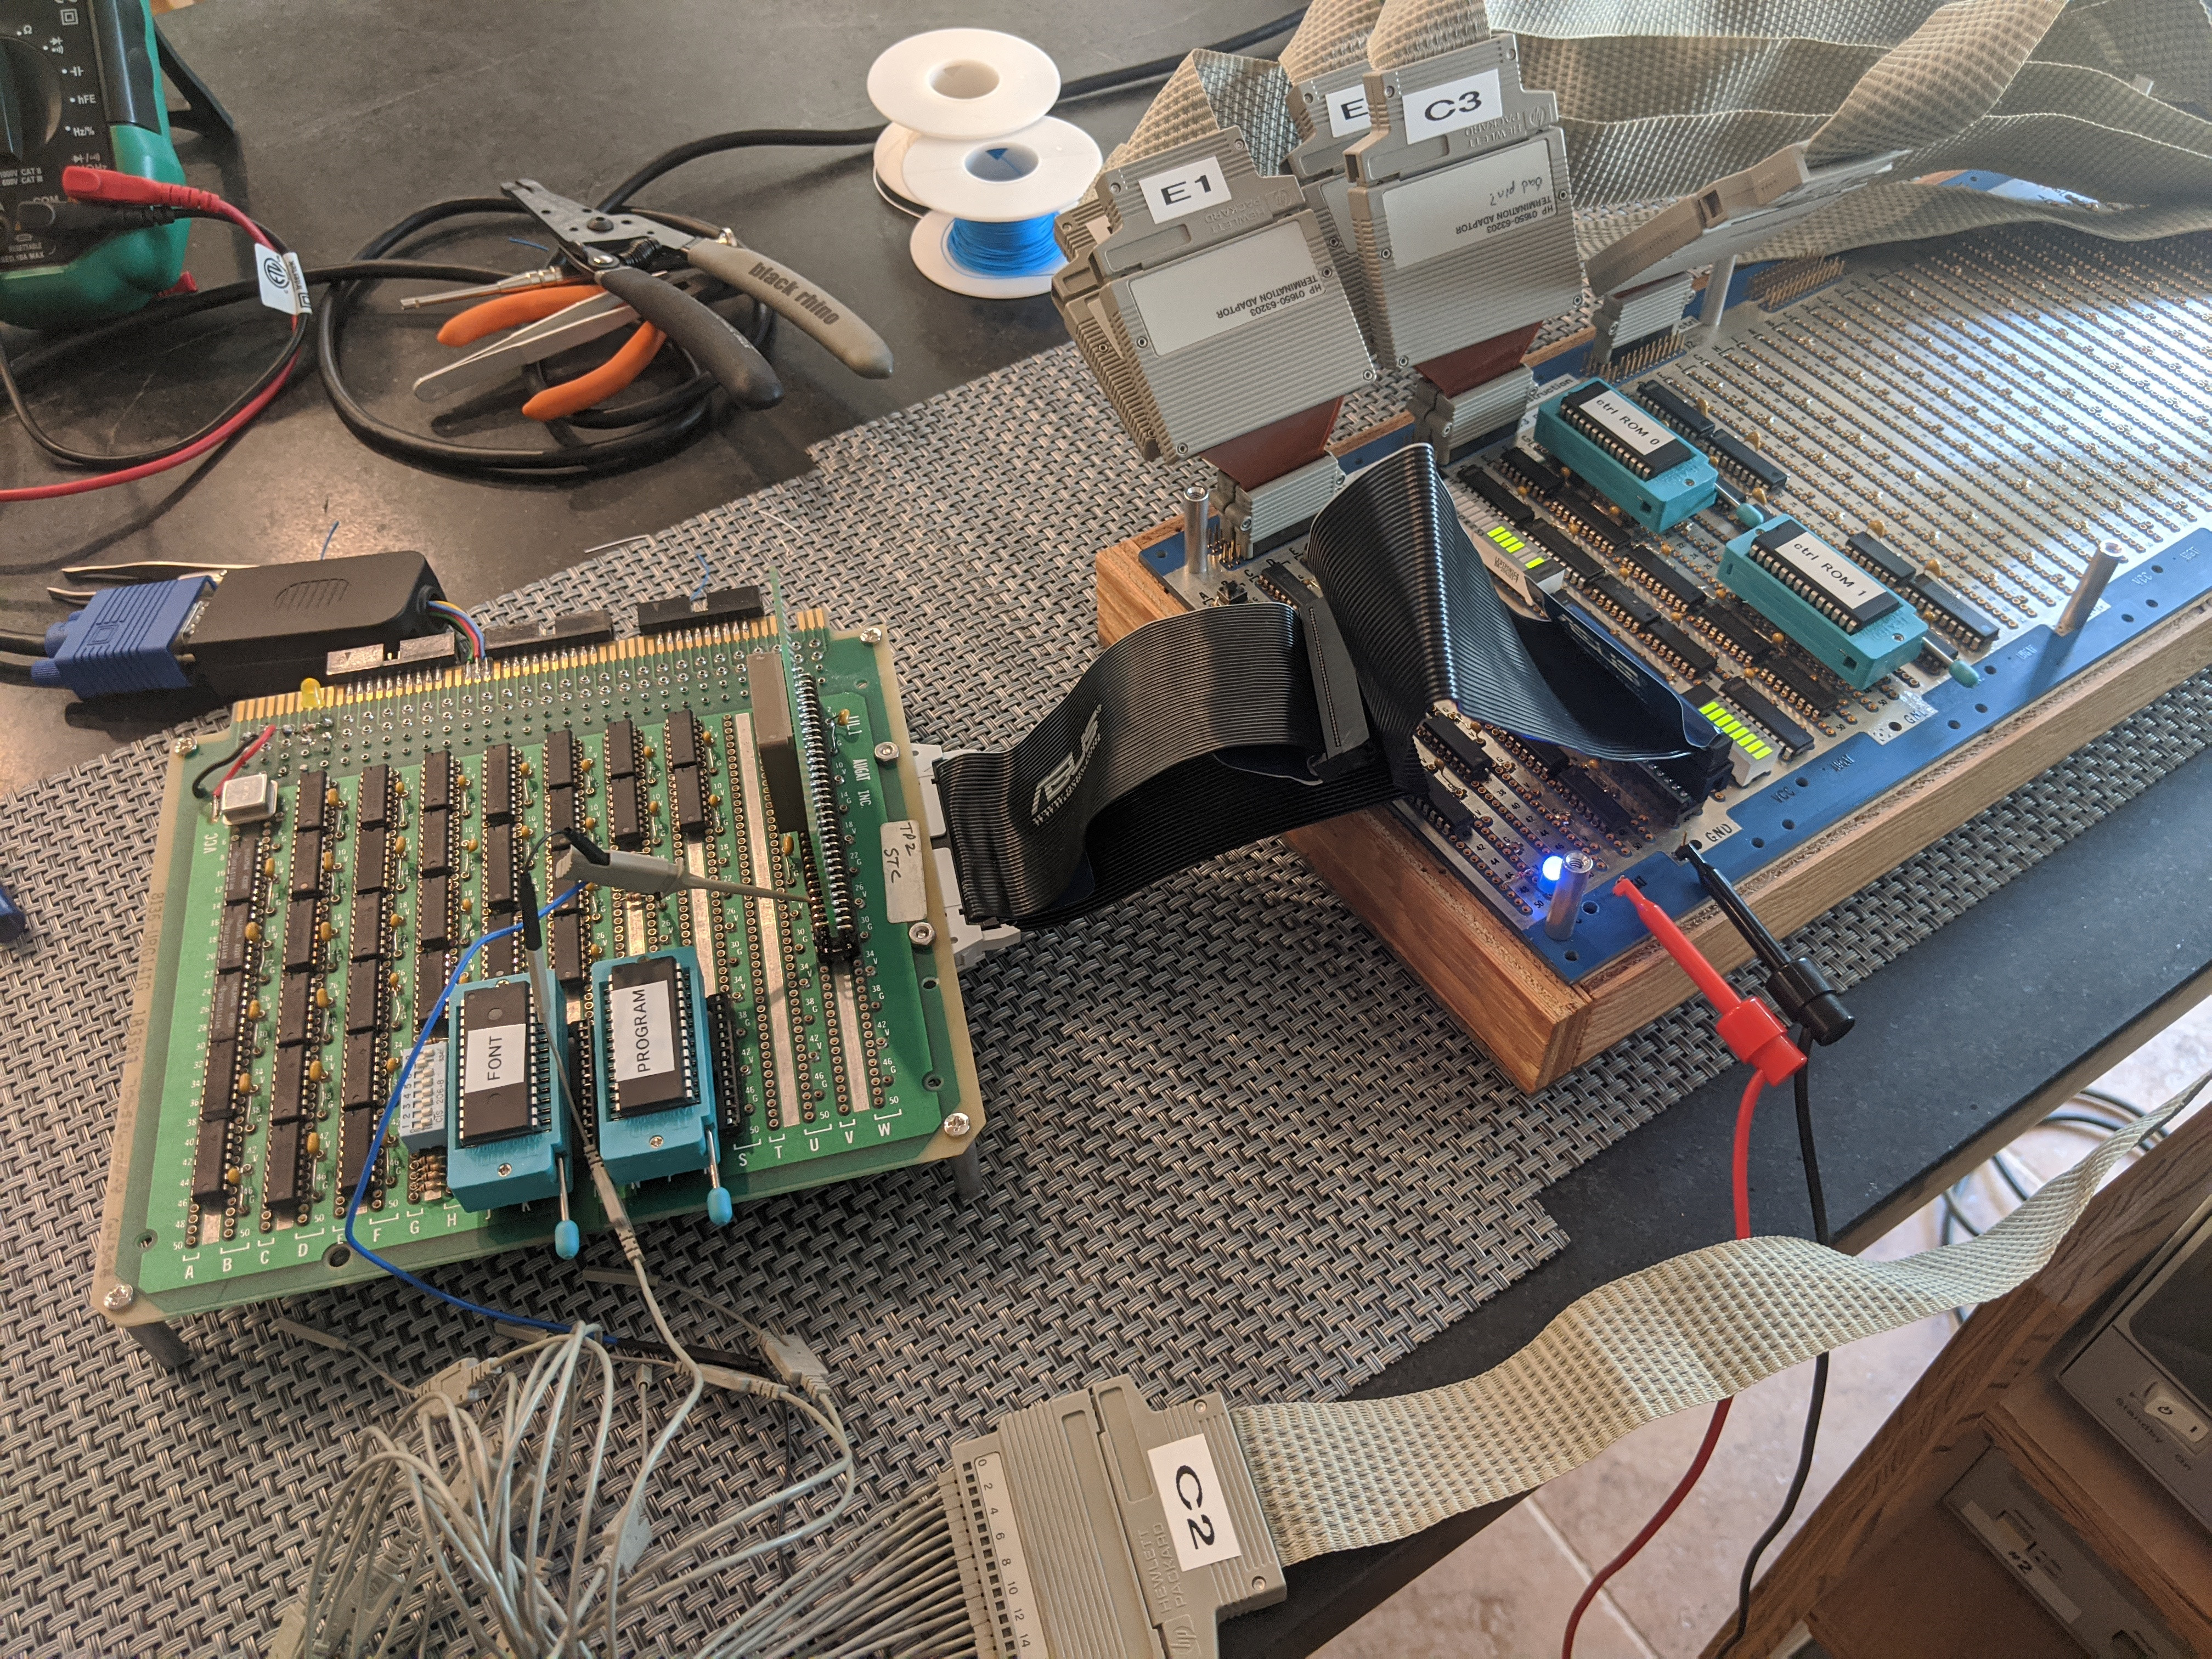
As part of his computer science curriculum at Texas A&M University in the early 2000s, [Paul Krizak] took a computer architecture course on the basics of their functioning. This and being exposed to dozens of homebuilt computer projects inspired him to begin building his own 8-bit computer in 2010, which eventually grew into the Wire Wrap Odyssey. This name covers both the primary construction method chosen around 2019 in the form of wire-wrapped connections, as well the harrowing journey to reach this point with a functioning computer system despite many choices and setbacks.
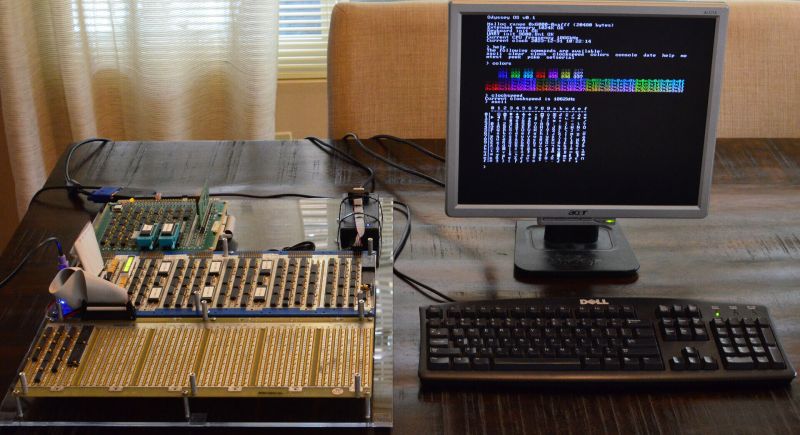
The Odyssey CPU is an 8-bit microcoded design with 16-bit address bus, using mostly 74HC-series logic. A VGA graphics card is also part of the design, which can output a 640×480 text display, with character glyphs read from the system ROM (32 kB AT28C256). As for the RAM, this is an extravagant 32 kB dual-port SRAM (Renesas 7007), which also allows both the CPU and video card to use the same SRAM. Currently the system has four peripherals: a PS/2 keyboard controller, an RTC and timer (DS1511Y+), 82C52 UART and 1 MB of extended RAM, but an ATA port and parallel port are in development.
Perhaps the most impressive part about this product is the level of documentation, from the early stages including paper doodles to the current state of the system, including the GitHub repository for the software. [Paul] was also an exhibitor at the Vintage Computing Festival (VCF) SoCal recently with his Wire Wrap Odyssey, where he was able to show off the progress so far. Next year he hopes to visit VCF SoCal again, with the remaining planned peripherals implemented.


I have been itching to do something like this for years, but… time, and other itches! Very well done and documented, I know it took perseverance and tenacity to get to this point, impressive.
That’s “Wire Wrap Odyssey” not “Wire Wire Odyssey.”
Such systems demonstrate how the CPU in particular actually works. Just prior to the microprocessor, bit slice processors constructed with 7400 TTL chips powered a generation of computing machines. These systems were more generally known as mini computers.
Even earlier project along these lines.
http://homebrewcpu.com/
Yes, the Magic-1 was one of my inspirations to take on this project. Back when there was a “Homebrew CPU webring” and the Magic-1 (and BMOW-1) were a couple of the most impressive items on the ‘ring.
The ring still exists.
https://www.homebrewcpuring.org/ringhome.html
Mine is the Toro Clock project. Welcome aboard!
It takes a Special Level of Crazy to be able to WireWrap..
I remember seeing my First Wirewrap industrial Processor Board on a 200 Ton REED Injection Molding Machine controller in about 1978. All sorts of Spaghetti ( Mostly White Wire ) Going over ‘Swing Out Boards’ the Size of lap Eating tray!.. I had to learn More..
By 1982 I had done my First WireWrap Computer Board.. a 6502 Variant.. ( I was an Apple ][ Nerd ) for an industrial control application..
I still have my ‘Vector’ (Victor?) wire wrap gun.. It looks like it was the Basis for the Original Side Arm ‘Phaser Pistol’ on the Start Trek Series..
Nice article, thanks.
The website is very interesting, I quite enjoyed reading the stuff on microcode and conteol lines. Haven’t got to why eeprom was better than dedicated ALU yet.
If anyone know how to ’emulate’ dual-port SRAM on the “cheap”, I would love to hear about it! :-)
P.S. are comment subscriptions working for everyone else? Seems to have stopped working for me since the system was changed.
All I can say about wire wrap and core memory: mmmm, yummy!
At the begining both were pleasant to do by hand and to fix. But at the peak time of their use it was pure art. You could see the magic happening.
I would love to make/have a memorysuitcase made out of these (yes, a gigabyte core memory in a suitcase with wire wrapping – you change 5 random wires between them and security is activated).
Unfortunately newest equivalents hide everything under layers of multilayer boards, masking paint and epoxy.
Hi, about 50 years ago, I worked at Burroughs (UK). We had a VDU with a core memory for the character generator. Each char had a wire threaded thru the cores (÷/-10mm dia) in a special sequence. Each core was a vector (2Y, 1X, etc) for drawing the character. I had to figure out how to change the $ to a £. IIRC, I got it right first time!
There have been a number of 7400 TTL based 8 & 16 bit projects. Although I’ve seen several attempts at 32 bit, none to my knowledge have been successful, even though they’ve been manufactured since the 1970’s.
With great tools available like KiCad, why is 32 bits still so hard?
Mostly because this results in a lot of chips, but why not…
http://pepijndevos.nl/2019/07/18/vhdl-to-pcb.html
https://github.com/BrunoLevy/learn-fpga/blob/master/FemtoRV/RTL/PROCESSOR/femtorv32_quark.v
https://github.com/olofk/serv/
Try it!
Oh wait, already done:
https://pineapple-one.github.io/
https://fritzler-avr.de/spaceage2/index.htm
Wow, that Pineapple-ONE is impressive! Great work, Filip Szkandera. If you ever think about making a kit, I’d think about buying one :-)