It is funny how when you first start doing something, you have so many misconceptions that you have to discard. When you look back on it, it always seems like you should have known better. That was the case when I first got a low-end laser cutter. When you want to cut or engrave something, it has to be in just the right spot. It is like hanging a picture. You can get really close, but if it is off just a little bit, people will notice.
The big commercial units I’ve been around all had cameras that were in a fixed position and were calibrated. So the software didn’t show you a representation of the bed. It showed you the bed. The real bed plus whatever was on it. Getting things lined up was simply a matter of dragging everything around until it looked right on the screen.
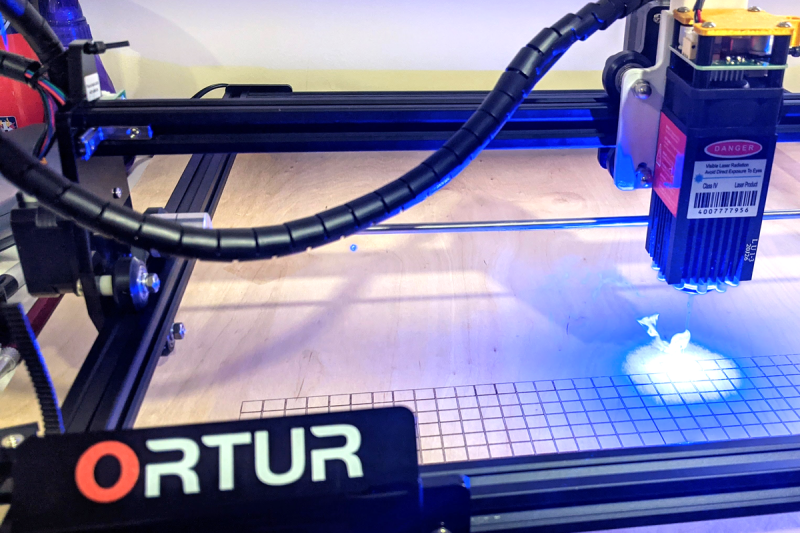
Today, some cheap laser cutters have cameras, and you can probably add one to those that don’t. But you still don’t need it. My Ourtur Laser Master 3 has nothing fancy, and while I didn’t always tackle it the best way, my current method works well enough. In addition, I recently got a chance to try an XTool S1. It isn’t that cheap, but it doesn’t have a camera. Interestingly, though, there are two different ways of laying things out that also work. However, you can still do it the old-fashioned way, too.
Humble Beginnings
I started out with a Laser Master 2, but it really had no comfort features. You had to focus the laser by observing the beam, and there was nothing to help you with positioning. I thought I would be clever and have the laser cut a grid into a spoil board so I could lay things out. That didn’t work well at all.
There are a few reasons a grid like that isn’t as useful as you’d think. First, if you do want to try it, the board needs to be totally secure with respect to the laser cutter’s frame. Otherwise, if the board or laser moves, you are now off. Even just a little tilt or slide will show up in the finished product. But the big problem is the workpiece has to be totally square with the frame, or things will be crooked.
A Better Plan
It didn’t take many ruined pieces to realize I needed a better way. The answer turned out to be wrapping paper. A trip to the dollar store will give you plenty of wrapping paper, and it can be ugly — you don’t care what it looks like since you’ll use the back.
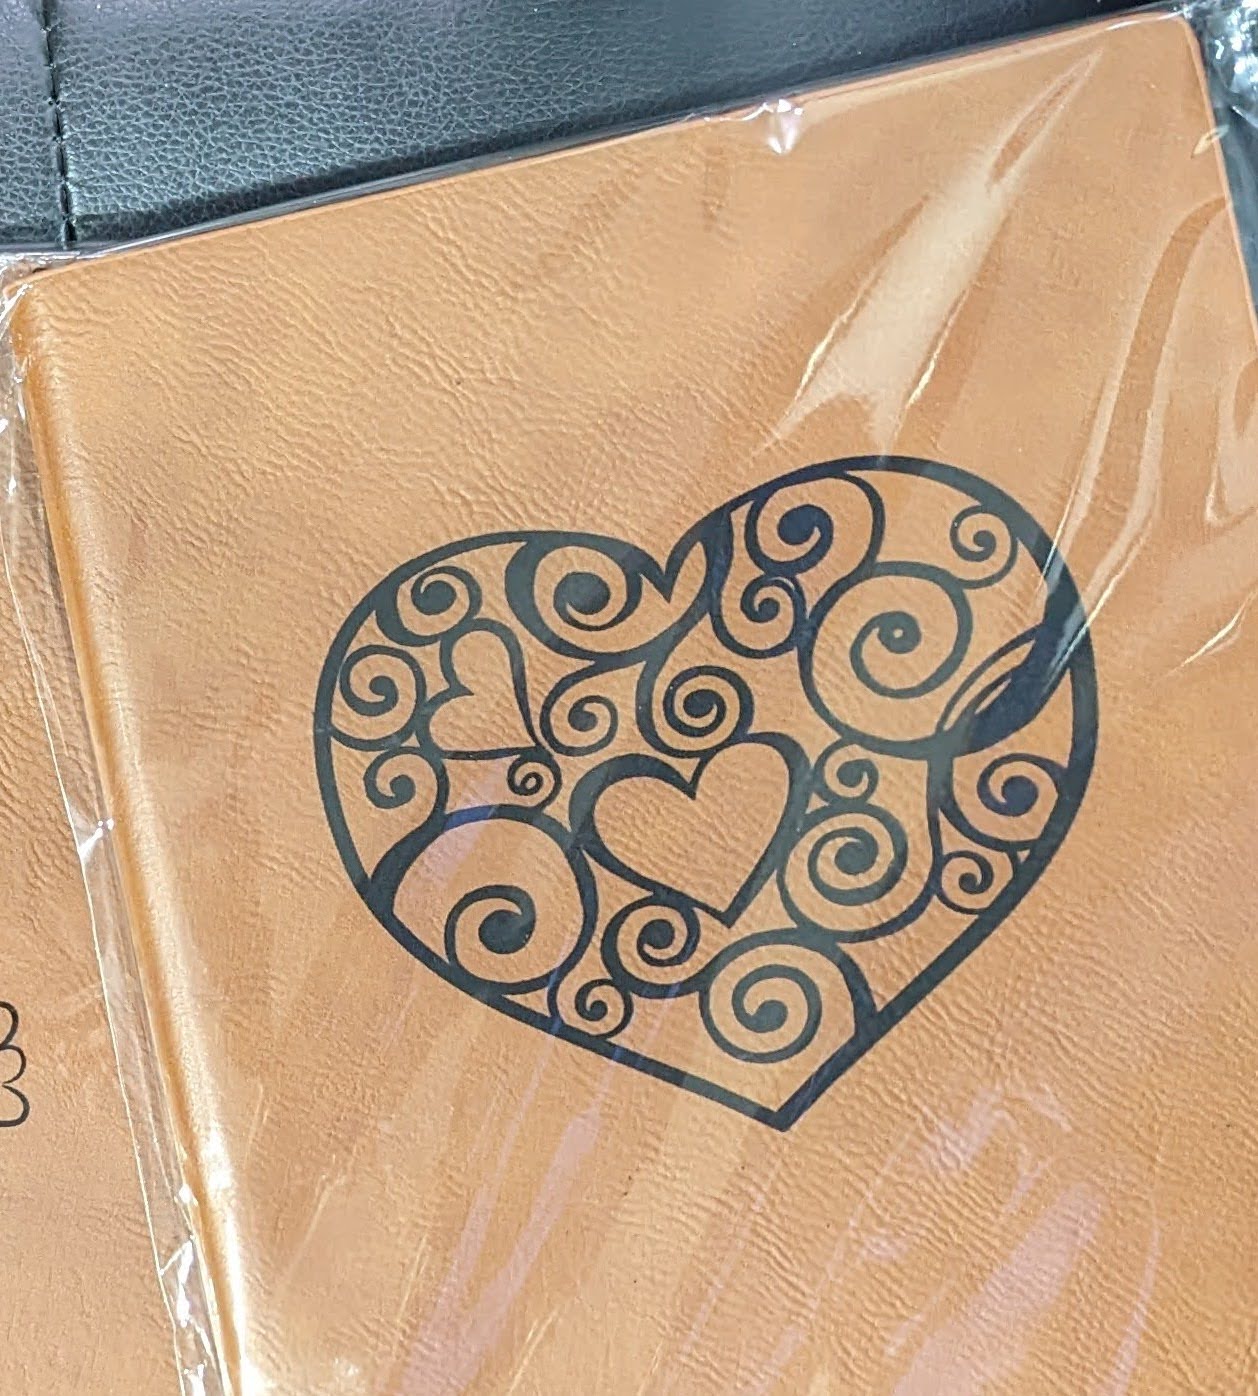
Suppose I’m going to engrave a notebook with a logo and name. I’ll have some outline representing the book. The steps are simple:
1) Put down the wrapping paper and tape it to the cutter’s bed.
2) Turn off everything and then turn on just the outline vector.
3) Focus on the paper and do the engrave.
Now, you have a perfect book-shaped rectangle on the paper. If the bed is tilted, it doesn’t matter because so is the rectangle.
4) Place the book inside the outline on the paper.
5) Refocus the laser.
6) Turn off the outline layer and turn on the other layers.
7) Burn!
The Laser Master 3 added a nice feature, which was a little hinged stick that flops out of the laser and lets you easily set the focus. I’d been doing that before with a little homemade cube, but it was nice to have it all set up.
No Camera, No Problem
The S1 is a fairly high-end machine for a diode laser, so I was a little surprised it didn’t have a camera. However, what it does have is closed-loop motor control. What that means is that if you move the laser head with your hands, the machine still knows where it is. There’s also a little laser pointer cross that shows you where the laser head is — sort of. There is an offset between the actual beam and the cross, but if you use their software, they know that. If you use Lightburn, you have to set that yourself.
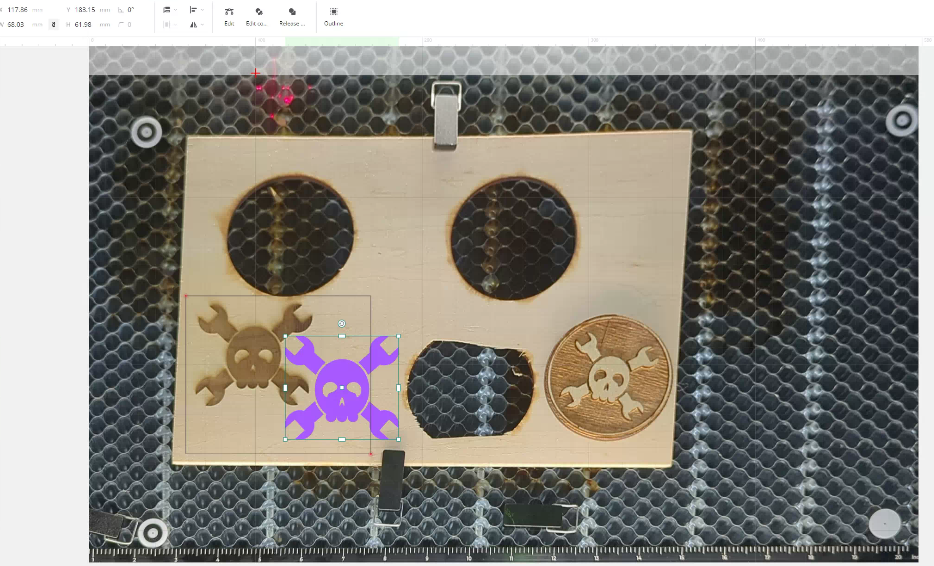
So if you have a book you want to engrave on the bed, you tell the software to “mark.” It lets you pick a few shapes, but usually, you want a rectangle. You line up the laser cross with the top corner of the book (or whatever) and press the button on the machine. You hear a loud beep. Then, you move to the far bottom corner and press the button again. That’s it.
Now, the software will place a little box that shows exactly where the book is. This doesn’t help you correct for small skew problems, but it does let you accurately move things to the right location.
The machine also has an interesting way of dealing with autofocus. It has a metal pin that drops from the laser head sort of like a BL Touch on a 3D printer. When it hits something, it knows how far away the surface is. Then, it moves to a corner where a metal plate pushes the pin back up. You need to make sure the head is over something before you tell it to measure. If you have a honeycomb bed, the laser head will bottom out before the pin, and you’ll hear some ugly noises.
But A Picture is Worth…
If you can’t stand not having an image of your workspace, the S1 can do it, but honestly, it is a pain. The printer comes with little sticky target decals, and you can make more if you need them. Three of them look like little bullseyes, and one is just a small dot. You place them somewhere on the bed where the laser can reach.
After you install the phone app, you can connect to the printer and calibrate the dots. You do this just like the marking routine. You aim at each target and press the button. Now, the software knows exactly where each bullseye is.
The next step is to take a picture of the bed with your phone. Since the software knows the bullseyes are circles and where they are, it can reconstruct a proper view of your bed. Moving it to your computer is a pain the first time since you have to scan a QR code on the computer to make a connection. After that, though, it just sends it. The problem, of course, is the shot isn’t live. You have to fix up the bed the way you want, shoot the picture, and then don’t change anything after that.
One tip: don’t cut anything on top of the bullseyes. They will blacken up and then you’ll need some extras. Not that we’ve done that, of course!
The Answer
It seems odd that cameras haven’t taken over everything. They work well, and a live view is handy. However, if you don’t have a camera, there are clear alternatives. For as much as the Xtool system is clever, it still doesn’t help you with crooked alignment. It is, however, better than the wrapping paper method for things where you don’t know the size already.
If you do know the size of the workpiece, though, it really isn’t that handy. Sure, you don’t have to tape down paper and score it with a framing cut, but that’s a small price to pay for the benefit you get. If we were building our own cutter, we’d seriously consider adding a probe, though.
How do you get engraving to go where you want it? Do you have another method? Let us know in the comments. If you haven’t splurged on a laser yet, you might enjoy a tutorial.


I guess it is time to dust off the laser engraver and burn some Jolly Wrenchers!
“Laser Cutters: Where’s The Point?”
It will have you beaming!
I bought a cheap laser engraver years ago and there’s a toggle button on the diode driver board that switches it into a low power pointer mode. The engraver has no endstops so home is where ever it is at start.
Most software will allow you to either specify home as a corner or center. As long as your design is alight to home correctly it becomes trivial to align it where you want the first time every time.
Lightburn can do this too. You can frame with a low-power laser, but I presume that’s low-power with PWM which means you are getting little packets of high-intensity laser instead of big packets… not sure if that’s really better or not! ;-)
Not really.
One issue with cameras is that because laser cutters usually can’t be a meter tall, the camera is squooshed right down over the workpiece and there’s significant optical aberration at the edges of the field.
We’ve done something similar to the mark-and-use idea here: if we have to do multiple pieces, we put down cardboard, tape it down, cut out a tight fit outline for the object, and then we can swap multiple objects through the bed with the cardboard fixture keeping them all aligned.
Don’t camera ccd fear laser ?
I usually just eyeball it
Focusing on eyeball ( singular )
That is done with one eye covered or with the remaining eye?
Poppycock. My 10w laser does exactly what I need of a desktop laser.
Holy shit, no discussion on laser safety? Shielding? Laser goggles?
Y’all out here trying to blow your eyeballs out?
Right, just like every article involving a car needs to start with a paragraph about the importance of wearing seatbelts.
No, this is literally a fucking idiot using an unshielded high powered laser that’s going to blow their eyes out from the backscatter.
Where do you see that? The laser is enclosed. The pointer cross is a laser pointer. The picture of the targets is taken with the laser off. Where do you see anyone operating it open? The ortur is open frame although mine is enclosed. However, nothing has said to do anything without the usual safties.
Home spun Lasik eye repair…hmmmm…I have an idea for a
garage based business….
Won’t somebody PLEASE think of the children!!
Found the guy who tried to give himself a laser face tattoo.
I’ve been eyeing the xTool S1. They’re saying it’s super safe – no need for goggles, auto-shutoff, the works. Sounds great, but you know how marketing can be. I’ve watched some videos, and none of these YouTubers are wearing safety glasses. Got me wondering.Any of you actually used this thing? I’m looking for the real scoop, not just the sales pitch. What’s it really like?
If you don’t have the extension base on it, it seems to be totally safe as far as I can tell. The base comes with laser goggles because the swinging doors are not interlocked. Even then, I think with the doors closed it is OK, but I’d wear goggles anyway.
I have an oldie form 2014, full spectrum CO2 laser, Xtool F1 and S1, on all three of them I cut an L shape at a set postion, in my F1, it was at X10 and Y10, then I measured it and machined a piece that bolts down, now I know my 0 (with offset 10,10) position. For my S1, I just made a longer L shape, but made it acrylic, then affixed it down, now I have perfect alignment and repeatable. But I come from a machine shop background, I need to know my workspace offsets, its just in me. but I do use some of the options on the S1 with its little cross hair when I just need to quicky cut something, its the engravings that I mostly need to be precise.
I asked chat gpt about making a script for a camera mounted on a laser, initially I wanted to detect the edges of a figure to cut so ideally I just would be able to drop a figure made or paper or cardboard in a random position and orientation and let python to make the gcode file and manage the corresponding origin, then I moved to a more classical way of displaying the preview of the gcode file over the bed and will be able to rotate, drag and scale the preview, then generate the modified code. At this point I’m not sure which approach is better for smoothing the workflow. Any idea or software recommendation?
I think pythons are incompatible with shark lasers.
Oh well, I asked for ideas so that is an idea I guess
Does this asking chatgpt for a script thing ever actually work out for you? Genuinely curious
So you didn’t find the “Frame” button then.
Yes, and as I mentioned above, LightBurn also has framing. But that just scans the laser, it doesn’t leave a mark. The wrapping paper and the “Mark” function give you some kind of semi-permanent reference as to where you are not just a fleeting skim of the laser (or crosshair).
You can vary the laser power used for framing in Lightburn or just create a frame and use 5% or so.
Right but it is still fleeting regardless of the power.
For the record (and to agree with a point the author made), the cameras don’t always solve the problem. My work/makerspace has a Glowforge. Yes I know they suck because I’ve fought the aperture on that thing trying to get things centered (among a million other reasons). Worse, the camera can take a different image every time it refreshes the bed. It can look different every time you open the laser door and shut it again. But the piece is always in the same spot, so I am glad for that vector outline trick.
And if you have to do production runs, making a solid jig for placement of your media is also a good idea.
i don’t hear anyone talking about the fumes and lack of ventilation.
Must’ve huffed too many fumes and forgotten…