Preservationists usually take great care to prevent fungi from appearing the world of art, but in the case of [Kexin Wang]’s Funguy project, the fungus itself is the art. It uses a laser diode to repeatedly trace an outline onto a dish of agar gel in which fungus is growing, and the photophobic fungus grows only up to the edge of the laser-traced figure, potentially creating complex designs.
This project evolved out of a research project in which they developed a computer model for fungal growth, then used its predictions and a laser to control a fungus’s growth pattern. The model has two parts: a temporal convolutional neural network which learns fungi growth patterns from a series of images, and a cellular automaton to simulate these growth patterns under different starting conditions. The cellular automaton’s rules aren’t fixed; each cell runs a small neural network which learns the rules under supervision from the convolutional network. By training these networks on images of the growth stages of three different fungi, it was able to realistically predict the different growth patterns of the different species.
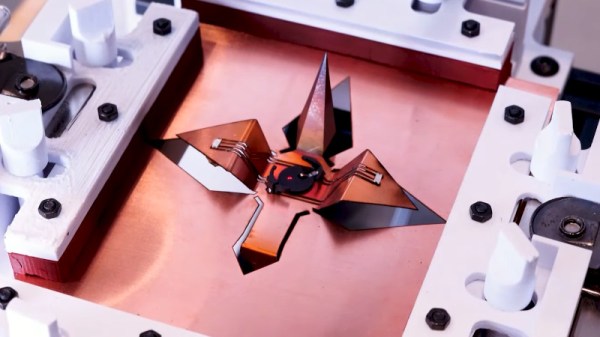
To actually control the growth pattern, the researchers tried a series of different wavelengths and laser powers; shorter wavelengths tended to work better, with a 405 nm laser working best. The growth model complemented the laser setup by predicting in which areas the growth medium had run out of nutrients. Since fungus would no longer spread in these regions, the laser no longer needed to trace these sections. The Funguy kit’s laser system itself is similar to a laser engraver, with an XY-kinematic system seemingly built from a DVD drive frame. It uses fungi from the Mucor genus, though it can print with other photophobic microorganisms, such as slime molds.
This project seems aimed at artistic and educational uses, but considering the various electronic parts that have been made of fungi, more functional applications should be possible.