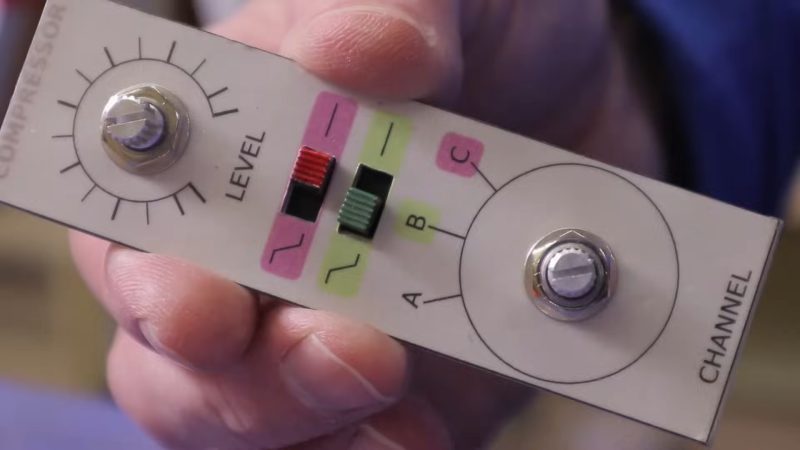
Nothing caps off a great project like a good, professional-looking front panel. Looking good isn’t easy, but luckily [Accidental Science] has a tutorial for a quick-and-easy front panel technique in the video below.
It starts with regular paper, and an inkjet or laser printer to print your design. The paper then gets coated on both sides: matte varnish on the front, and white spray paint on the back. Then it’s just a matter of cutting the decal from the paper, and it gluing to your panel. ([Accidental Science] suggests two-part epoxy, but cautions you make sure it does not react to the paint.)
He uses aluminum in this example, but there’s no reason you could not choose a different substrate. Once the paper is adhered to the panel, another coat of varnish is applied to protect it. Alternatively, clear epoxy can be used as glue and varnish. The finish produced is very professional, and holds up to drilling and filing the holes in the panel.
We’d probably want to protect the edges by mounting this panel in a frame, but otherwise would be proud to put such a panel on a project that required it. We covered a similar technique before, but it required a laminator.If you’re looking for alternatives, Hackaday community had a lot of ideas on how to make a panel, but if you have a method you’ve documented, feel free to put in the tip line.


obverse or reverse?
Fixed, thanks.
“It gluing” or “gluing it”?
I’ve stuck printouts to wood just using PVA. Works and looks fine. Intended to put clear varnish over it but since it was just a makeshift project I never got around to it.
Instead of applying the paper to the metal, put the paper on a flat surface and apply the metal to it.
No bubbles. Done and done.
(Flat surface keeps the paper flat, and you don’t stretch or slightly misalign the paper by handling it.)
Office laminator with matt film does miracles too, as you mentioned. However, I would like to see a hack to produce a decals with that rough transparent surface over the image like on factory ones. It’s what make this DIY front panel decals still look DIY, not factory. They are smooth. Nearly all factory decals I touched had a rough external surface, not smooth one.
Also, interesting how to create leather-like (or just any) irregular (it is very important) pattern on plastic parts, like on car dashes.
As for good and professional sticky layer on the back of DIY decal – you could buy so called “liquid adhesive tape” – usually it is sold in tubes for sealant gun. Basically it is PMMA based polymer water suspension, like water-based acrylic varnish, but it does not fully polymerize into hard acryl, creating a sticky layer exactly like on the scotch tape. It is white when applied, but become transparent when dry. After drying you could stick your part or decal with a layer of this thing to anything, including polyethilene or polypropylene, just like scotch tape. Unlike double sided scotch tape or that thing for gluing car bages, you could make surface of any topology sticky with just brush or spray painter.
You can buy transparent self adhesive vinyl with a similar texture
Could you provide correct search term for it? I see only thin leather-like textured vinyl, not thick transparent one. Studied ORACAL catalogue and everything transparent have smooth surface, even matte ones. Closest thing I found is KPMF K81219 protective textured film, but it comes only in gray and black opaque colors. :(
I used the toner transfer method for making PCBs on a front panel once. I should have experimented a bit to get better results, but it works. I also use scrap acrylic cut to size and then paint the back side. You could also combine this method with the one in the video and get much better protected printed labels with less paint and coating.
Hmm… Speaking of resin, I was thinking that soaking a printed piece of paper in 8 hour resin would probably have the same effect as gluing it on. Just print a paper, soak it in resin and set it on the surface you want to transfer it to.
Worth a try (and a youtube)
I just buy printable sticker paper from 3M (sold under the A-One brand here in Japan).
There are inkjet and laser variants and different adhesive strengths. You can even get it in clear, and silver and gold, the silver looking very professional. I have used it for my own projects, and also replacing damaged or removed labels and serial numbers on HP gear, and it looks practically factory fitted.
I recently used the standard white paper to replace the flaking gauge face in a HP 427A volt meter, and the faded gauge face in a HP 339 distortion meter (there is actually red ink on the dB scale that is almost always faded to nothing by now), and they look fantastic.
They also come with a clear self adhesive sheet per printable page so you can laminate it after printing with a squeegee.
They work great and are really easy to use.
I print on sticker paper, glue it to the panel and then put transparent adhesive plastic on top of it. Folding the edges of the transparent plastic around the edges of the panel gives some extra protection.
Anodize + toner transfer? That would have been impressive.
I do like this method of making front panels, and have some extra notes.
@00:50 I assume Inkscape can work with layers, putting extra stuff (the knobs) on a layer that’s not printed would be nice.
(A library with front panel symbols would also be nice).
@01:25 Remove stroke? I would leave it on, but make it a few mm bigger then the actual front panel, so it can be used for alignment.
@01:25 Do not print the whole background, but use colored paper as a base material.
@02:40 Do not cut out the paper to size, but leave
@03:56 Using exessive glue, and a roller to squeeze out glue helps with applying it firmly and evenly.
@04:09 During drying (curing) of the glue, put a bag with sand on top. this folds the edges of the paper over the aluminimum.
@04:02 Paper does not stretch that much by mechanical stress, (it will also creep back during curing of the glue) Water based glues doe stretch paper a lot, so avoid those.
@04:15 I would use thick paper. Not thin paper.
@04:49 If two part epoxy don’t hold a piece of paper, the epoxy is kaput, or applied wrong.
@05:02 Use a centerpunch first.
@05:36 He did not press down the corners during glueing! With an escess of glue, it’s also squeezed over the edges and coners, so they are glued well.
@06:00 A fast epoxy does not take days to cure. Another indication there is something wrong with it.
@06:55 Second layer of 3 layers of varnish. Yes, multiple layers is good.
@07:54 When cutting the paper, (also the left over edges) only cut during the downward stroke. This uses the knife and aluminimum as a scissors for a clean cut.
@08:20 Seal edges with 3rd layer of varnish. Yes. that’s good.
I like to use cnc to engrave the front panel, then fill the v carve grooves with paint and if I want it to look really fancy cover it with uv resin. You can add colour as needed :)
You can also paint or anodize the aluminum before engraving. You can also buy plastic laminates with separate core and skin colors made especially for engraving purposes.
In the area of weird ideas, I wonder if you could use that PCB resist stuff that is UV cured and then mask it to UV-cure only symbols and then ‘wash away’ the non-exposed resist.
You might have an interesting raised effect that way.
How to mask the UV though. I’m not sure what cheap-and-easy printing techniques block UV.
Sure, UV curable ink can also work perfectly well, but it’s yet another method.
Marco Reps made a YT video where he used direct lighting by adding an UV laser pointer to a 3D printer.
In the PCB world, silkscreen text and such is even directly printed with an inkjet printer, but such printers are not really affordable for DIY.
Several suggestions seem to assume that all housings are flat and fit in various printing devices.
I do not think that is correct :)
That’s the whole idea of the article, to get it from a print onto the housing somehow, although here too it has a nice small single flat part to work with. I think we need more flexibility in regards to the expected application surface, is it round or bulged or a very large object, we still might need nice clear and permanent or rub-proof decals.
Talking of rub-proof, man keyboard keys sure are hard to apply something to that stays. I tried a few ways to fix some keys and it never lasts, I even tried an indented groove and it did not last.. Maybe I should try cement.
I have been making labels with a laser printer for years. I get blank waterproof mailing labels. It already has adhesive on the back. You just need to give it a couple of coats of clear acrylic spray to protect the markings.
I wish the local ‘dollar store’ type of place sold some laser stuff, all their paper and supplies are for inkjet.
And all their USB-c cables are USB2.0, even their expensive kind, must be an ‘Apple-effect’ then eh.
Oh and all their HDMI cables are full size connectors, whereas more than half of my devices use mini or smaller ports.
lol , reminds a similar “hack” i did with the oven’s panel, the indicators had gone long time ago, so I scanned the panel from the manual and printed it on a laser projector slide sheet, not adhesive, double sided tape works, bit ugly but the heck.
Print on demand UV DTF transfers are cheap AF, durable, and ship quickly. Just be careful to make sure youre ordering permasticker type transfers not ones meant for fabric transfer.
Interesting, thanks for the tip. Seems like something to have in your trick box.