
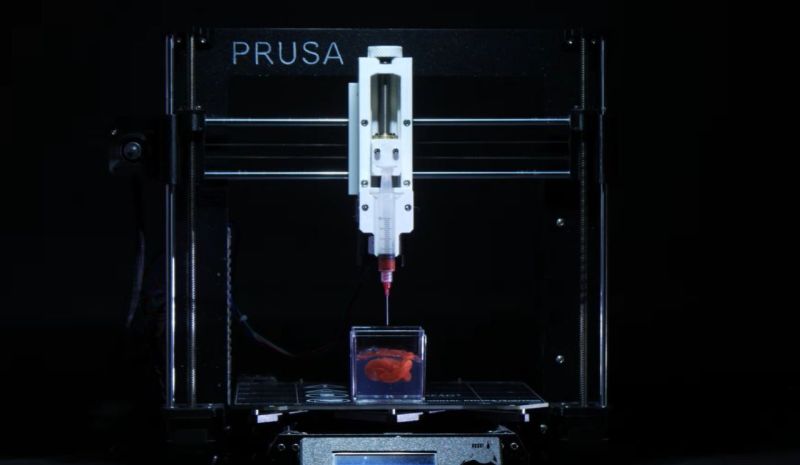
Recently [Riley] got his paws on an old Prusa i3 FDM printer that had clearly seen better days, with a hot-end that had suffered an explosive blow-out. For the project he had in mind this was of course perfect, as his intention was to replace the hot-end with a syringe system for embedded 3D printing (E3DP), which uses a supportive medium to allow for the printing of materials and structures that would be impossible with just air.
Generally in additive manufacturing (AM) methods like fused deposition modelling (FDM) the material is extruded onto a build plate or a previous layer where it solidifies. This works great for materials like thermoplastics, but for other materials having only the surrounding air as support is just a recipe for a big mess. With E3DP the liquid is instead extruded into a supportive material at a selectable depth and volume, opening up a whole range of possibilities.
In a 2026 review article by [Rongji Tang] et al. in Frontiers in Materials provide an overview of the state-of-the-art in E3DP, including many ongoing research questions pertaining to print quality, the types of supportive material and their potential reuse, as well as extrusion control. Applications for E3DP are many, with it seeing use in flexible- and soft robotics, printing biological tissues and microfluidics.
While some types of fluids are easier to print than others, Newtonian fluids like silicone oil pose issues with reliable printing, as detailed by [Hejoon Jun] et al. in a 2025 paper in Applied Materials & Interfaces, while a 2026 paper by [Min Ye] et al. in International Journal of Extreme Manufacturing covers the challenges of printing living tissues this way, with a self-healing supporting medium described, creating a method called EPICS.
In the video by [Riley] the fundamentals are explained in a comprehensive manner, before building an E3DP setup, with an open source Allstruder syringe pump and a Caribou Duet 3 motherboard replacing the Prusa parts. Following this a test print is made using cream cheese as it’s apparently an ideal test material.
After a successful cream cheese test, a print is started involving two-part epoxy, with the supporting material being hair gel. The epoxy, once mixed, has only a time window of about forty minutes before it hardens, so that’s all the time you have to empty the syringe. As it turns out, hair gel and epoxy aren’t friends, so for a final print the printing material was switched to silicone, specifically Sylgard 184.
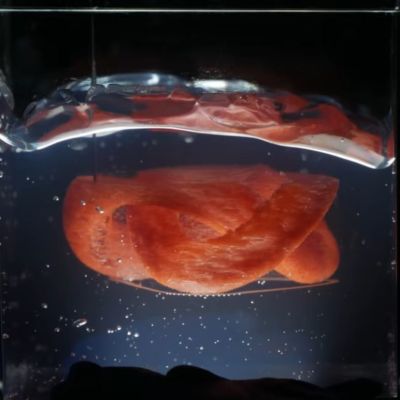
Although not a perfect result, it’s pretty cool to see the silicone trifold torus take shape in what appears to be a void. Unfortunately the hair gel doesn’t appear to be a perfect material either, as some of the additives in it apparently inhibit the silicone from curing. As reported by [Riley] in a comment to the video, the silicone print was still goopy after a few days.
We hope that it’ll cure before long, and wish him luck in finding a supporting material that’s more supportive of printing materials like silicone actually curing.












Please be kind and respectful to help make the comments section excellent. (Comment Policy)