
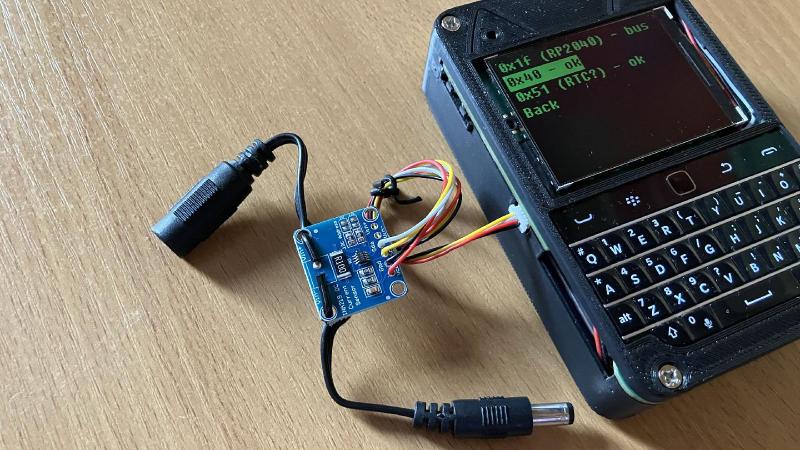
Years ago, I wrote an article describing different I2C-on-a-connector ecosystems, explaining their strengths, weaknesses, and implementation details, as well as piling on a heap of fun stories. Looking back at it, it’s a great reference article, if I do say so myself. In particular, I highlighted QWIIC, which is a Sparkfun-borne standard for putting 3.3 V I2C on a JST-SH (or compatible) 4-pin connector.
I’ve since implemented a fair bit of QWIIC, and grew to like it so much more. I’m here to explain to you why you ought to be putting those JST-SH connectors in everything you design that touches I2C, all the cool things they let you do, where to buy a lot of cheap cables at once, and all the references you could need. I will also tell you about my USB pinout for QWIIC, something you should definitely know about.
In2ispensable Interconnect
There’s myriads of devices that speak I2C, and all of them are incredibly useful. Environmental sensors, GPIO expanders, ADCs, PWM chips, motor drivers, LED drivers, small displays, GPS and LoRa chips, voltage and current sensors, memory chips, TPMs, touchpads, NFC readers… You can go to any hobbyist storefront, search for QWIIC compatible sensors, and find gadgets most fitting to a project of yours.
I’m not making an argument that you should buy QWIIC devices for everything, even if it’s convenient, because this is not Buy-a-Day. I haven’t intentionally bought anything branded QWIIC to date, either. Instead, standardize on QWIIC for your I2C expansion slots, and use it wherever possible – turns out that it makes things incredibly easy. Standardizing on QWIIC has helped me make development, debugging, and wireup of all of my I2C-powered devices a breeze.
In short, I’ve found QWIIC to be a great solution to lots of I2C-shaped (and USB-shaped!) problems. Here’s just a few things I’m able to do, for a start.
I2C Debug Port
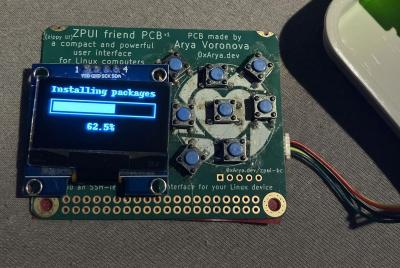
Again, I didn’t start with buying any QWIIC peripherals – I simply started putting the port onto my boards because it seemed like the right thing to do, and why not have an expansion connector? Turns out it’s a perfect logic analyzer connector when you’re figuring out some I2C code.
Using one of those cheap but dangerous reverse-pinout-ends cables I accidentally bought a bunch of, I put together a simple logic analyzer adapter, and now it’s one of the first things I pull out when anything I2C on my boards misbehaves. Plug it all in, launch Pulseview, and I can zone in on any I2C mishaps as soon as I notice them.
I typically only put one QWIIC connector on my things, so for in-system logic analysis, I need a splitter doohickey with three connectors in parallel, incidentally, I have built a few those before back in 2018. Nevertheless, as long as I take care to add QWIIC connectors to all my I2C buses, it lets me observe workings of my onboard devices and external devices alike, reverse-engineer drivers, and quickly pinpoint issues by looking at the bus directly.
More Modularity More Better
This year, I’ve bought a hundred one-end-terminated JST-SH cables from LCSC for peanuts, and it’s been one of the greatest improvements to my I2C device tinkering – because now I solder them on every I2C device I come near. I’ve also pre-assembled a bunch of quick and dirty JST-SH breakouts for adding QWIIC into my devices on a whim. Here’s how it works.
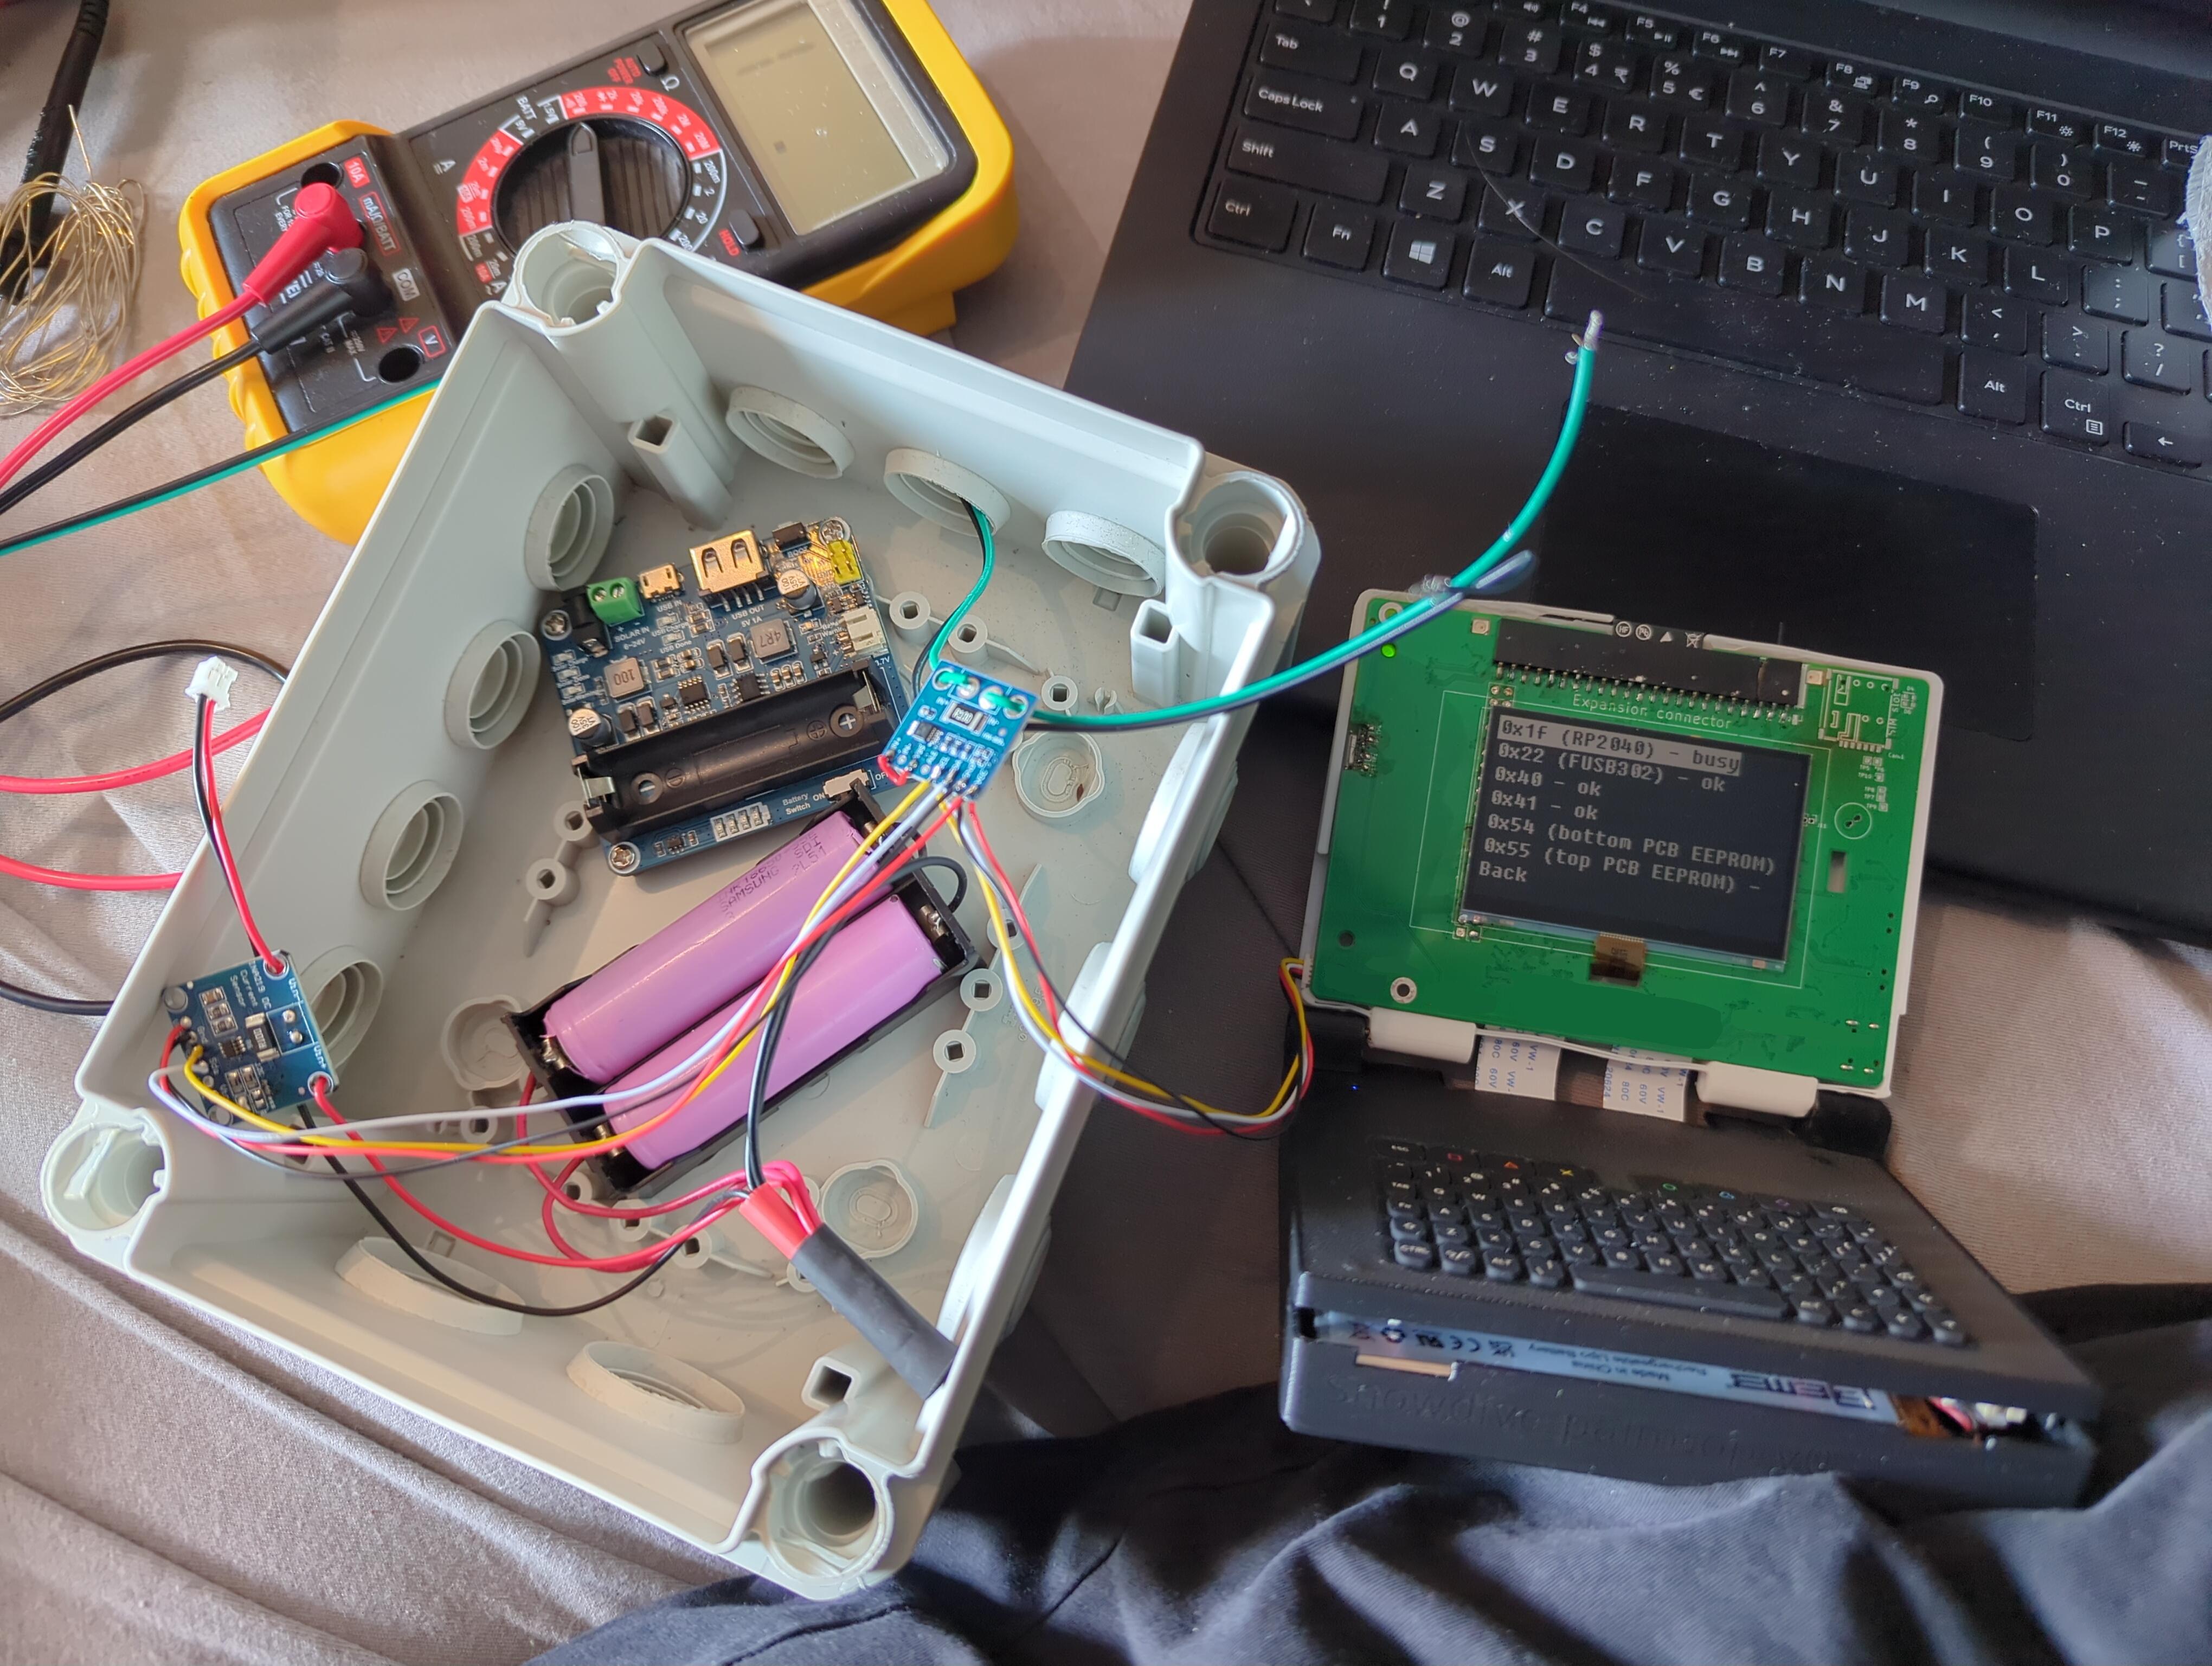
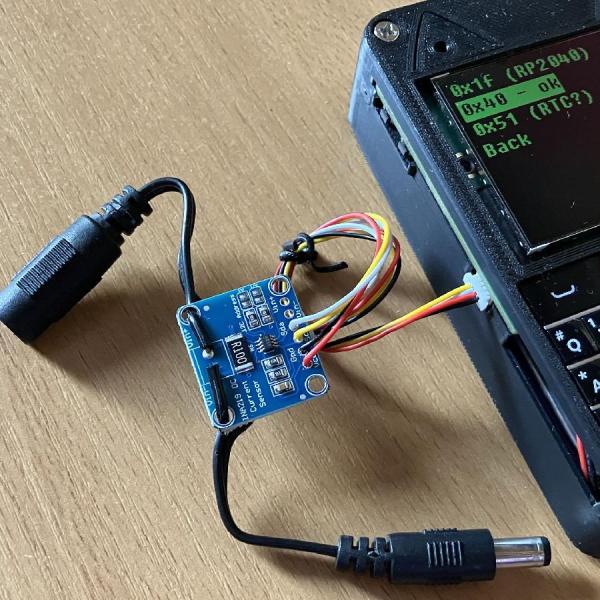
Recently I helped someone build a solar-powered node with Meshtastic, and naturally, we wanted to add voltage/current monitoring to both the battery and the solar panel. We got INA219 boards from Amazon, and soldered them to the power monitoring pins on the boards directly, avoiding terminal blocks with their subpar contacts. But, how to connect I2C to the Heltec board? A QWIIC-pinned JST-SH cable and a JST-SH socket breakout, no questions about it.
First off, I was able to test outside of Meshtastic firmware, plugging it into a nearby, already QWIIC-adorned, Raspberry Pi-based gadget and scanning the I2C bus. With that, I could know that the addresses matched what I’d expect, that I didn’t confuse the wiring in any way, and set the ADDR pins correctly, too. This would be impossible to do from the Meshtastic UI, but with QWIIC, it was a matter of replugging the cable.
Having installed everything, this made for a much cleaner setup. It also avoided soldering to the Heltec board, which would create a non-detachable tie between the mesh node and the solar battery system, everything other part of the system being equipped with connectors. Now, we also don’t need to worry about current loops when powering the node down, because everything can be detached, and we can also quickly swap the node at any time without soldering, in case something on the node burns out for whatever reason.
This is just one story. Every time I use QWIIC in a project, I find unexpected benefits like these – and that’s not all.
Great In Most Situations
In a way, QWIIC here worked as a test connector, too. Want to flash some bytes into an onboard I2C memory chip? QWIIC works. If your board depends on I2C enough, QWIIC could be your test jig interface if you let it.
QWIIC doesn’t really work for devices that absolutely require an INT pin – this part is clunky, for sure. Most devices don’t absolutely require an INT pin, though. You can add a tiny cheap digital compass or OLED screen or a GPIO expander to any of your projects without ever touching an INT pin, and so many things can be polled without noticeable loss of CPU time.
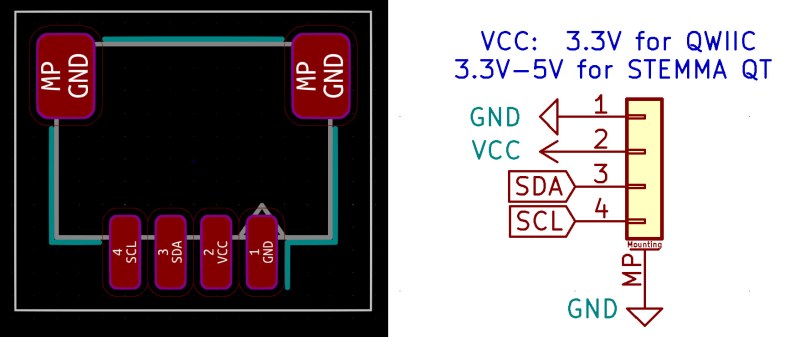
JST-SH is a keyed connector with no shortage of clones driving the price down, it’s incredibly tiny yet easy to plug/unplug with just your fingers. There’s both a horizontal and a vertical version – although you should take care because you must flip the pinout when switching to the vertical connector, I’ve learned the hard way by having to hotglue a bunch of those vertical ports shut last minute on freshly made boards for a workshop! Other than that, QWIIC is impossible to plug in reverse, hard to destroy, and easy to replace.
Push It Further
Every great standard needs its deviations, and in this episode of Jackass, I’m putting USB onto the I2C pins, because why wouldn’t I? USB badly requires a tiny standardized connector that’s not FFC, after all.
Same GND and 3.3 V location, of course – the goal isn’t to ensure devices don’t burn up when accidentally plugged into QWIIC, or vice-versa. USB does 3.3 V signaling, so data lines can be freely swapped; SDA for D+ and SCL for D-, no reason why that specifically. You can add in an ESD diode, I’d recommend it, in fact. Well, you could add it onto your QWIIC with I2C, too, it’s just that USB tends to go longer off-board and gets more sensitive to electrostatic discharge. Maybe I can call this all QWUSB?
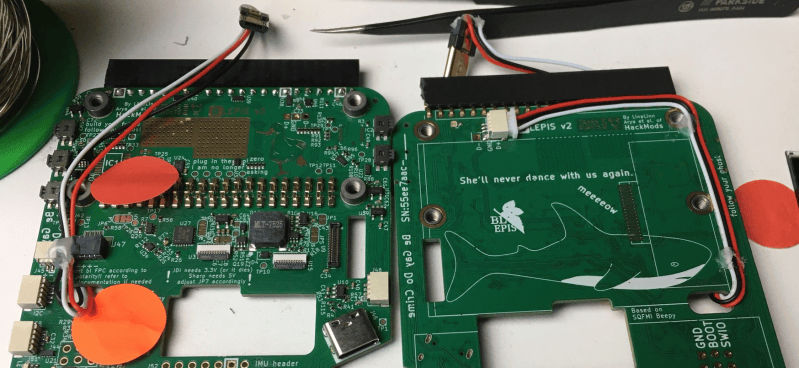
I’ve made a semi-cursed addition on top of QWUSB on some of my boards – switchable voltage between 3.3 V and 5 V. Sadly, some USB devices can’t function on 3.3 V – even if most can. There’s a low-Vf red LED from the switch output to 3. 3V – when the switch is set to 5 V, the LED lights up red, indicating a dangerous voltage. On less cursed additions, I tend to put SY6820 as overcurrent and backflow protection on my QWIICs, no matter if 3.3 V-only or 5 V-capable.
When I have a bit of free time, I’ll definitely be converting my bare-wires laptop webcams to QWUSB. Until then, it has already allowed me to connect cool things together in a pinch, and I know there will only be more of this in the future.
Small Sturdy Cables For Everything
With I2C as standard and USB as my own spin, QWIIC has let me cable things together that I didn’t know I could easily cable together. QWIIC has turned my breakouts from “ugh, I still need to solder to this” to “looks great as-assembled, now I cable these together and test immediately!”
If you work with I2C at least some of the time, you should put QWIIC on your boards – and if you don’t yet, make sure you don’t miss out on the opportunity. If there’s anything I hope for, it’s that Raspberry Pi finally caves and adopts QWIIC – they already put JST-SH on their new boards, how bad could it be? The new Arduino Uno Q already has joined in on the fun, and it’s undeniably better off for it.











Please be kind and respectful to help make the comments section excellent. (Comment Policy)