This week, Hackaday’s Elliot Williams and Kristina Panos met up over the international tubes to bring you the latest news, mystery sound results show, and of course, a big bunch of hacks from the previous seven days or so.
 Regarding Hackaday Europe, we announced the last round of speakers and opened up the workshop ticket sales. In other news, the Green-Powered Challenge has wrapped, and judging will begin quite soon.
On What’s That Sound, we can score another one for Kristina, which brings her record to approximately four wins and sixty-eight losses. She knew without a doubt that this was a guillotine paper cutter, probably because she recorded the sound herself. Hey, don’t take this away from her.
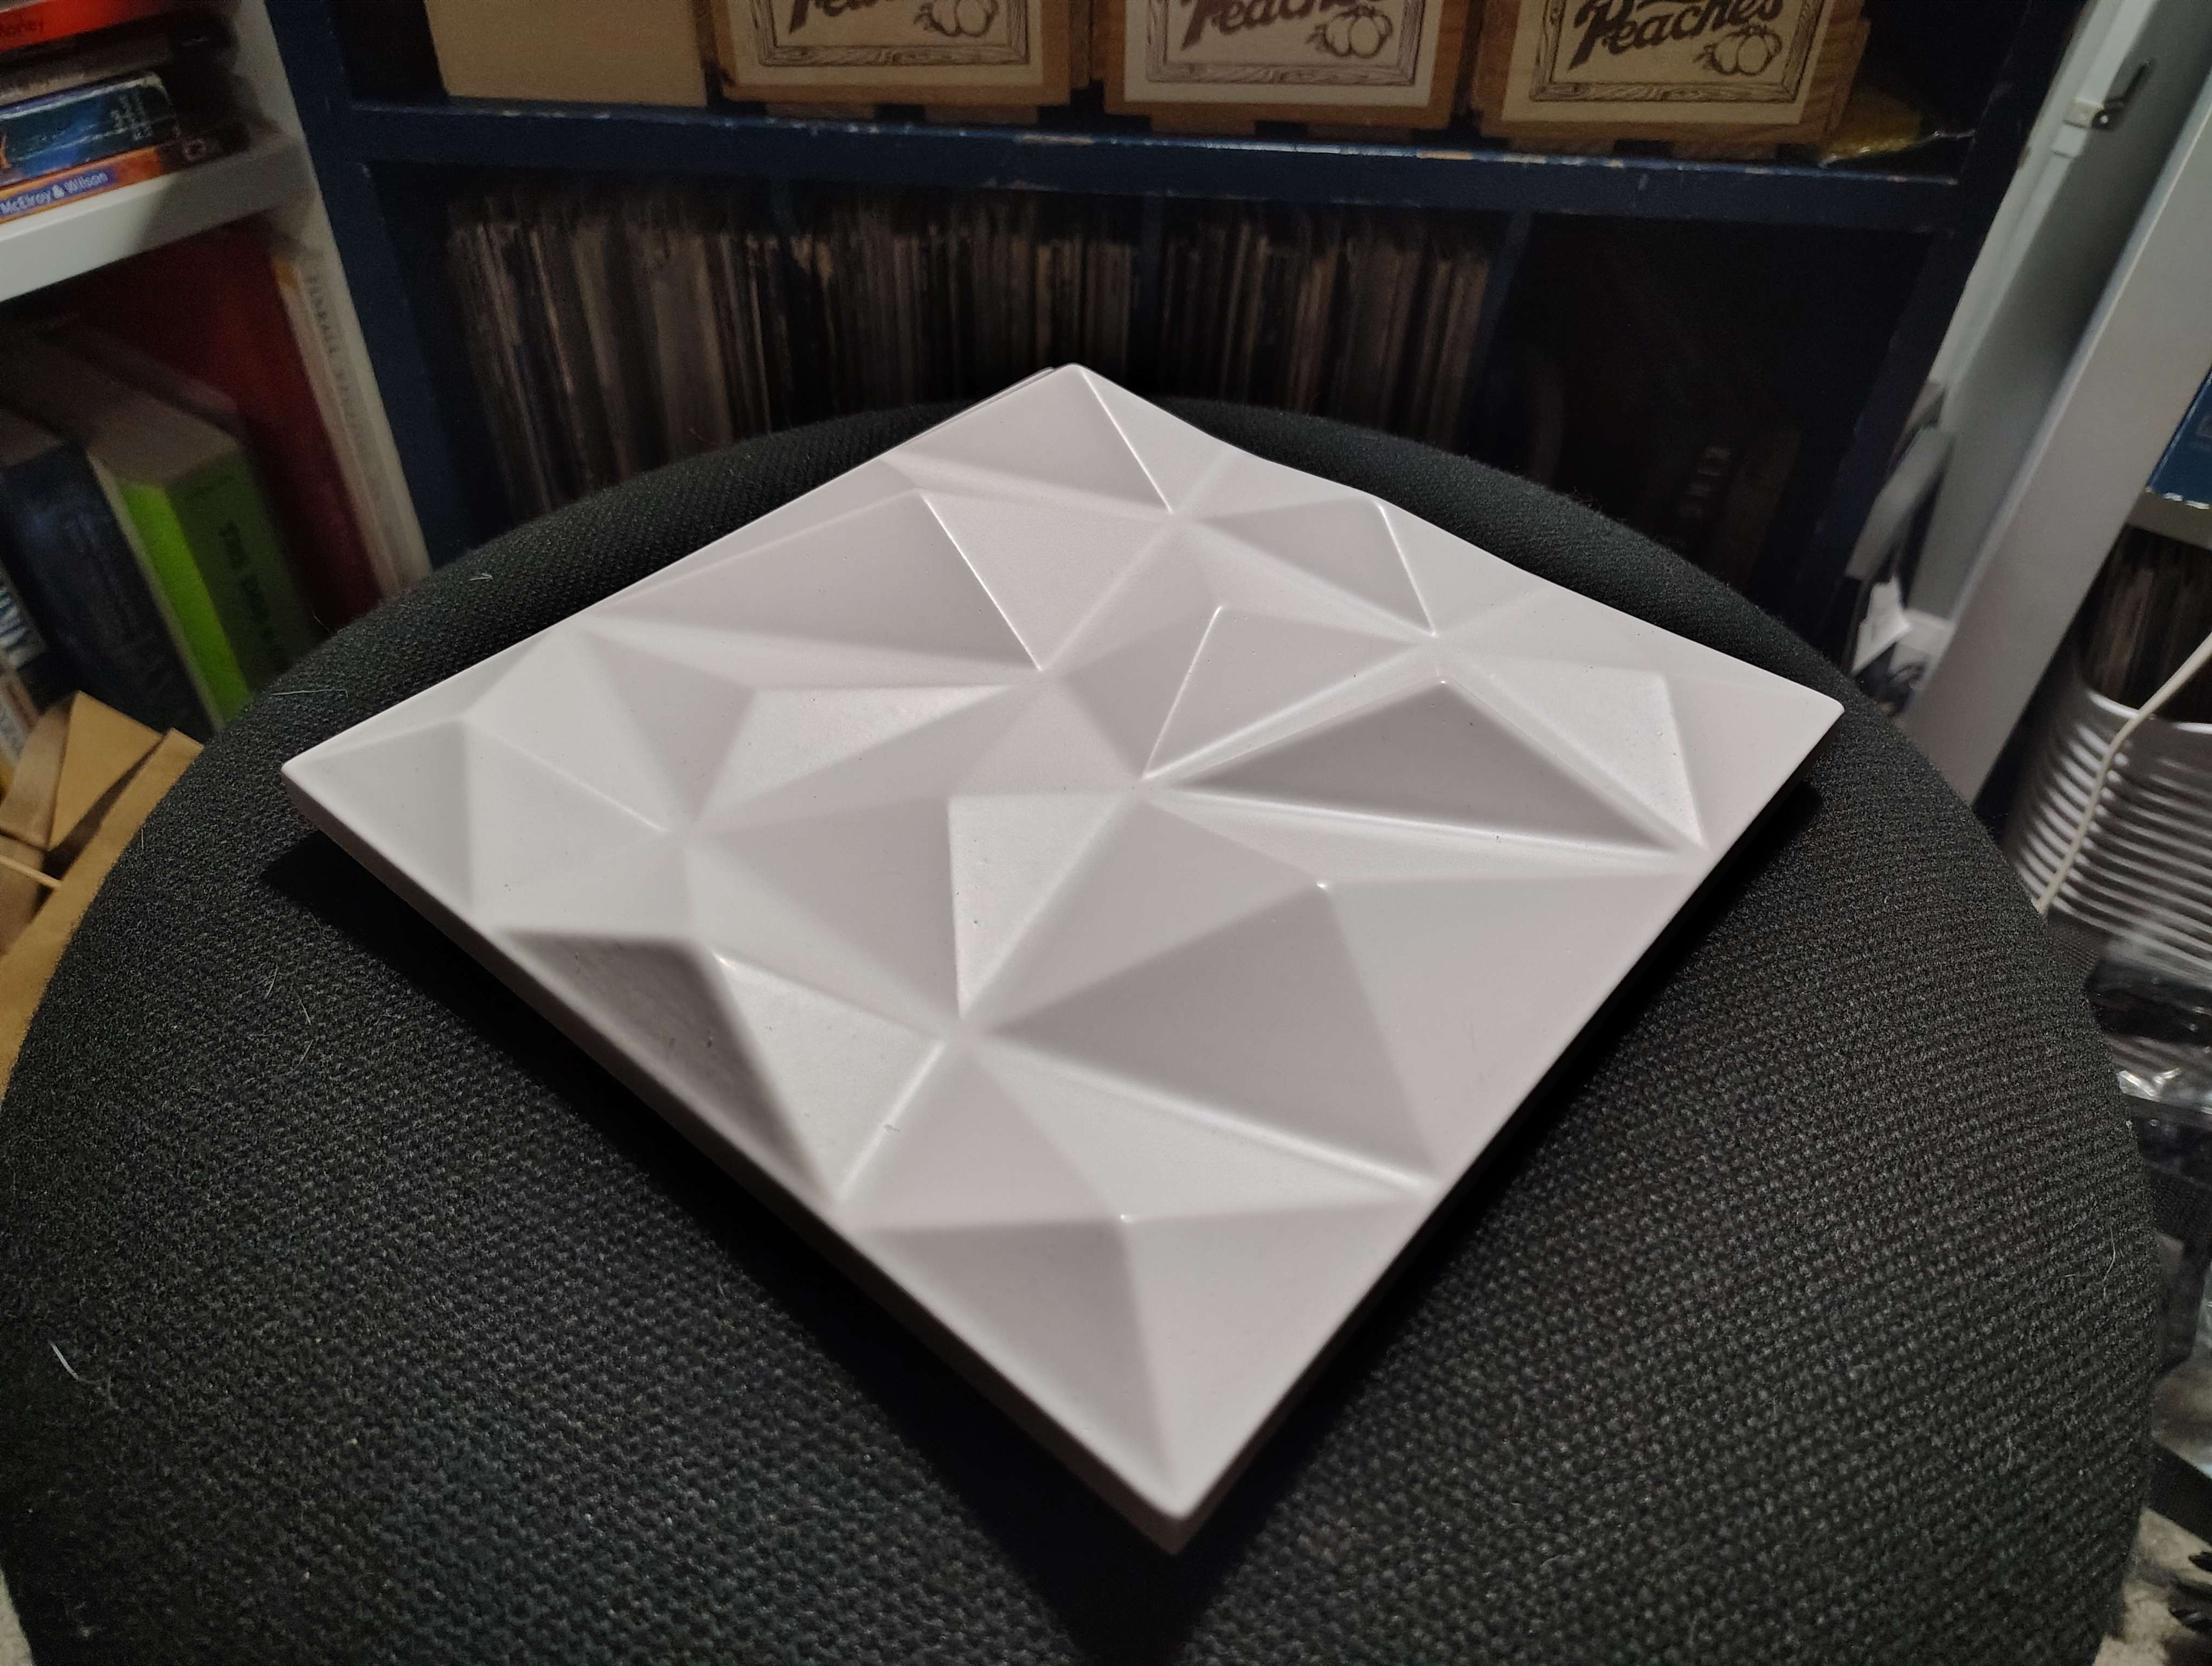
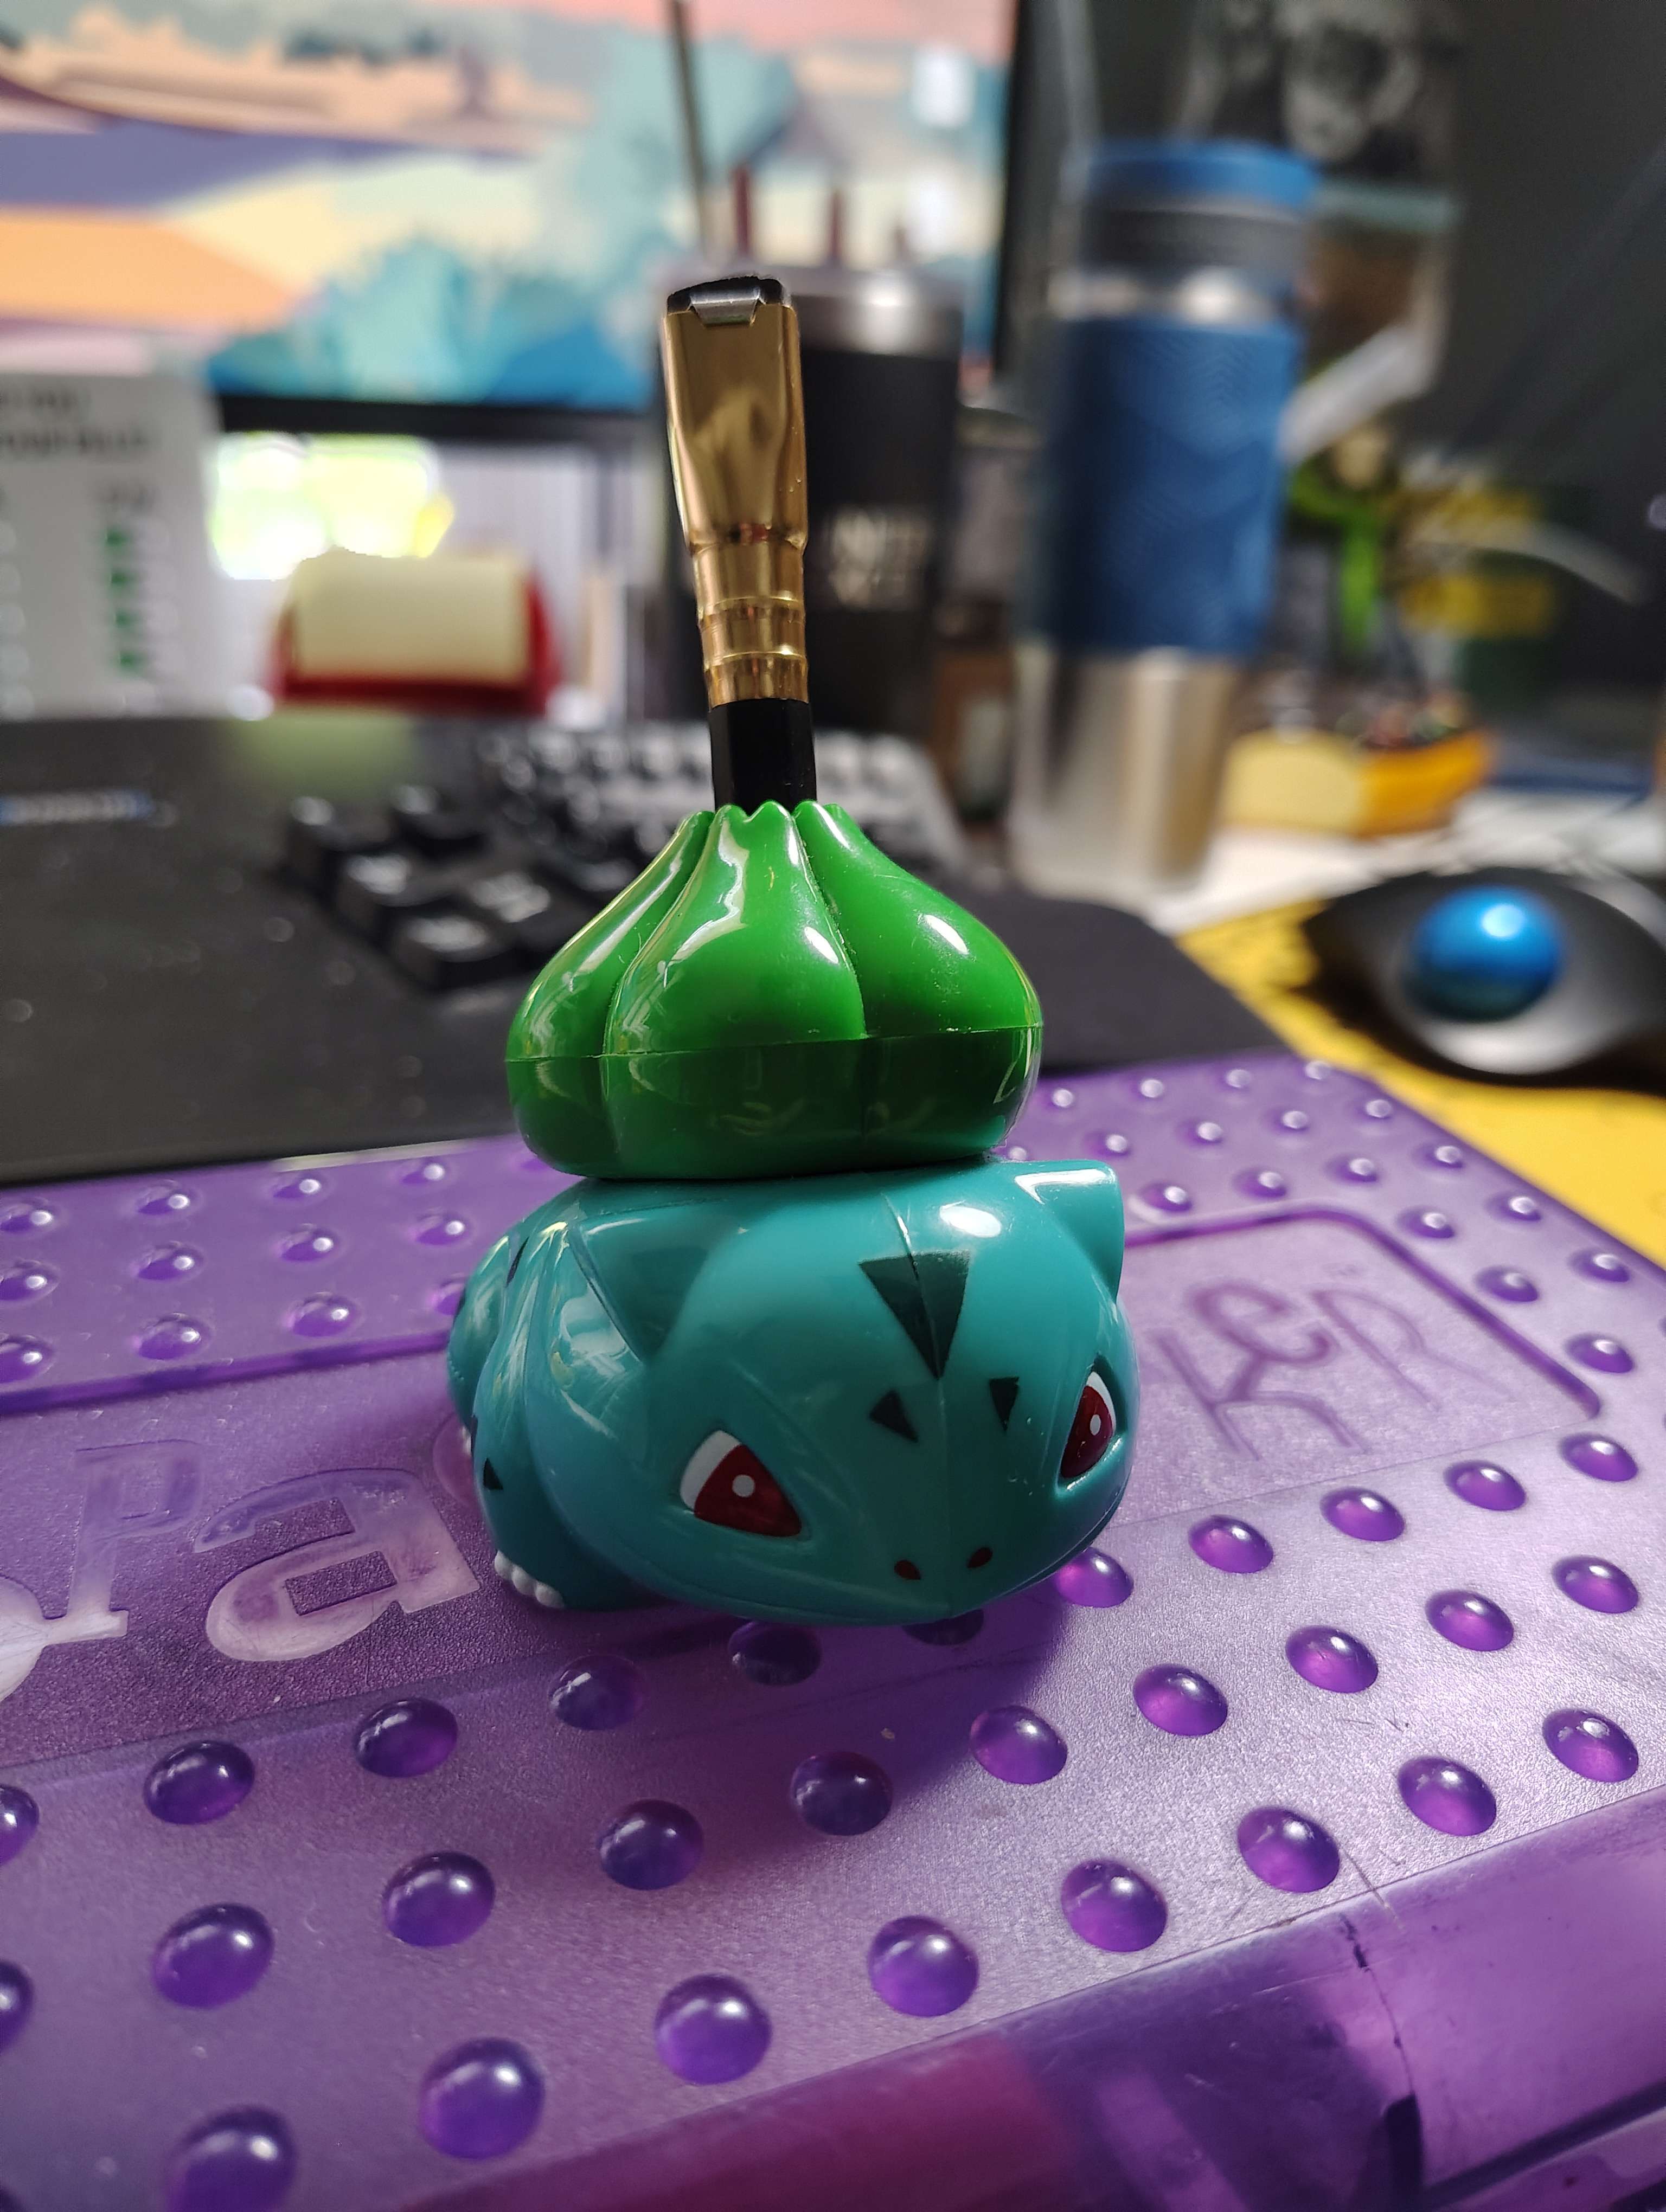
After that, it’s on to the hacks, beginning with a really cool laser-powered mist-and-mirrors multi-view display, a robotic drawing assistant of questionable utility, and a new slicer that enables horizontal overhangs without supports.
We also look at a trackball 3D controller, a 3D-printed pinball machine, and a good way to kill humidity sensors with humidity. Finally, we’re both shocked to learn that we’ve been on GPS mk. II for some time now. But then once we get over that, we talk tablets and their usefulness, or lack thereof.
Check out the links below if you want to follow along, and as always, tell us what you think about this episode in the comments!
Download in DRM-free MP3 and savor at your leisure.
Continue reading “Hackaday Podcast Episode 368: A Pen That Draws Against You, 3D Printing Stuff, And Tablet, Shmablet!” →

 n Hackaday news, we still have a Frikkin’ Lasers Challenge going on, and now you can even enter your project into it! Join the ranks, won’t you?