It might be fair to suspect that most people who are considered digital natives have very little to no clue about what is actually going on inside their smartphones, tablets, and computers. To be fair, it is not easy to understand how modern CPUs work but this was different at the beginning of the 80s when personal computers just started to become popular. People who grew up back then might have a much better understanding of computer basics thanks to computer education systems. The Busch 2090 Microtronic Computer System released in 1981 in Germany was one of these devices teaching people the basics of programming and machine language. It was also [Michael Wessel]’s first computer and even though he is still in proud possession of the original he just recently recreated it using an Arduino.
The original Microtronic was sold under the catchy slogan “Hobby of the future which has already begun!” Of course, the specs of the 4-bit, 500 kHz TMS 1600 inside the Microtronic seem laughable compared to modern microcontrollers, but it did run a virtual environment that taught more than the native assembly. He points out though that the instruction manual was exceptionally well written and is still highly effective in teaching students the basics of computer programming.
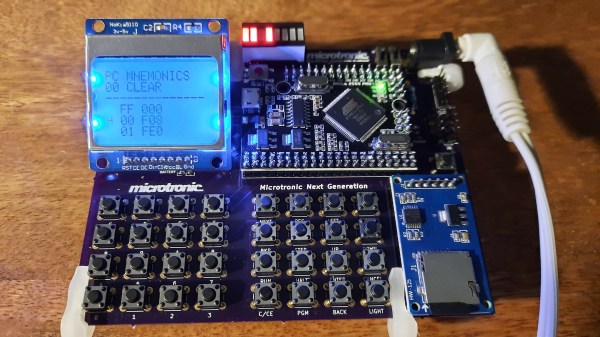
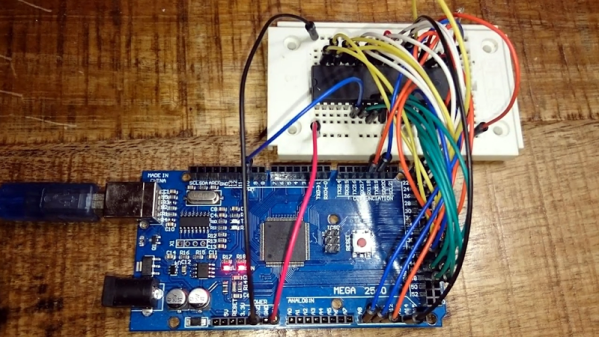
Already, a couple of years back he wrote an Arduino-based Microtronic emulator. In his new project, he got around to extending the functionality and creating a custom PCB for the device. The whole thing is based on ATMega 2560 Pro Mini including an SD card module for file storage, an LCD display, and a whole bunch of pushbuttons. He also added an RTC module and a speaker to recreate some of the original functions like programming a digital clock or composing melodies. The device can also serve as an emulator of the cassette interface of the original Microtronic that allowed to save programs with a whopping data rate of 14 baud.
He has certainly done a great job of preserving this beautiful piece of retro-tech for the future. Instead of an Arduino, retro computers can also be emulated on an FPGA or just take the original hardware and extend it with a Raspberry Pi.


