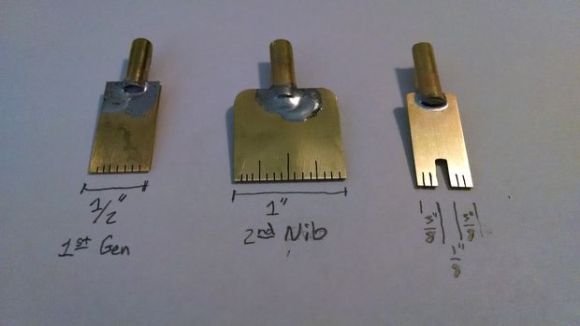
 Calligraphy is a rewarding hobby that is fairly inexpensive to get in to. For someone just starting out, poster nibs are a great way to practice making letterforms without worrying about applying the proper pressure required to use nibs that split. With a few tools, you can even make your own poster nibs like [advicevice] does in this Instructable.
Poster nibs are typically made with a single piece of brass that’s folded at the point where the nib touches the paper. The backside forms a reservoir that holds the ink. The other end is formed into a semicircular shank that is inserted into a nib holder. The nibs that [advicevice] made consist of two pieces of flat brass stock plus a section of brass tubing for the shank of the nib. One side of the nib is slightly thinner than the other to act as a reservoir. This keeps ink clinging to the nib through the magic of surface tension.
Nib construction is fairly simple. [advicevice] cut the brass stock to the desired length and width, cut notches with a jeweler’s saw to allow the ink to flow, and cut a piece of tubing that holds the nib snugly. He recommends using three grades of sandpaper on the edges of the brass stock and tubing. After soldering the nib to the shank, he beveled the business end by rubbing it on 150-grit sandpaper. He followed this with 350- and 600-grit papers to avoid injury and tearing the paper when writing.
If you simply must spend more money, build a machine that writes calligraphy for you.


