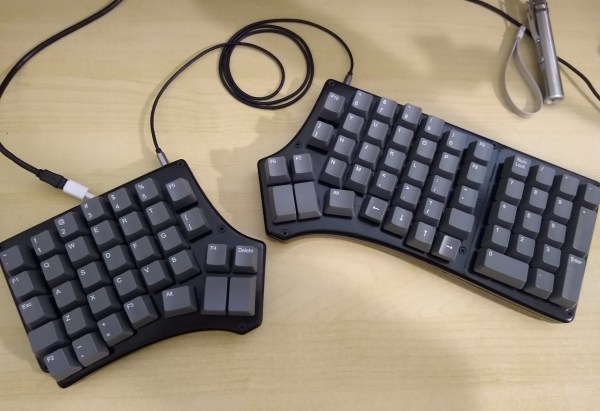
What’s the worst thing about split keyboards? If they have one general fault, it’s that almost none of them have a number pad. If you can fly on that thing, but struggle with using the top row numbers, you will miss the num pad terribly, trust us. So what’s the answer? Design your own keyboard, of course. [ToasterFuel] had enough bread lying around to cook up a little experiment for his first keyboard build, and we think the result is well done, which is kind of rare for first keebs.
 This design is based on the Redox, itself a remix of the ErgoDox that aims to address the common complaints about the latter — it’s just too darn big, and the thumb clusters are almost unusable. We love how customized this layout is, with its sprinkling of F keys and Escape in the Caps Lock position. Under those keycaps you’ll find 100% Cherry MX greens, so [ToasterFuel] must have pretty strong fingers to pound those super clackers.
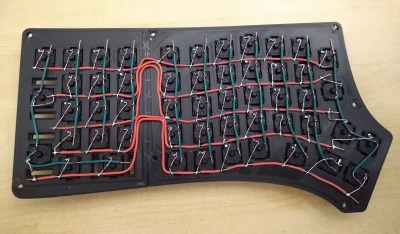
Everything else under the hood is pretty standard, with a pair of Arduino Pro Micros running the show. [ToasterFuel] had to wire up the whole thing by hand because of the num pad, and we’re impressed that he built this entire project in just three weeks. And that includes writing his own firmware!
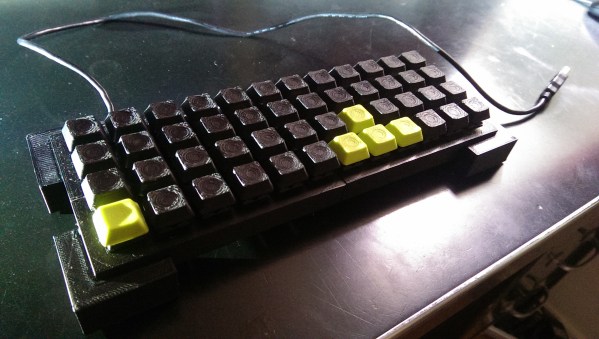
Already found or built a split you love, but still miss the num pad? Why not build one to match your keyboard?


